11
EspañolFrançais
English
16
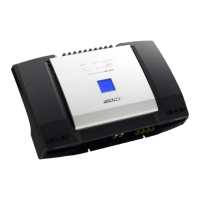
Display
17
UP Button
18
DN (DOWN) Button
19
MODE Button
16
Affichage
17
Touche UP
18
Touche DN (DOWN)
19
Touche MODE
16
Visualización
17
Botón UP
18
Botón DN (DOWN)
19
Botón MODE
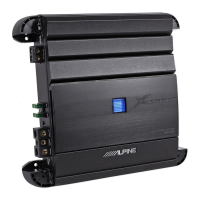
★ Remove the two hexagon screws and open the
top cover to operate the controls. When you
finish making adjustments, close the top cover
and fix it with the original hexagon screws.
★ Enlevez les deux vis à tête hexagonale et
ouvrez la porte pour utiliser les commandes.
Une fois terminés les réglages, fermez le
couvercle supérieur
et fixez-la avec les vis à tête
hexagonale d’origine.
★ Quitar los dos tornillos hexagonales y abrir la
cubierta superior
para utilizar los controles.
Cuando acabe los ajustes, cerrar la puerta y
fijarla con los tornillos hexagonales de origen.
★
★
16
19 18 17
OPERATION METHOD
SELECTING THE AMP ID
• When multiple amplifiers are connected to an
Amplifier LINK compatible Head Unit, each amp
must have its own, unique ID.
• With a single amplifier system, an AMP ID is not
necessary.
1. Press the MODE button until “ID” is displayed.
2. Select the AMP ID by pressing the DN/UP
button.
METHODE DE FONCTIONNEMENT
SELECTION D’UN IDENTIFIANT D’AMPLI
• Lorsque les amplificateurs multiples sont
connectés à une unité principale compatible
LINK amplificateur, chaque ampli doit avoir son
identifiant propre et unique.
•
Avec un système d’amplificateur unique, un
identifiant d’ampli n’est pas nécessaire.
1.
Appuyez sur la touche MODE jusqu’à ce que « ID »
s’affiche.
2. Sélectionnez l’identifiant d’ampli en appuyant sur
la touche DN/UP .
MÉTODO DE OPERACIÓN
SELECCIÓN DEL ID DEL AMPLIFICADOR
• Cuando estén conectados varios amplificadores
a una unidad principal compatible con al función
de enlace al amplificador (Amplifier-Link), cada
amplificador deberá tener su propio y único ID.
• Con un sistema de un solo amplificador, no será
necesario ajustar un ID de amplificador.
1. Pulse el botón MODE hasta que se visualice “ID”
.
2. Seleccione el ID del amplificador pulsando el
botón DN/UP .