- 4 - PT724A/PT724AE/DPT724A
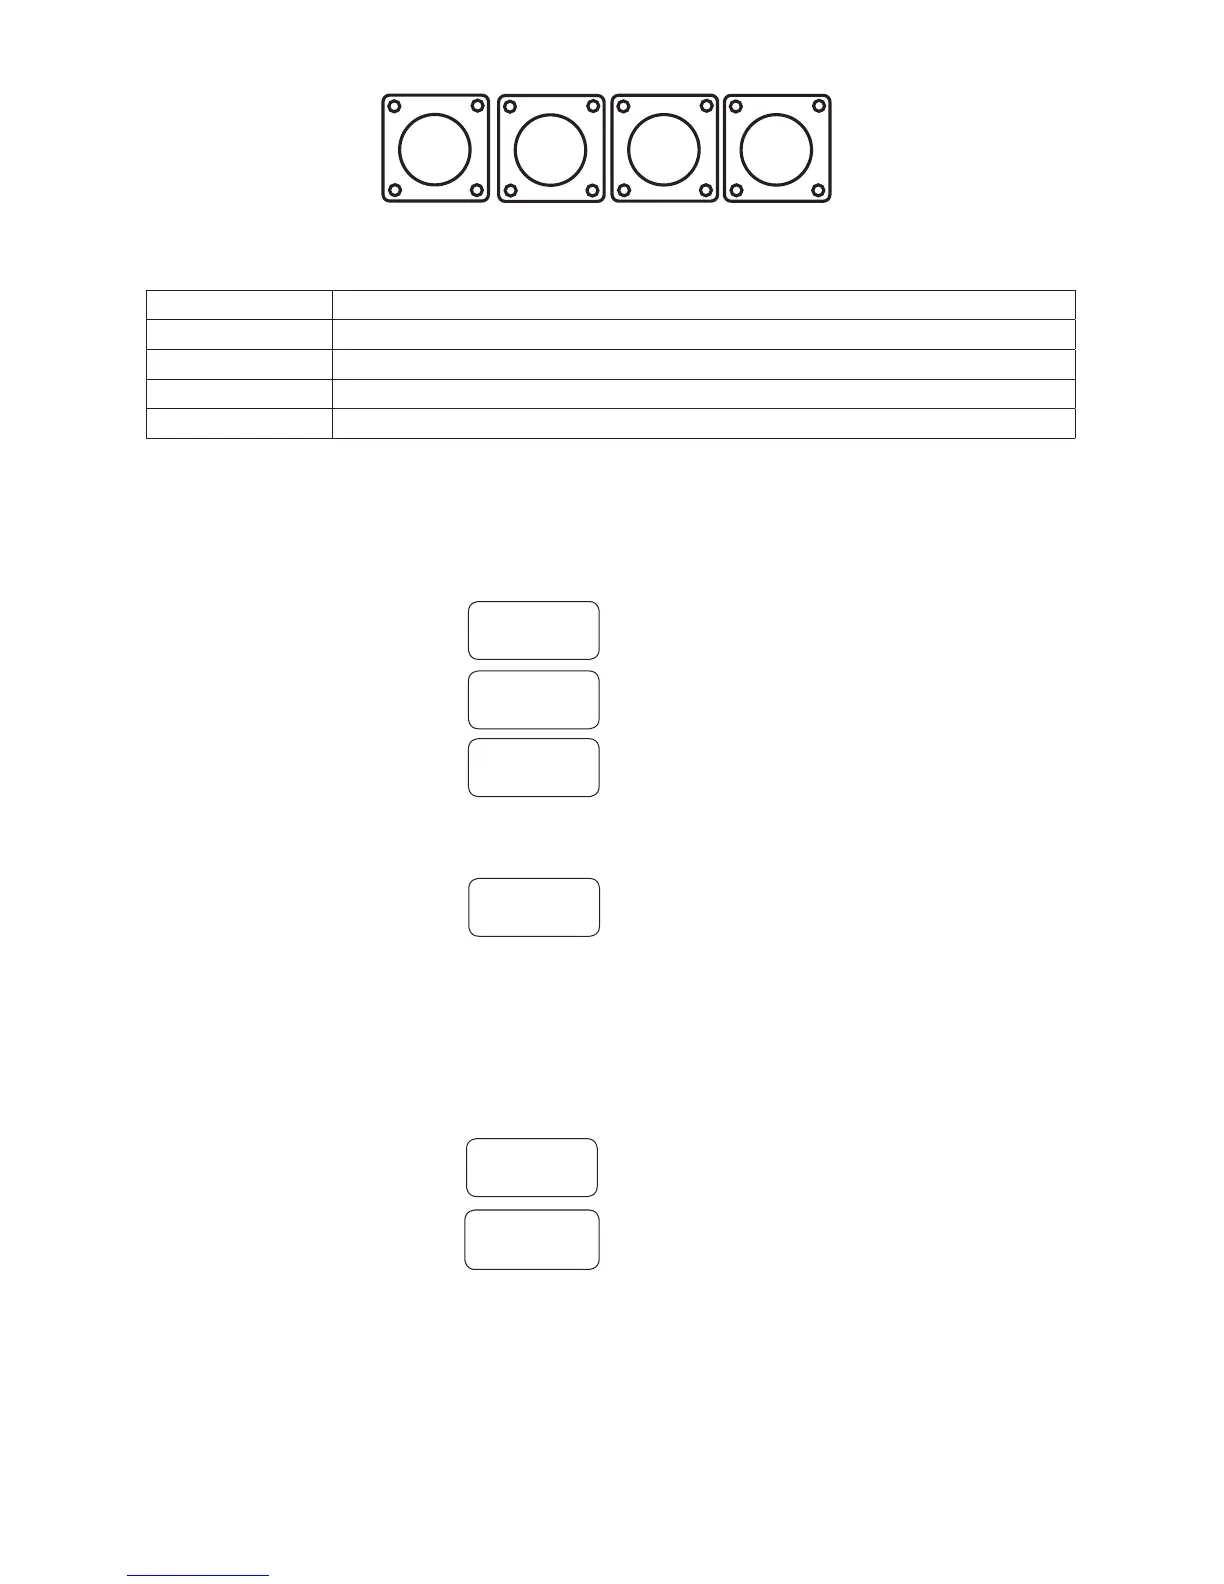
Push Button Layout:
Push Button Description Table:
Push Button Function/Description
SET Scrolling keys for programming. Escaping out of existing programming.
ENTER Accepts selections made to programming.
UP Scrolls through selections.
DOWN Scrolls through selections.
UP and DOWN keys can be used to select data entries. After scrolling to the correct entry, depress ENTER
to accept.
Programming Instructions:
A. Setting Clock/Calendar:
Upon initial power up will appear on display.
Depress SET. will appear on display.
Depress ENTER. will appear on display.
Enter the current date, day of week and time (military) by depressing UP and DWN to make
the selection then depress ENTER to accept.
Next select either DS (daylight savings mode) or ST (standard time mode) by depressing SET until
appears on display.
Depress ENTER to scroll until flashing cursor appears under DS (daylight savings mode) in display.
To change mode depress UP or DWN once ST (standard time mode) will appear in display.
Depress ENTER to accept correct selection.
Note: The flashing cursor denotes location of data entry selection to be made. If an entry was made in error
or requires changing, depress SET to backspace, make the correct selection and depress ENTER to accept
data and advance the cursor. To change or program clock/calendar simply repeat the steps above.
B. Setting Events:
Depress SET until appears on display.
Depress ENTER. will appear on display.
Depress ENTER until the flashing cursor appears under OFF in display. Now select type of event required,
by scrolling using the UP and DWN push buttons until either:
ON - Relay ON (latching mode), OFF - Relay OFF (latching mode), or PL - Relay Pulse ( momentary).
appears in display and depressing ENTER will make selection.
When selecting the pulse mode PL01 will appear in the display. It is now necessary to assign the length of
time (duration of relay activation). The pulse can range in length from 1 second minimum to 15 seconds
maximum and is selected by using UP or DWN push buttons, then depressing ENTER to accept.
Note: If pulse duration is not selected relay output defaults to 1 second.
SET
ENTER
UP
DWN
RLY OFF
SU 01:01
ENTER to
SET TIME
01/01/01
SU/01:01
ENTER to
SET BK
>
#01 OFF
SU 00:00
ENTER to
SET EVENT