Page 3
7
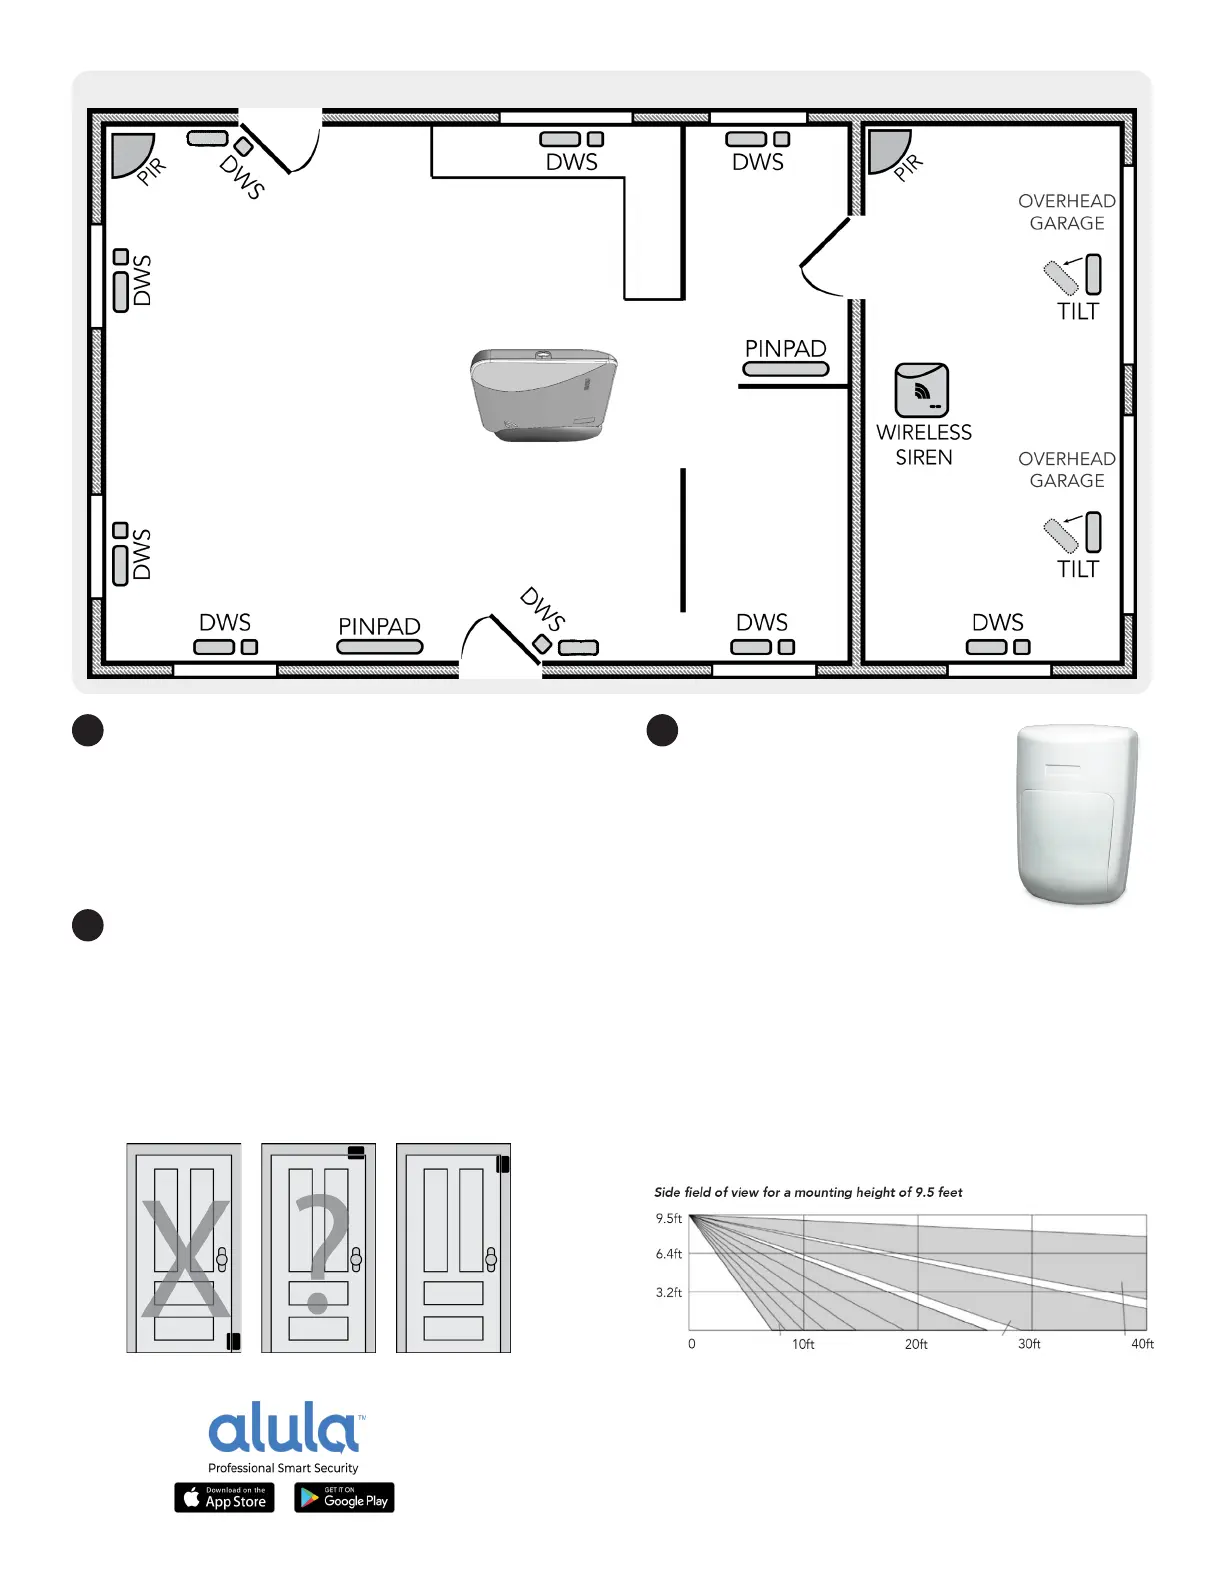
Install the sensors in the desired locaons
around the premise. Figure E shows common
uses. All intrusion sensors are already setup to
communicate with your system. PRO TIP: Choose a
central locaon for the Connect+ Hub to maximize
sensor range.
8
Install the door window sensors by removing
the protecve backing from the 3M VHB
®
tape,
pressing the sensor halves in place lightly. Ensure
the space between the sensor and the magnet
is less than 3/4”. When sased with the door
window sensor placement, press and hold each
secon in posion for 20 seconds. See Figure F.
Figure E - Typical Burglary Protection Installation
OK BESTWRONG
9
Install the moon sensors on
the desired wall locaons using the
included 3M VHB tape. If installed
in a corner, apply VHB to the 45°
bevels on the back of the housing.
For a at wall mount, apply VHB
to the back of the housing. VHB is
permanent on painted wallboard,
clean and dry the area before applicaon. Place
moon sensor between 7.5’ and 9.5’ from the oor.
This is the correct height range to avoid false alarms
created by pet movement. Press and hold sensor
in place for 20 seconds. Refer to the installaon
guide provided with your sensor to complete your
installaon. Note the sensor is already enrolled to
your Connect+ Hub.
Figure F - Door Window Sensor Placement
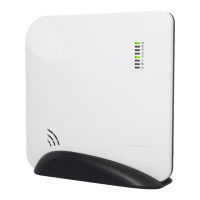
Bottom
Connect+