LP9 Suspended Installation Guide 6 of 11 102-000026 - IG090320-A.0
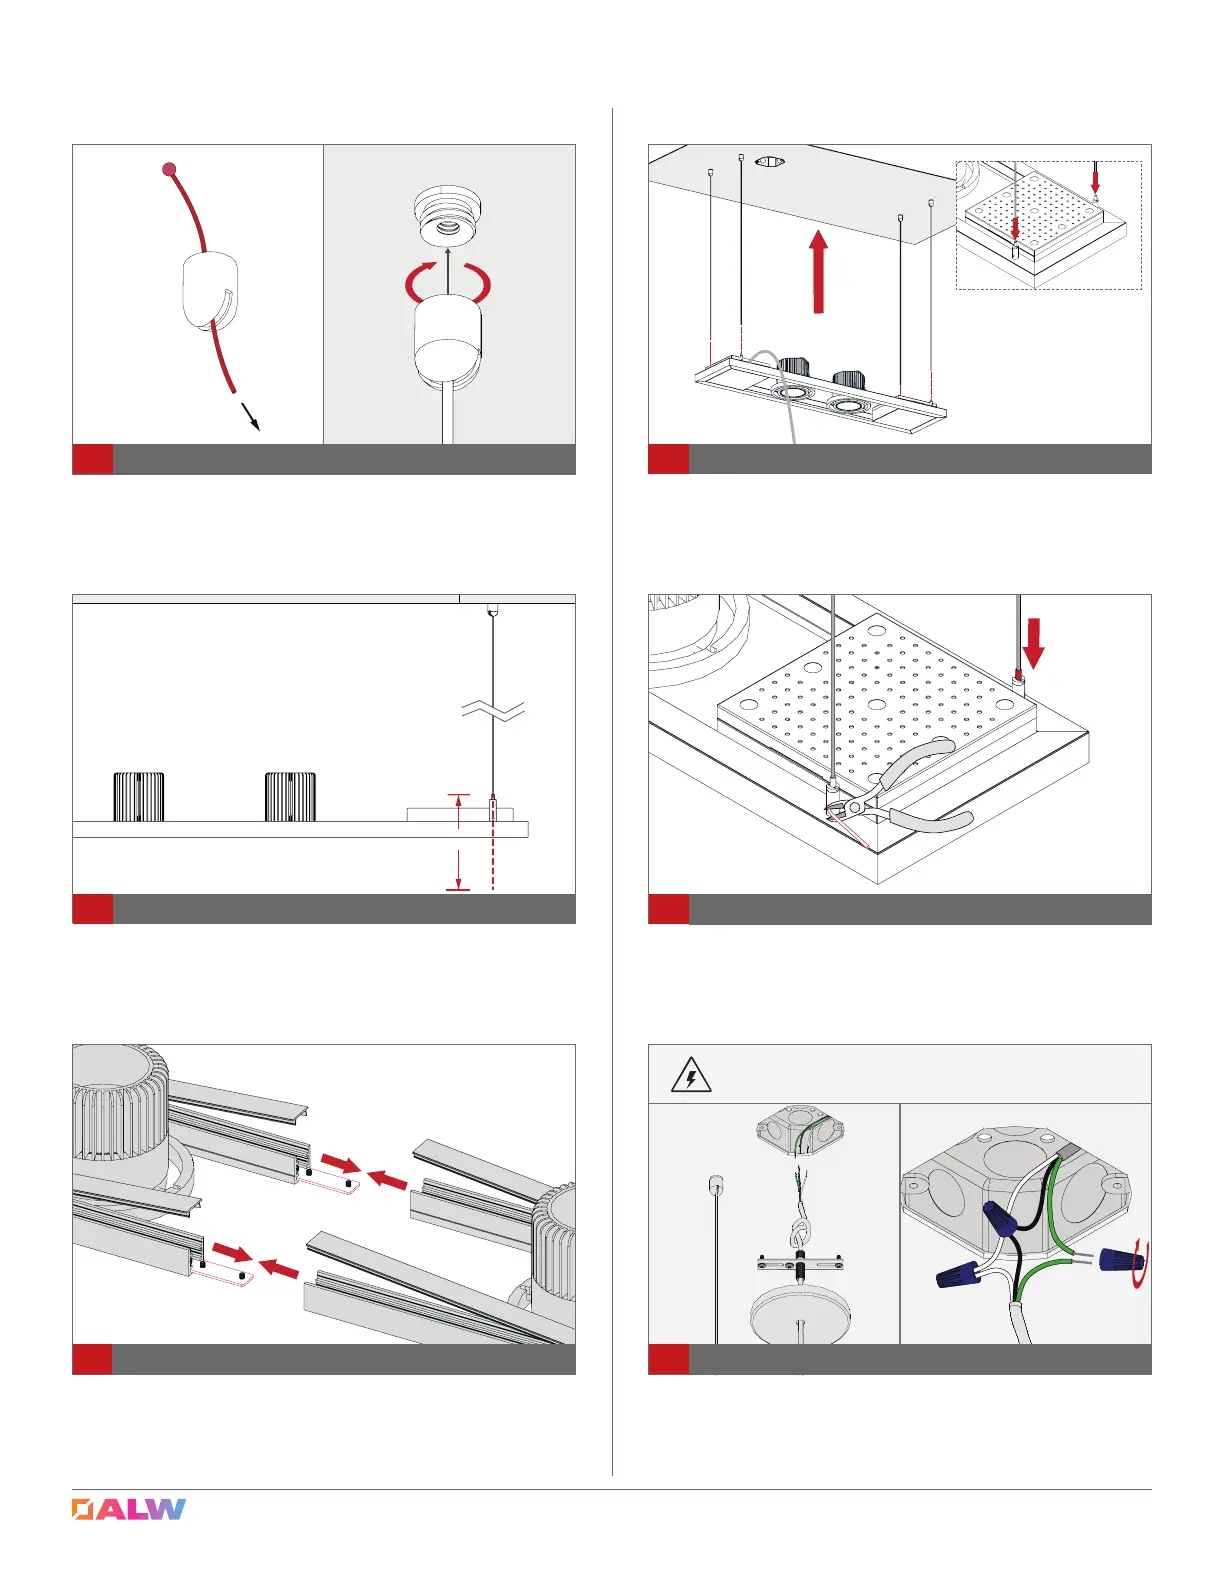
Bring wiring and canopy assembly to J-box. Refer to page
10 and nal/record drawing to make wiring connections.
CAUTION: High Voltage Wire — Ensure Power is OFF prior
to connecting wiring.
9
Connect High Voltage Wiring
Route Suspension Cable through Suspension Bullet. Ball
end should sit in Suspension Bullet. Screw Suspension Bullet
to Ceiling Fitting.
4
Route Suspension Cable and Attach to Ceiling
Installation: Standard Suspension
(Cont.)
6"
Use wire snips or shears to cut Suspension Cables to
desired length. Keep an extra 6 inches of cable for
adjustments.
5
Cut Suspension Cables to Desired Length
8
Adjust Suspension Cable Length
Adjust xture until it is level and at desired height. Depress
top of Cable Gripper to lower xture. Keep xture
supported while lowering. With xture level and at desired
height, cut excess cable extending from cable gripper.
Raise xture to Suspension Cables, and attach xture by
inserting Suspension Cable through Cable Grippers.
7
Raise Fixture to Suspension Cables
6
Connecting Multiple Sections (If Necessary)
Please see steps 12 through 20 for directions on
connecting multiple sections. See nal/ record drawing
for more details. Join sections as noted (AA-AA, BB-BB,
etc.)
SHOCK HAZARD! May result in serious injury or death. Turn
power OFF at circuit breaker prior to installation or servicing.