8
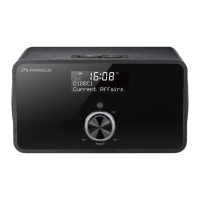
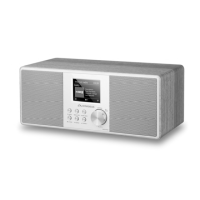
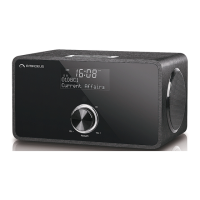
Radio
Radio
Radio
Radio Functions
Functions
Functions
Functions
Press STANDBY/MODE
STANDBY/MODE
STANDBY/MODE
STANDBY/MODE on the unit or MODE
MODE
MODE
MODE on the remote control to swap among
the modes below:
DAB
DAB
DAB
DAB � FM
FM
FM
FM � Bluetooth
Bluetooth
Bluetooth
Bluetooth � Aux-in
Aux-in
Aux-in
Aux-in �
�
�
� DAB
DAB
DAB
DAB �
�
�
� …
…
…
…
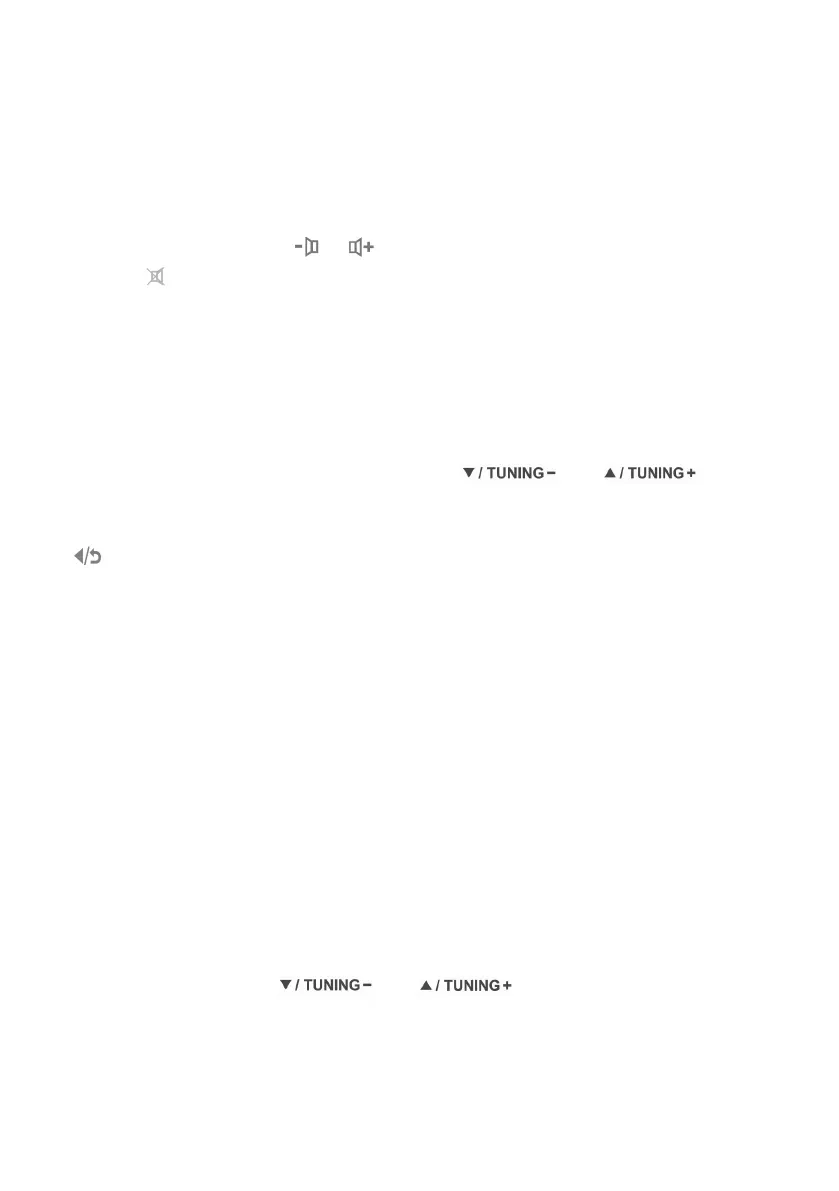
Rotate the reel or press / on the remote control to adjust volume.
Press on the remote control to mute the sound, press it again to resume
the sound.
Main
Main
Main
Main Menu
Menu
Menu
Menu and
and
and
and Settings
Settings
Settings
Settings
At any operation modes, you press and hold MENU/INFO
MENU/INFO
MENU/INFO
MENU/INFO on the unit or press
MENU
MENU
MENU
MENU on the remote control to do configurations. Rotate the reel or Press FAV
list/Tune- or FAV/Tune+ on the unit or press or on the
remote control to choose the System Settings and submenu , then press OK
OK
OK
OK on
the unit or the remote control to confirm. Press MENU/INFO
MENU/INFO
MENU/INFO
MENU/INFO or press and hold
on the remote control to return the last menu or submenu.
System
System
System
System Settings
Settings
Settings
Settings
Time
Time
Time
Time /Date
/Date
/Date
/Date
• Set Time/Date: hour/minute / date /month/year
• Set 12/24 hour - 12 | 24 Hour
• Set date format - DD - MM - YYYY | MM - DD-YYYY .
• Auto update - Update from Any | Update from D AB | Update from FM | No
Update
Set
Set
Set
Set Time/date
Time/date
Time/date
Time/date : This option is for manually setting the time and date
displayed. hour/minute / date /month/year part will active and flash
orderly, you could rotate the Reel or press FAV list/Tune- or FAV/Tune+ on
the unit or press or to choose the digit and
press OK to confirm your setting step by step. .
Set
Set
Set
Set 12/24
12/24
12/24
12/24 hour:
hour:
hour:
hour: Change the display of time in 12-hour mode or 24-hour
mode. Press OK
OK
OK
OK on the unit or the remote control to confirm setting.
 Loading...