5
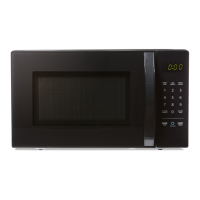
5. HIGH-VOLTAGE
TRANSFORMER REMOVAL
• Discharge the high-
• Disconnect the leadwire from magnetron,
high-
• Remove the screw holding the high-voltage
• Remove the high-
6. ORIFICE ASSEMBLY REMOVAL
• Discharge the high-
• Disconnect the leadwire from fan motor, noise
-
•
assembly to the oven cavity and remove the
high-
•
• Remove the two screws holding the fan motor
7. HIGH-VOLTAGE CAPACITOR
AND DIODE REMOVAL
• Discharge the high-
• Disconnect the leadwire from fan motor, noise
-
•
to the oven cavity and remove the high-
• Remove the screw holding the high-voltage
8. MAGNETRON REMOVAL
• Disconnect the leadwire from the high-voltage
transformer and high-
•
• Carefully remove the mounting screws holding
• Remove the magnetron until the tube is clear
NOTE:
• When removing the magnetron, make sure its
dome does not hit any adjacent parts to avoid
• When replacing the magnetron, be sure to
install the magnetron gasket in the correct
position
• After replacing the magnetron, check for
microwave leakage with a survey meter around
below the limit of 5 mW/cm
2
• Make sure that the gasket is rigidly
attached to the magnetron. To prevent
microwave leakage, tighten the mounting
screws properly, making sure there is no gap
Waveguide
Magnetron
Gasket
Magnetron
Dome
Waveguide
Bracket
Magnetron
9. REMOVING THE
TURNTABLE MOTOR
•
•
•
•
• The turntable base cover is easily removed by
• Disconnect the leadwire from the turntable
• Remove the screw securing the turntable
• After replacing the motor, rotate the removed
• Fit the turntable motor cover’s projecting part
NOTE:
• Remove the wire lead from the turntable
• Be sure to grasp the connector, not the wires,
Remove turntable motor:
Wire Leads
Turntable Motor
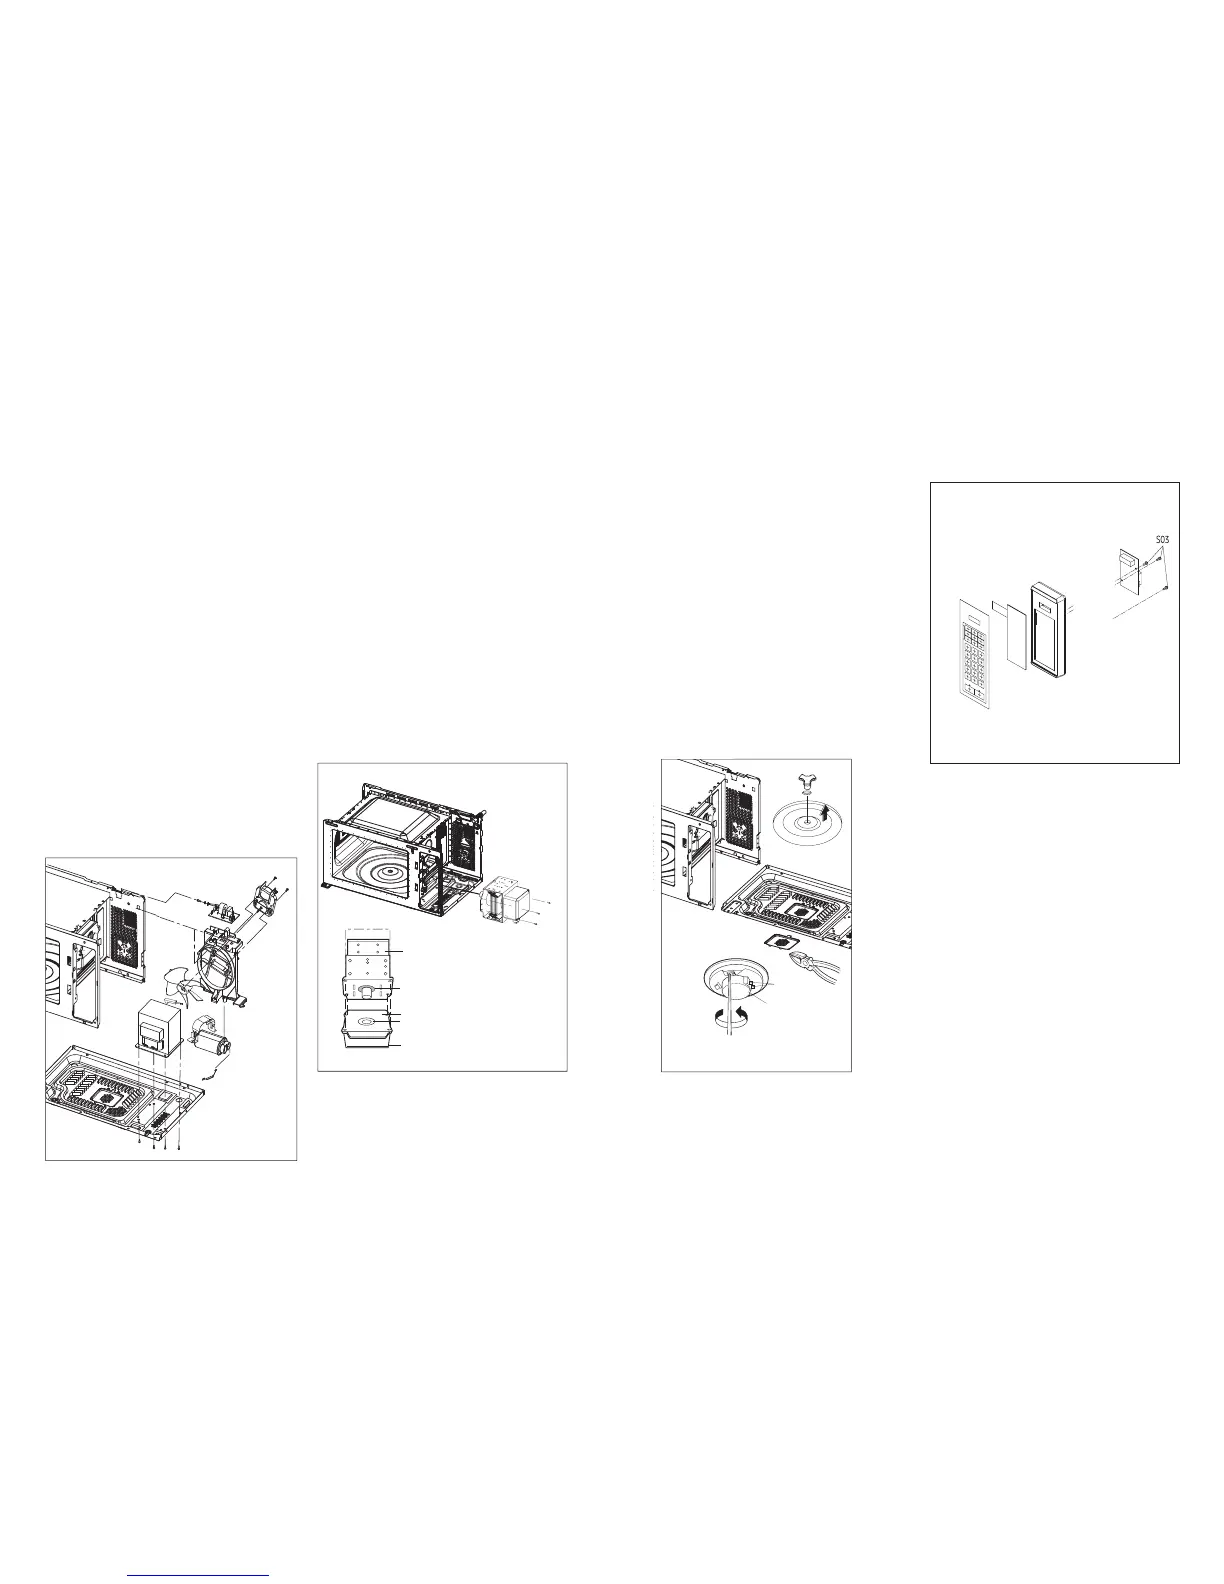
10. PCB ASSEMBLY REMOVAL
• Remove the control panel assembly from
• Remove the screws that hold the PCB to the
•
 Loading...