When the unit is plugged into a working outlet, and the ON button is pushed,
the LCD will display the CLOCK.
To turn the unit on, press the ON / OFF button.
1. The first time the unit is turned on, it will work in the AUTO MODE.
c. If the room is below 68
F, the unit will operate in the HEAT MODE.
(This is for models with the HEAT FUNCTION)
2. The unit will re-start at the last setting. At re-start, turn ON time is cancelled.
3. Press the ON / OFF button to stop the unit. The settings will be kept.
The pre-set turn OFF time will be cancelled.
If you want to change the set temperature, press TEMP UP or TEMP DOWN.
The three digit display will indicate the set temperature.
The temperature may be set (UP or DOWN) from 62
Press the Mode button to select required working mode: auto–>cooling–> fan–> heating–> etc., (Heating
is only available for cooling & heating models), the corresponding sign of selected mode displays on the
Press the Speed button to selected the desired Fan speed: High or Low. This function cannot be selected
when it is in auto mode. On High speed, the fan turns faster, and on Low speed, the fan turns slower.
The selected speed will be active 2 seconds after the button is pressed.
For all of the following TIMER programming, proceed firstly with these standard steps:
• Press the Timer button briefly; the 2 left digits of the 4 digits on the LCD display are flashing.
• Press Temp. Up or Temp. Down to adjust the hour,
• Press the Timer button briefly again, the 2 right digits of the 4 digits are flashing.
• Press Temp. Up or Temp. Down to adjust the minutes of the clock in intervals of 5 minutes.
The timer is set. After 8 seconds the time display returns.
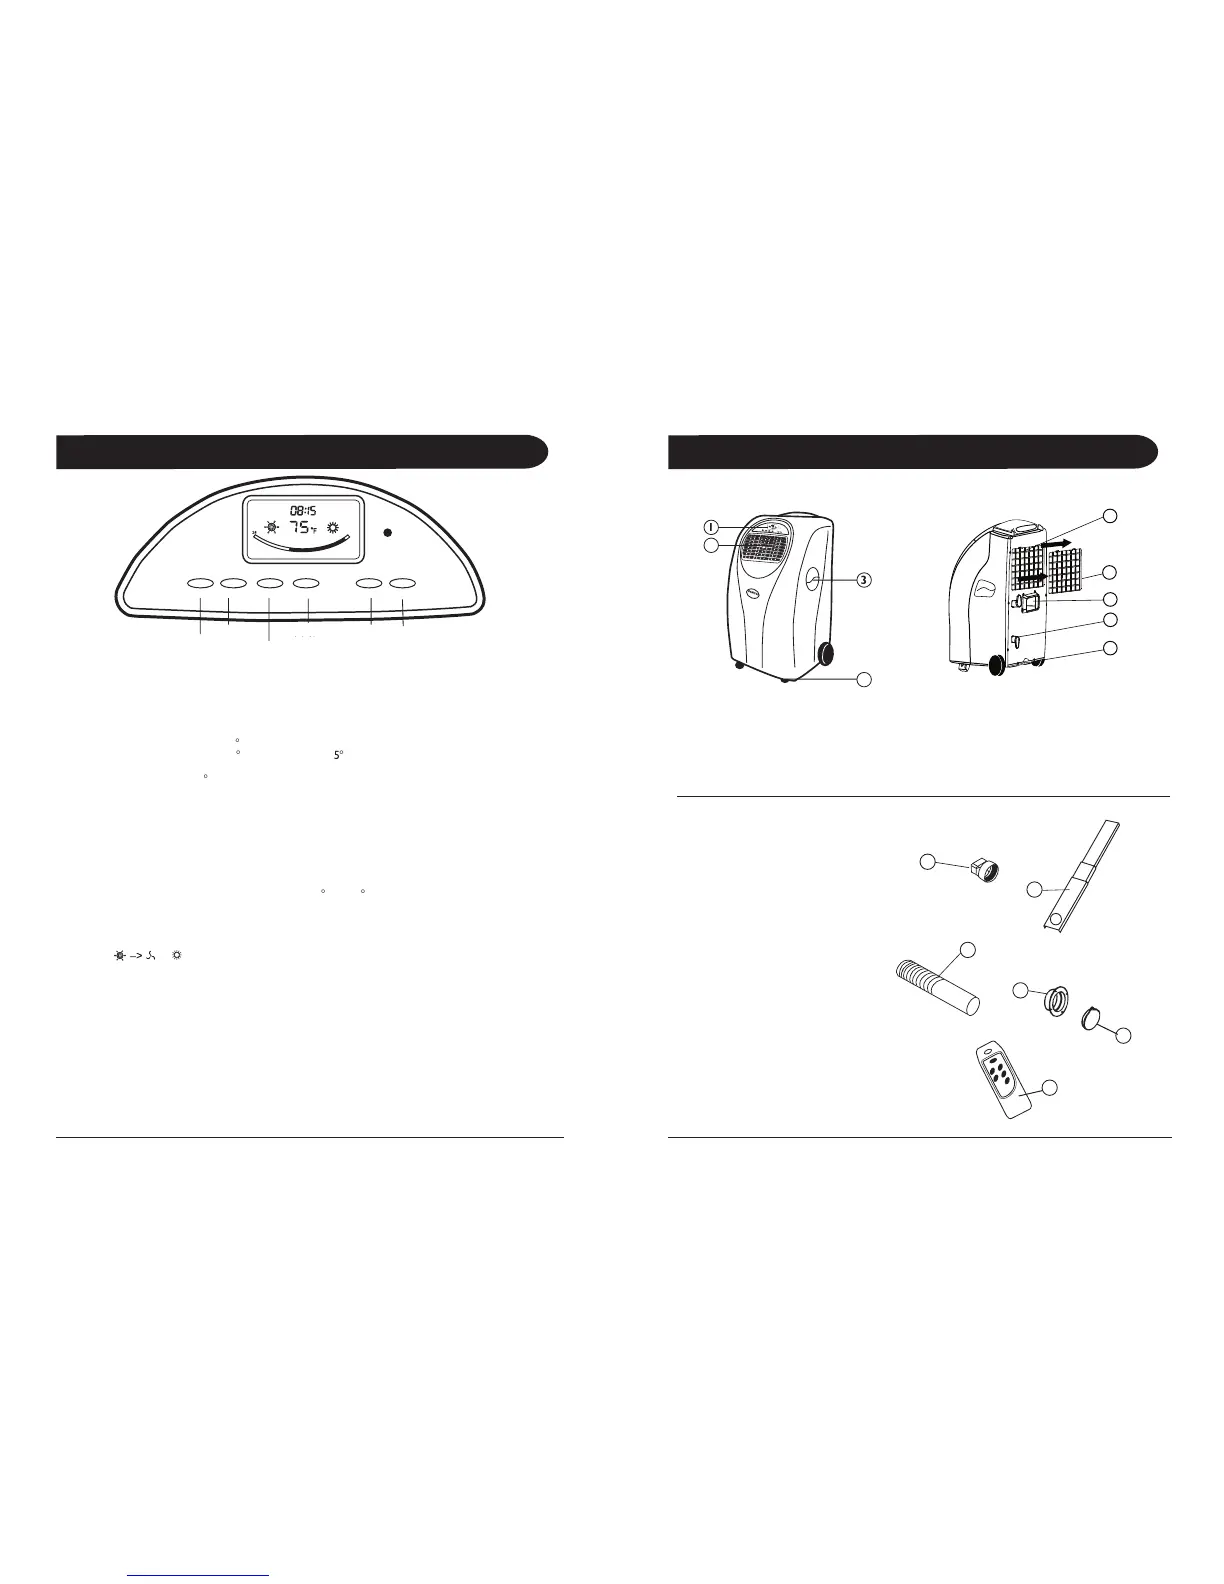
9. Water Stopper (Rubber Plug Inside)
Mode Temp. Up Temp. Down Speed
Fan Speed:
High / Low
Fan Speed:
10. Adaptor - for insertion over the
hose and into the back of the
14. Cap for Round Connector
a. If the room is warmer than 75
F the unit will operate in the COOLING MODE.
b. If the room is warmer than 68
F, the unit will operate in