4
1 2 3 4
STAND
BY
READY
# ITEM NAME ITEM DESCRIPTION
1 Cont/Rep Continuous or Repeating Modes
2 Presets
3 Power 0.5–7.0 W
4 Interval 20 ms–9.9 sec, increments of 10 ms
5 Duration 20 ms–9.9 sec, increments of 10 ms
6 Settings Language Selection, Aiming Beam, & Volume Settings
7 Standby/Ready Standby or Ready Button
8 Save Save Button
8
2
3
4
5
76
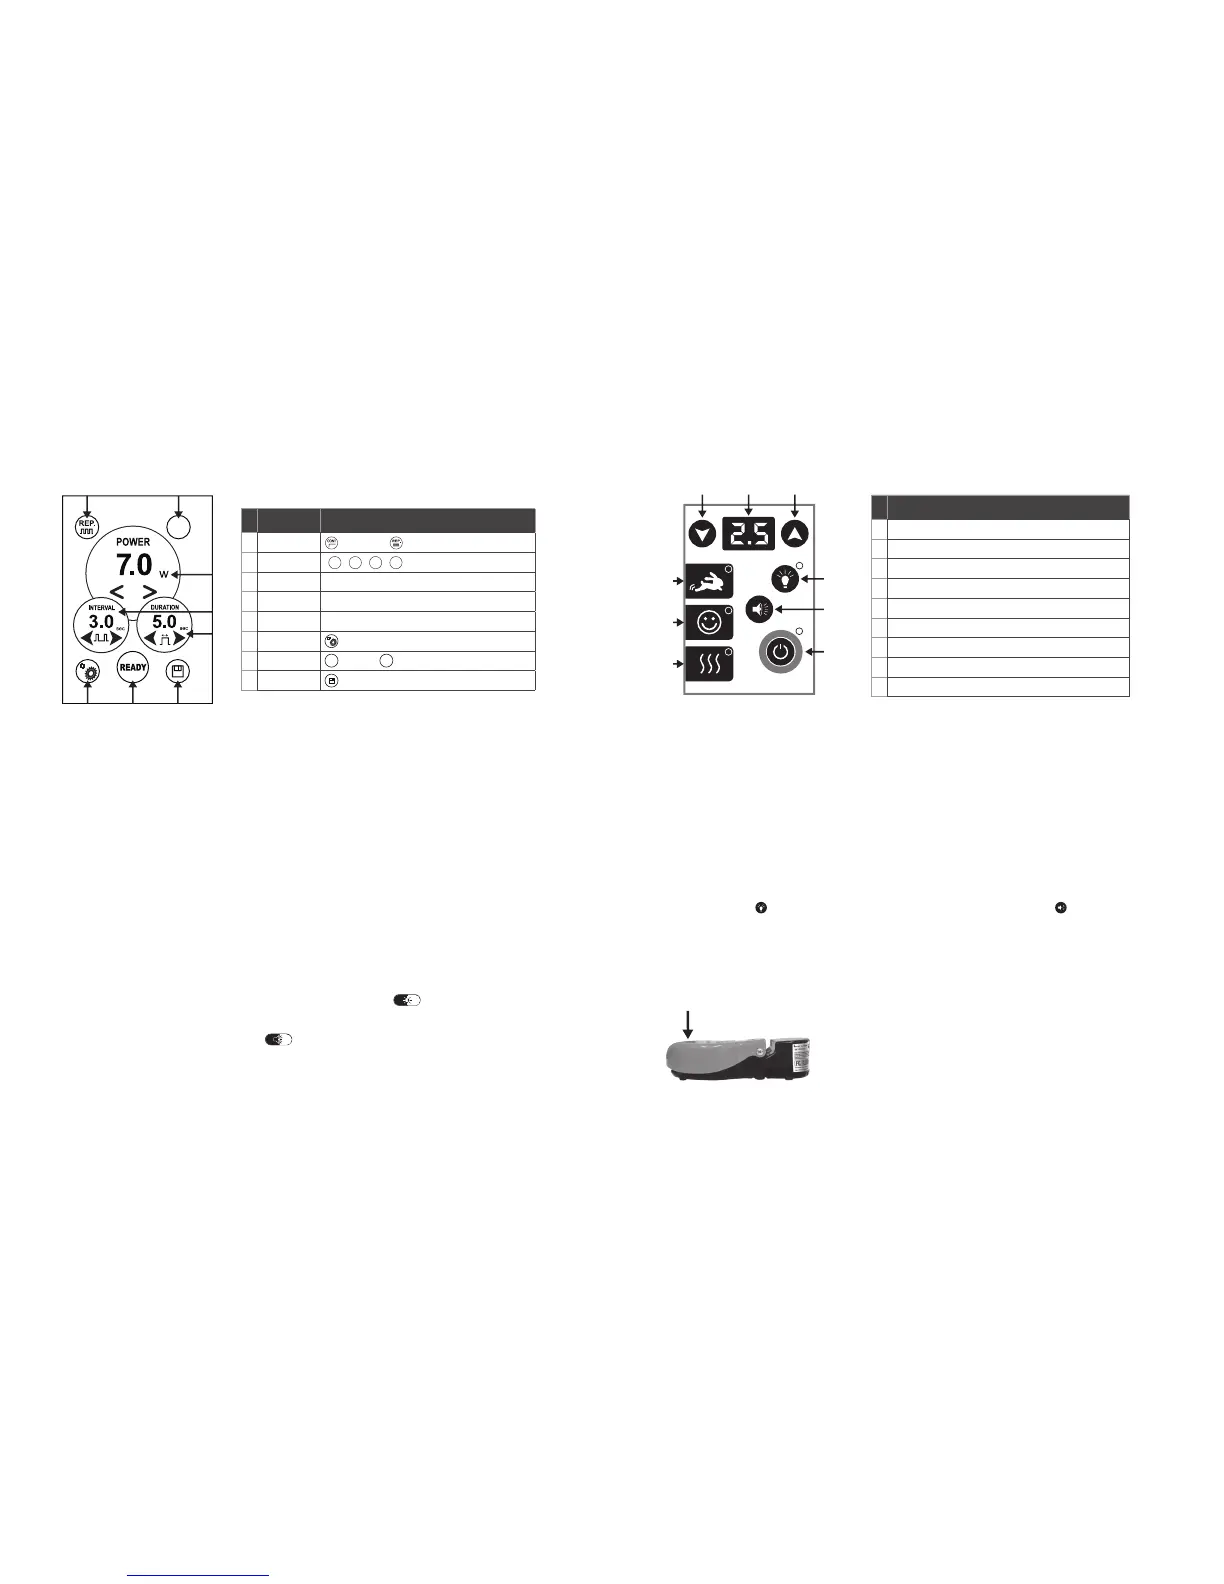
1
# ITEM NAME & DESCRIPTION
1 Diffusion: Aphthous Ulcers, Pulpotomies
2 Comfort Mode: Gingivectomies, Exposing Implants/Brackets/Teeth
3 Speed Mode: Surgery, Troughing, Frenectomies
4 Power Down
5 Power Display
6 Power Up
7 Aiming Beam Intensity: Off / Low / High
8 Volume Setting: Off / Low / High
9 Standby/Ready
1
9
2
8
5 64
3
7
Page 14 Page 15
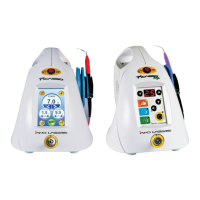
PICASSO CONTROL PANEL
Control Panel UI
Programming Presets
STEP 1: Select desired type of laser operation mode: Continuous or Repeat.
Continuous Mode: In this mode, INTERVAL and DURATION are not available. POWER is able to be selected and saved as a preset.
Repeat Mode: In this mode, all the parameters (INTERVAL, DURATION, and POWER) can be adjusted and saved as a preset. Use the
arrow buttons to select desired interval and duration from 20 ms to 9.9 sec.
STEP 2: Select desired preset 1–4.
STEP 3: POWER. Select desired power settings 0.5–7 W using the arrow buttons.
STEP 4: INTERVAL / DURATION. Select desired interval and duration, available only on REP mode.
STEP 5: SAVE. Save desired settings by pushing the SAVE button for 2 seconds until the beep is heard.
STEP 6: READY. Push STANDBY button to put unit into READY mode.
Press the footswitch to fire the laser.
STEP 7: Repeat steps 1–6 to program additional presets.
Language Selection
English is the default language. Nine other languages are available: Italian / French / Spanish / Portuguese / Korean / Japanese /
Russian / Chinese / German
To select another language, press the SETTINGS button. The system will then enter into the language selection display. Press desired
language for two seconds, and the system will restart in the chosen language.
AIMING BEAM brightness settings
To select the brightness for aiming beam, first press the SETTINGS button. Then press the button to change the brightness
settings. There are five levels for Picasso: Off / Weakest / Weak / Strong / Strongest.
VOLUME settings
To select the volume, press the SETTINGS button. Then press the button to change the volume settings. There are five levels:
Mute / Quiet / Normal / Loud / Very Loud.
Custom Presets
The user is able to select POWER, INTERVAL, DURATION, CONT, or REP modes according to the operation. Pressing the SAVE button
stores the selected parameters to PRESETS 1–4. The data is saved when the confirmation beep sound is heard. User can select the
desired mode by selecting number 1–4.
PICASSO LITE CONTROL PANEL
Control Panel UI
Setting Picasso Lite
STEP 1: Insert tips on the handpiece
STEP 2: Select Mode: Speed / Comfort / Diffusion
STEP 3: Select STANDBY/READY button and step on the foot control to activate the laser.
Programming Presets
Picasso Lite features three fully customizable presets:
Speed Mode: 1.8 W Continuous Mode
Comfort Mode: 1.8 W Gated (Repeat) Mode; 30 ms on/off
Diffusion Mode: 0.5 W Continuous Mode
Saving Presets
Each of the three default presets can be customized for power level, aiming beam intensity, and speaker volume. To change a preset
from its default value, adjust power up or down to the desired level (0.5 W is the minimum setting). To adjust the brightness of the
aiming beam, press the button; there are three levels: Off/Low/High. To adjust the volume, press the button; there are three
levels: Off/Low/High. Next, press and hold the desired preset button for four seconds until the power display cycles off and on. The
new settings for the given preset have been saved.
Important: the unit only accepts one input at a time. It will perform based on the most recent input.
WIRELESS FOOT CONTROL
Instruction for Use
STEP 1: Place wireless foot control on the floor.
STEP 2: To open the cover, apply pressure to the right side of closed foot switch with your foot.
STEP 3: To operate the wireless foot control, apply pressure to enclosed foot switch with your foot. The green LED Indicator light glows
to indicate that the foot switch is operating when you step on the pedal to fire laser.
 Loading...