Do you have a question about the American Standard Berwick Series and is the answer not in the manual?
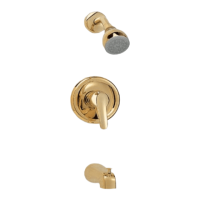
Apply threadlocker to diverter insert threads, then thread insert into installation surface. Seat rubber ring and thread set screw to lock spout.
Thread inserts into side valves, ensuring contact with the installation surface. Tighten coupling into tee for non-hand shower products.
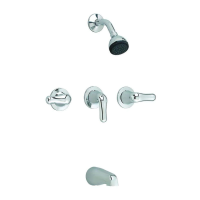
Align adapter on valve stem with spline facing up, secure with set screw. Push lever handle assembly onto deck adapter.
Install spray escutcheon with rubber ring. Connect hose to tee nipple with seal washer. Connect shower hose through holder and escutcheon.
Rinse product with clear water and dry with a soft cotton cloth. Avoid soaps, acid, polish, abrasives, or harsh cleaners.
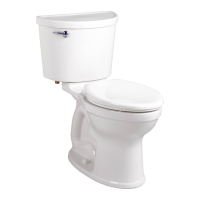
| Color Options | White, Bone, Linen |
|---|---|
| Product Type | Toilet |
| Handle Style | Lever |
| ADA Compliant | Yes |
| Material | Vitreous China |
| Bowl Shape | Elongated |
| Rough-In Size | 12 inches |
| Flush Type | Gravity Flush |
| Seat Height | 16.5 inches |