Do you have a question about the American Standard Berwick and is the answer not in the manual?
Lists necessary tools for proper installation of the trim kit.
Provides critical dimensions for precise positioning relative to the wall.
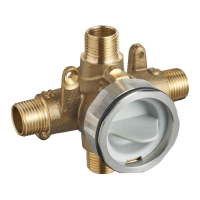
Details the initial steps for installing the main cartridge into the valve body.
Step-by-step guide for fitting the valve trim on standard walls.
Instructions for installing the valve trim on thin walls, noting plaster guard retention.
Guides the installation of the faucet handle and its adapter onto the valve stem.
Explains how to set the maximum hot water temperature for safety and comfort.
Steps to diagnose and fix valve leaks when water supply is shut off.
Detailed instructions for removing and replacing the internal cartridge.
Information on installing a specialized cartridge for back-to-back configurations.
Guidelines for cleaning the product with clear water and a soft cloth.
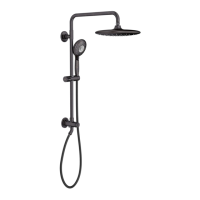
Lists items that need to be purchased separately for installation and options.
Provides toll-free phone numbers for customer assistance and questions.
| Brand | American Standard |
|---|---|
| Collection | Berwick |
| Material | Vitreous China |
| Rough-In Size | 12 inches |
| Color Options | White, Linen, Bone |