www.amp-research.com
6/13
IM77104 rev 07.02.15
A M P R E S E A R C H P O W E R S T E P
T M
– F O R D S u p e r D u t y
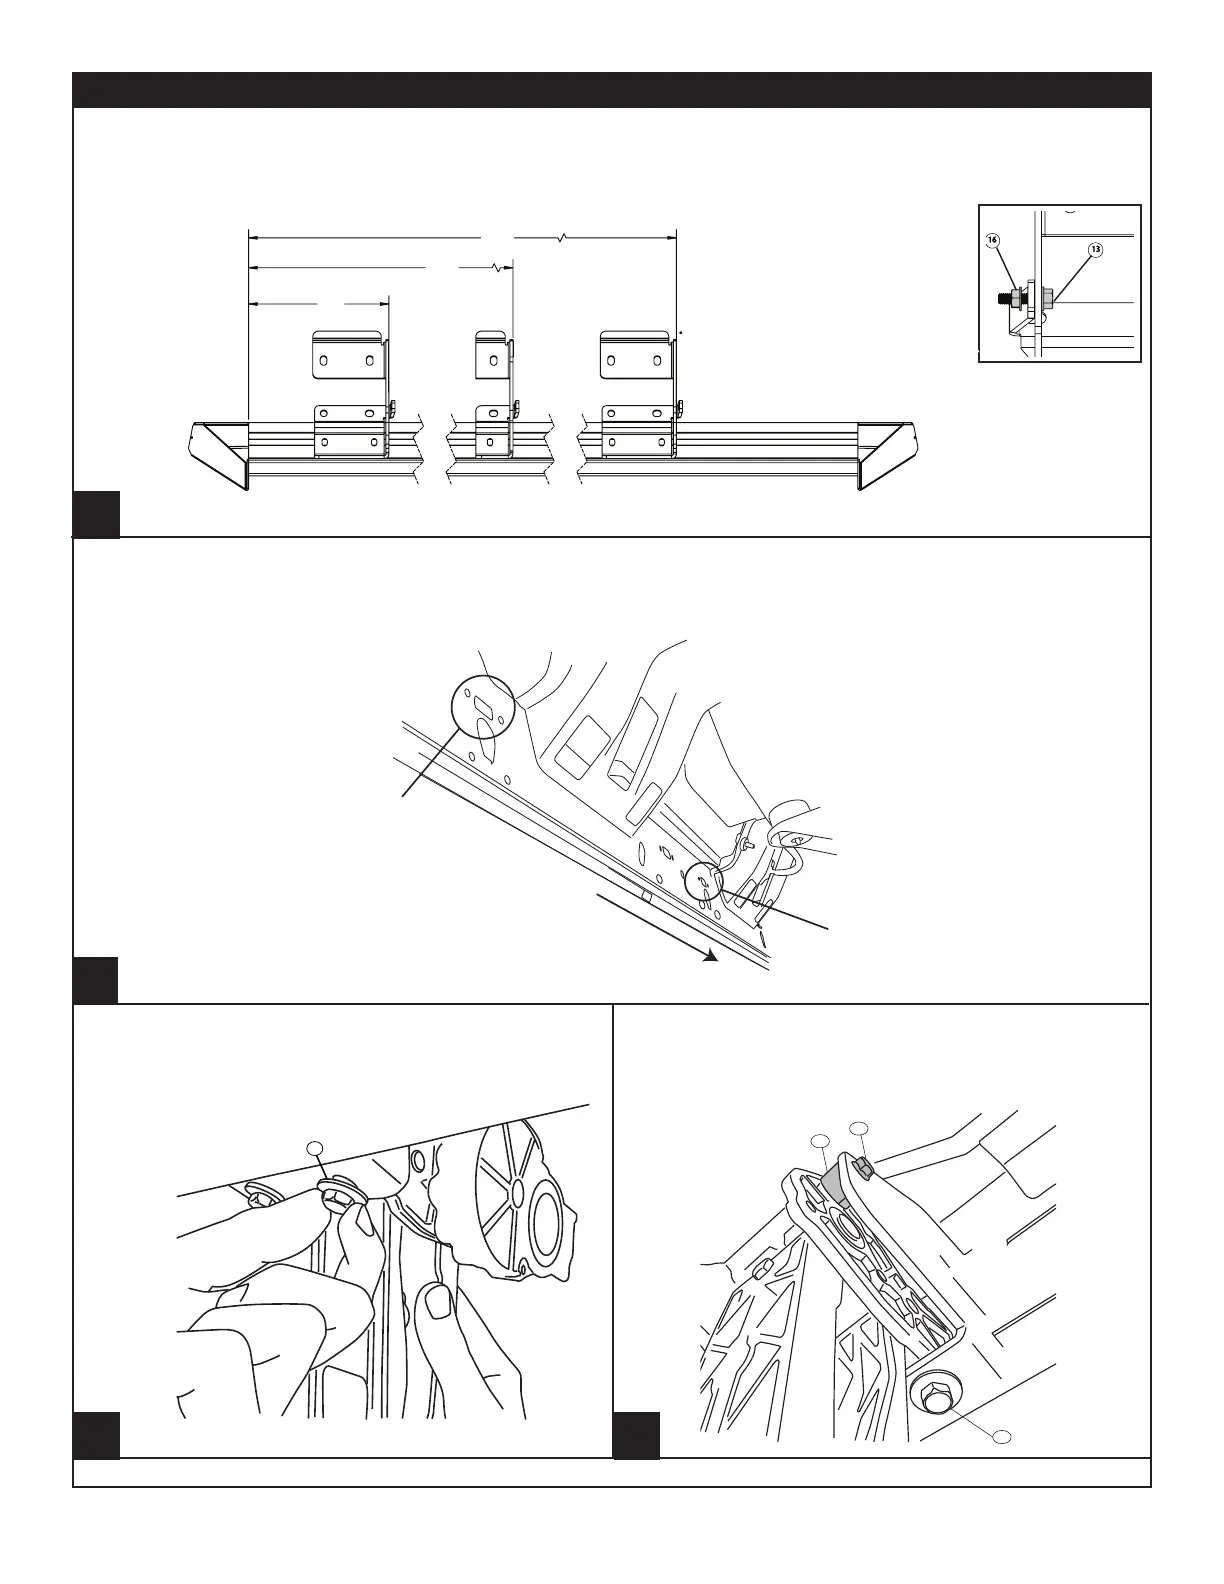
Insert and position Carriage bolts (17) into slot on rail (4). Insert from either end of rail. Using Flange Nuts
(18) provided assemble Brackets 2x (27) & 1x (28) onto the rail (4). Next install Flange Bolt (15) and Flange
Nut (18) onto bracket tab. Driver side shown. Dimensions shown are for reference. Do not tighten this will
allow for rail adjustment when mounted onto vehicle.
Set rail up into position. Starting with the rear bracket work towards the two front brackets. Insert U nuts
(21) into position. Use provided button head bolts (9) with washers (10) and Flange Nut (11) on lower set of
mount holes and captive washer bolt(8) on upper set of holes of brackets. Snug to body
Thread supplied bolts 2x (8) into Front Drive Linkage.
Repeat step for Rear Idler Linkage. Do not tighten.
Note: Badge on rail sits towards the rear of the vehicle!
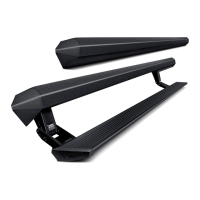
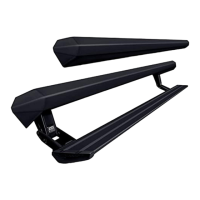
DRIVING ASSEMBLY
IDLER
ASSEMBLY
FRONT
Driver Side
Install provided spacer (17) and M6 bolt (12) into
upper mount as shown on both the Drive and Idler
linkages. Do not tighten.
1
2
3 4