ADM, HBOT & Sub Aspida
User Manual Int. Approved
Document ref: PSA-811-14 June 2017 Page 27 of 43
Copyright © 2017 Analox Ltd. All Rights Reserved.
Commercial in Confidence
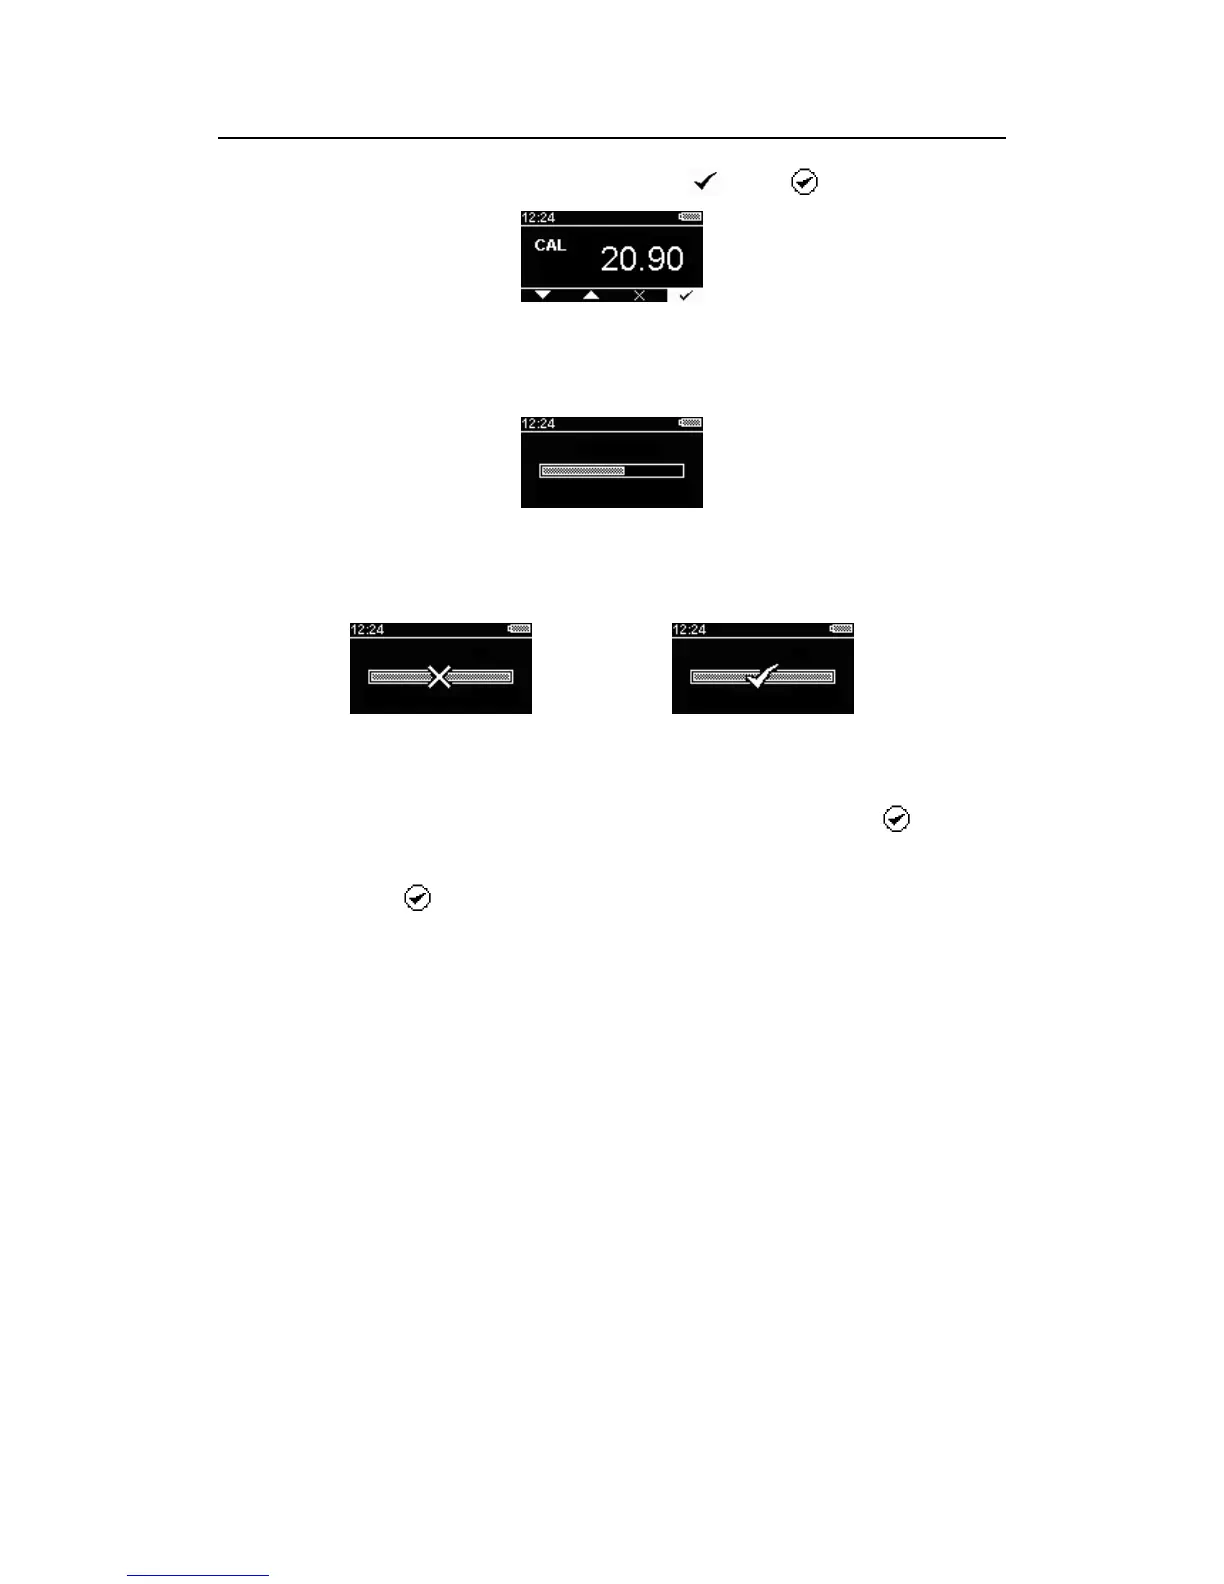
4) When correctly set, confirm the calibration using the icon and . button.
Figure 12 – Calibration data entry screen (ready to confirm calibration)
5) The unit will now sample the ambient air for 30 seconds to detect a stable gas reading. The
progress of the sampling will be displayed on screen as shown below.
Figure 13 - Calibration progress
6) When the sampling process has complete, an audible alert will be given and a calibration
confirmation screen will be shown as below.
Figure 14 - Calibration failed Figure 15 - Calibration passed
7) If the calibration passed then the tick icon will be shown. The new calibration information will
then be stored to the device memory and the device is ready for use. Press the button to
confirm the operation and return to the main screen.
8) If a stable oxygen reading cannot be detected then the confirmation screen will show a cross
icon. Press the button to acknowledge the failed calibration. A failed calibration will leave
the previous gas calibration unchanged. To attempt the calibration again repeat steps 3 – 8.
9) Once calibrated successfully, the calibration due date for the sensor will be reset.
 Loading...