7
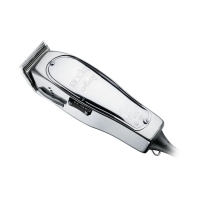
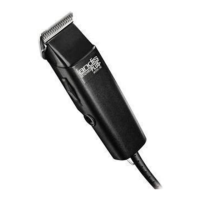
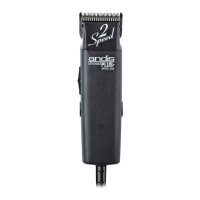
CLIPPER BLADE ADJUSTMENT
Your Andis adjustable clipper blade set is easy to adjust. From coarse to fine cuts,
all that is needed is a flick of the adjustment lever with your thumb. In the upright
position, the blades are set for the finest, or shortest cuts.
USER MAINTENANCE
If clipper is not going to be used for a long period of time, store in a safe, cool, dry
place. Do not wrap adapter cord tightly around clipper. Do not hang the clipper by
the adapter cord.
The internal mechanism of your clipper has been permanently lubricated at the
factory. Other than the recommended maintenance described in this manual, no
other maintenance should be performed, except by Andis Company or an Andis
authorized service station. To contact Andis directly, please call our Customer
Support Team at 1-800-558-9441 or email us at support@andisco.com.
REPLACEMENT (REMOVAL) OF BLADE SET
NOTE: If you are familiar with replacing and adjusting Andis ML clipper blades,
please read the following blade replacement instructions. If you are not familiar with
this procedure, please return clipper to your supplier or an Andis authorized service
station for blade replacement and adjustment.
UNPLUG CLIPPER. Turn clipper over and place on hard, flat surface so teeth of
clipper face down. Unscrew blade screws. Remove lower blade. Place thumb and
forefinger on upper blade. Push upper blade with thumb to one side of clipper while
your forefinger unsnaps blade from the connecting fork (Figure H). (NOTE: cover of
clipper is shown removed in figure to show detail only. It is not necessary to remove
cover when changing blades). To install new blade set, place upper blade (smaller of
the set) towards the connector fork. Slant the blade slightly so one side of the upper
angle (white nylon bracket on upper blade) “hooks” onto one prong of the connector
fork, making sure the small indentation on connector fork “seats” itself on the inside
“point” on the nylon bracket. Push upper blade slightly to opposite side of bracket
on the connector fork. Place lower blade on top of the upper blade and align the
screw holes of blade to blade pad (Figure I) and replace screws. Do not tighten down
screws completely. Turn clipper over and align lower blade so teeth of both blades
are parallel but with lower blade teeth slightly above the upper blade teeth (Figure J).
Failure to do this may result in nipping the skin when cutting hair.