EN 6665 EN
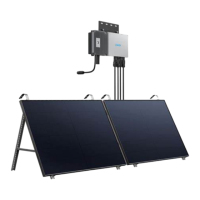
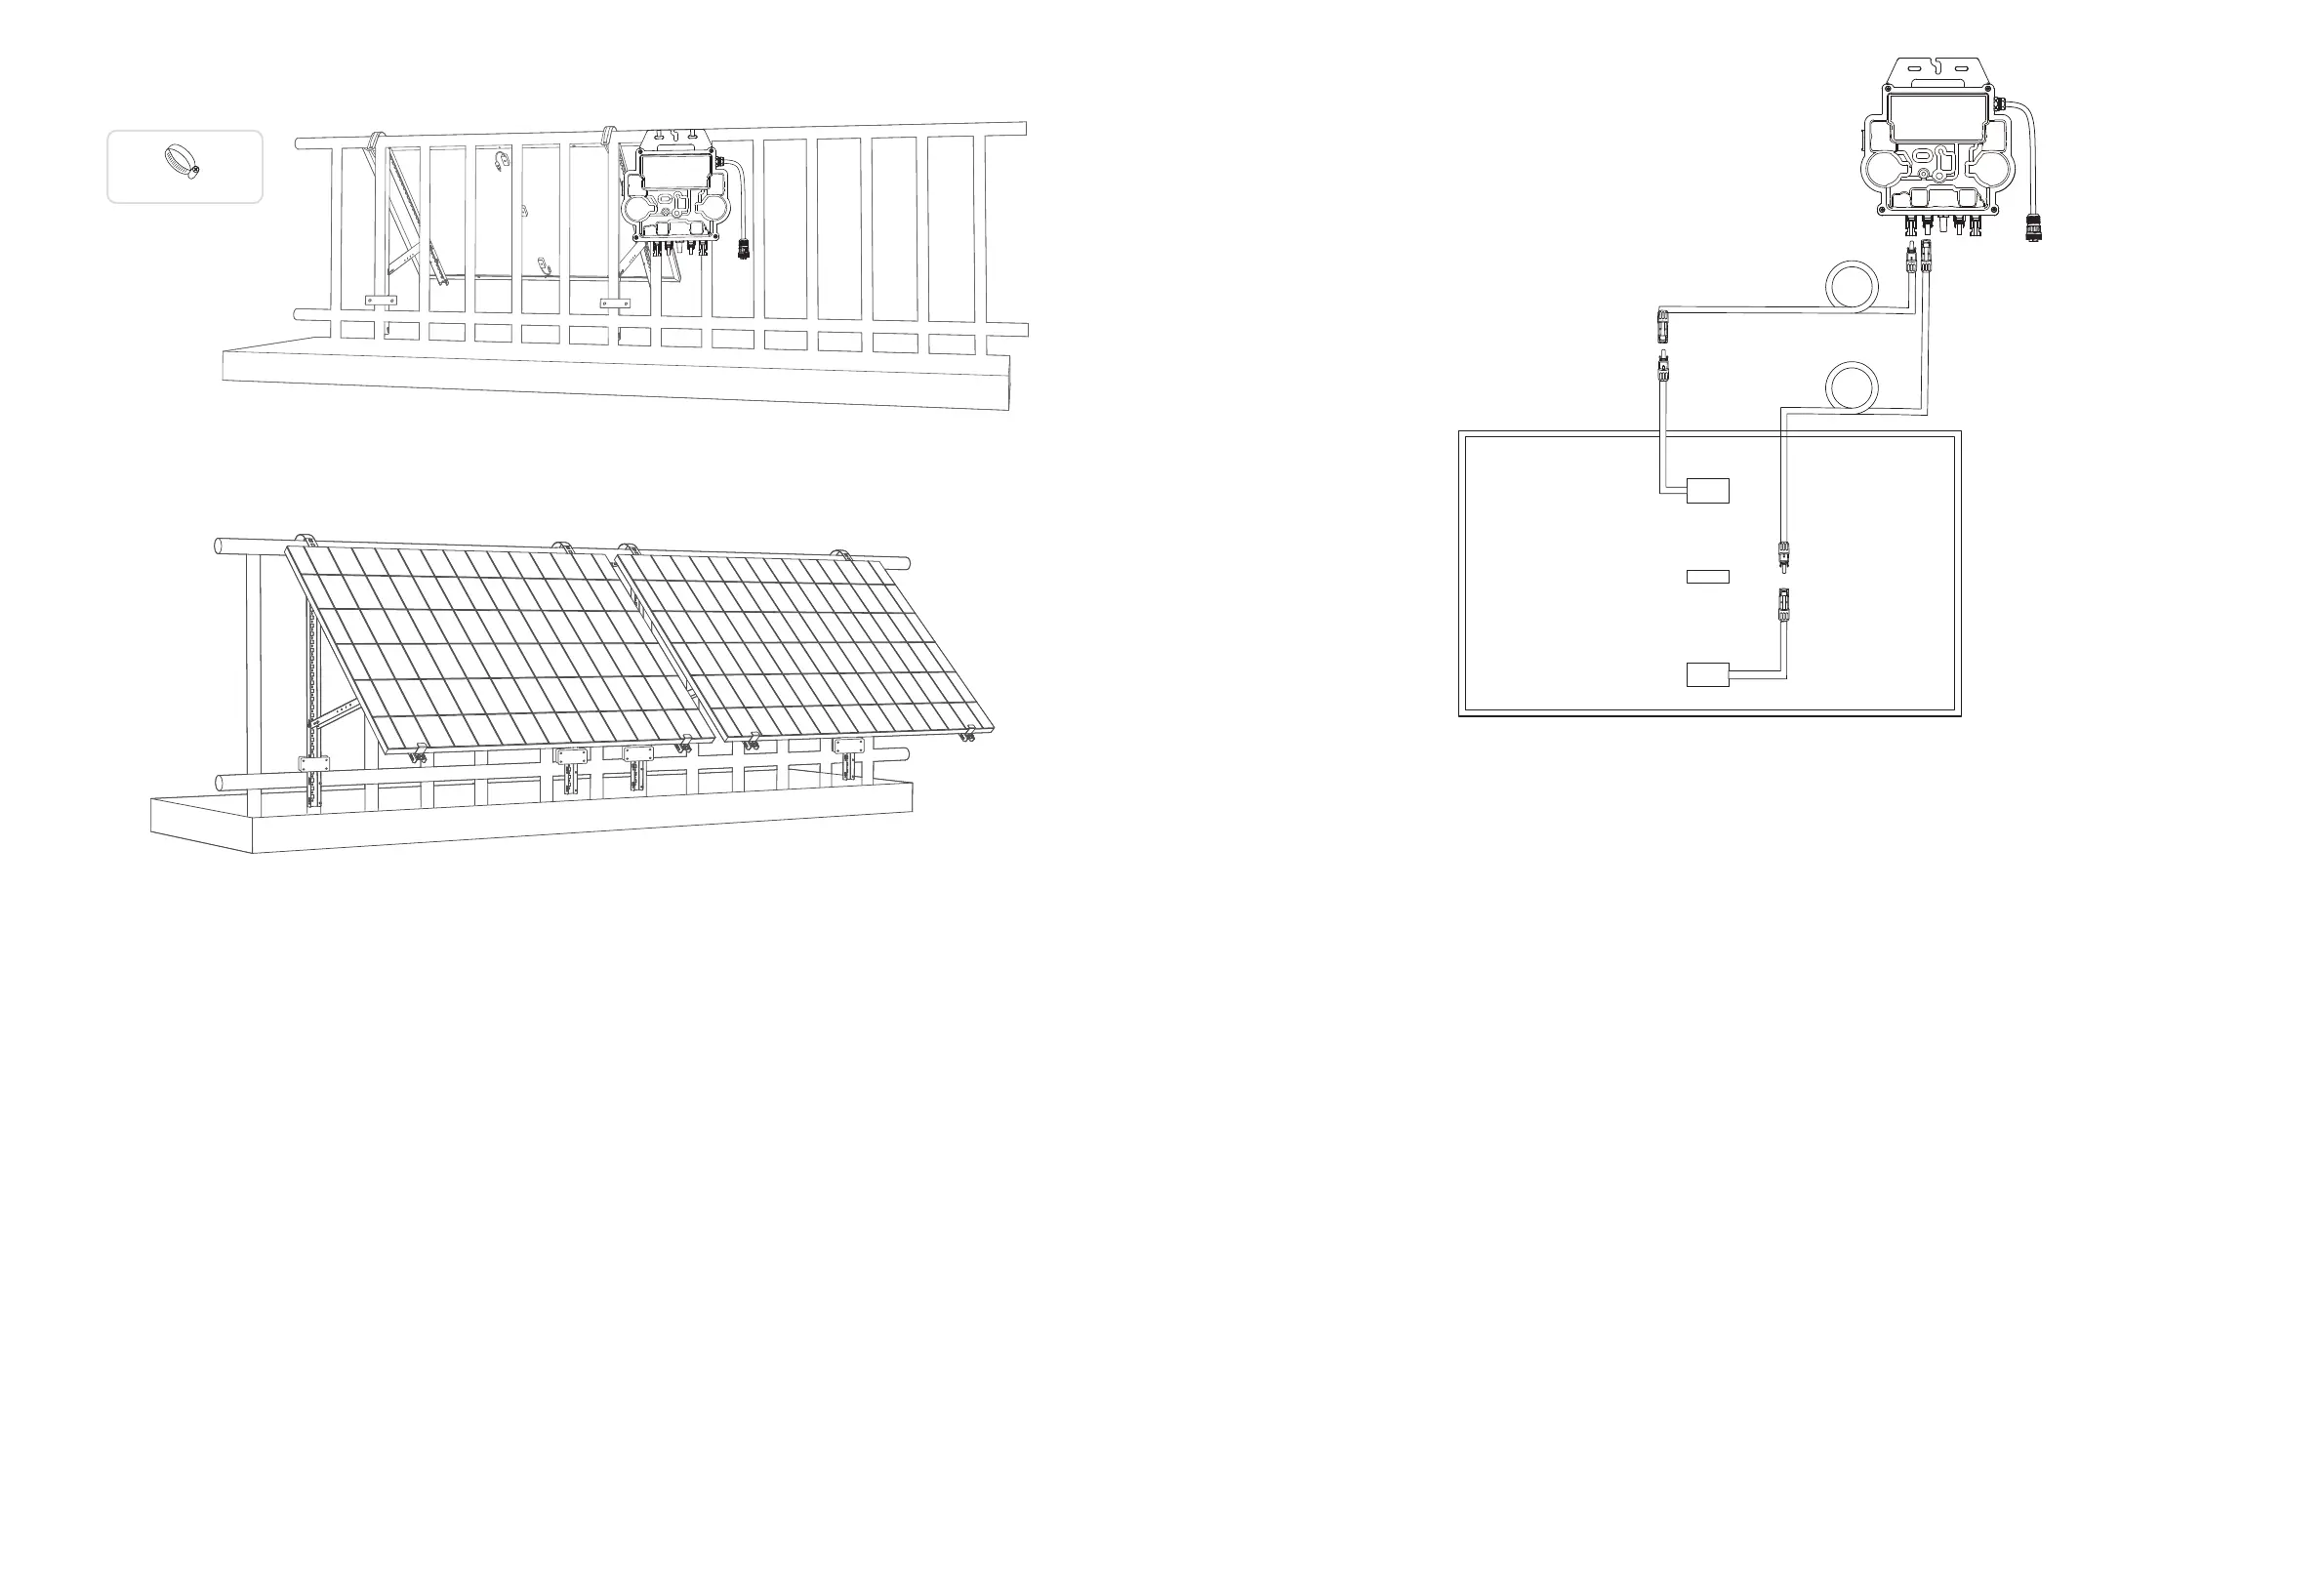
11. Install the microinverter to the balcony railing with stainless steel hose clamps.
Note: The microinverter's front surface (with the Anker logo) should face outwards.
304 Stainless Steel Hose Clamp
K x2
Check if all screws are tightened and complete the installation.
12. Repeat the steps above to install another solar panel.
13. Connect the solar panel and the microinverter with the solar panel extension cables.
Note:
1. Ensure that two solar panels have been installed before this step.
2. This step must be done while there is enough sunlight for the solar panel to provide power to the microinverter.
14. Turn on Bluetooth on your phone.
15. Download the app, and follow the in-app instructions to finish the microinverter configuration and Schuko cable connection,
Then you can connect the microinverter to your home grid via the Schuko cable.
Auto Mode:
①
Scan the QR code or search "Anker" on the App Store, Google Play, or other ocial app stores to download the app.
②
Sign up/log in to your Anker account.
③
Tap Add Devices/+ > MI80 Microinverter (BLE).
④
Select your home's Wi-Fi, enter the password, then click the Next button. You will be directed to the Scanning page. Wait a moment.
⑤
If you are redirected to the No Devices Found page, press the Retry Now button, then repeat step 4.
⑥
If you are redirected to the Added Successfully page, the configuration is complete. You can also revise the device name on
this page.
 Loading...