Do you have a question about the Anker SOLIX and is the answer not in the manual?
Provides website for FAQs and social media links for support and information.
Outlines the sequential steps required for the balcony solar power system installation.
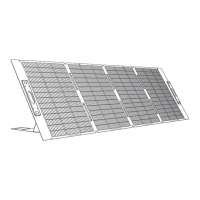
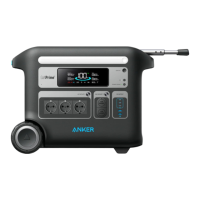
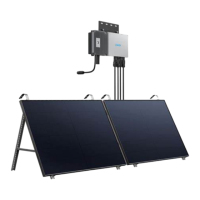
Lists and illustrates all components for solar panel mounts, microinverter, and accessories.
Recommends weather, team size, and choosing between balcony or ground installation.
Diagram showing placement of microinverter, solar panel, and cables with distances.
Instructions for balcony installation, including railing extension, weight support, and inclination angles.
Lists all necessary components and tools for balcony solar panel installation.
Mount lower support beams and adjust for optimal sunlight exposure, ensuring alignment.
Tighten screws, connect solar panel cables, and fasten auxiliary rope for secure mounting.
Mount solar panel support brackets and the microinverter on the balcony railing.
Repeat installation for the second panel and connect solar panel to microinverter.
Download Anker app, follow in-app instructions for microinverter configuration and Wi-Fi connection.
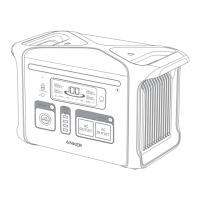
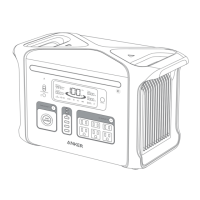
Check LED indicator for Wi-Fi status and access system data via the Anker app.
Lists all necessary components and tools for the 0° inclination angle installation.
Details initial installation steps for attaching limit supports and mounting racks and beams.
Attach limit supports and mount U-shaped racks with buffer pads to support beams.
Mount solar panel support beams and install vertical scaffolding without tightening screws.
Mount lower support beams, adjust angle, and tighten all screws to the specified torque.
Connect solar panel extension cable, fasten auxiliary rope, and secure panel with hose clamps.
Install support brackets on railing and mount the microinverter using stainless steel hose clamps.
Repeat steps for the second panel and connect solar panel to microinverter.
Download Anker app, follow in-app instructions for microinverter configuration and Wi-Fi connection.
Check LED indicator for Wi-Fi status, troubleshoot connection issues, and access system data.
Lists all necessary components and tools for ground-mounted solar panel installation.
Attach limit supports, mount solar panel support beams, and install scaffolding without tightening.
Mount lower support beams and adjust the angle for maximum sunlight exposure.
Align panel, mark mounting points, drill holes, and secure scaffolding with nuts and anchors.
Tighten screws to 5N.m torque and install the microinverter to the lower support beams.
Repeat steps for the second panel and connect solar panel to microinverter.
Download Anker app, configure microinverter, and establish Wi-Fi connection.
Explains LED indicators and how to access system data via the Anker app.
| Efficiency | 23% |
|---|---|
| Foldable | Yes |
| Cell Type | Monocrystalline |
| Compatibility | Anker Power Stations |
| Weather Resistance | IP67 |