EN 6463 EN
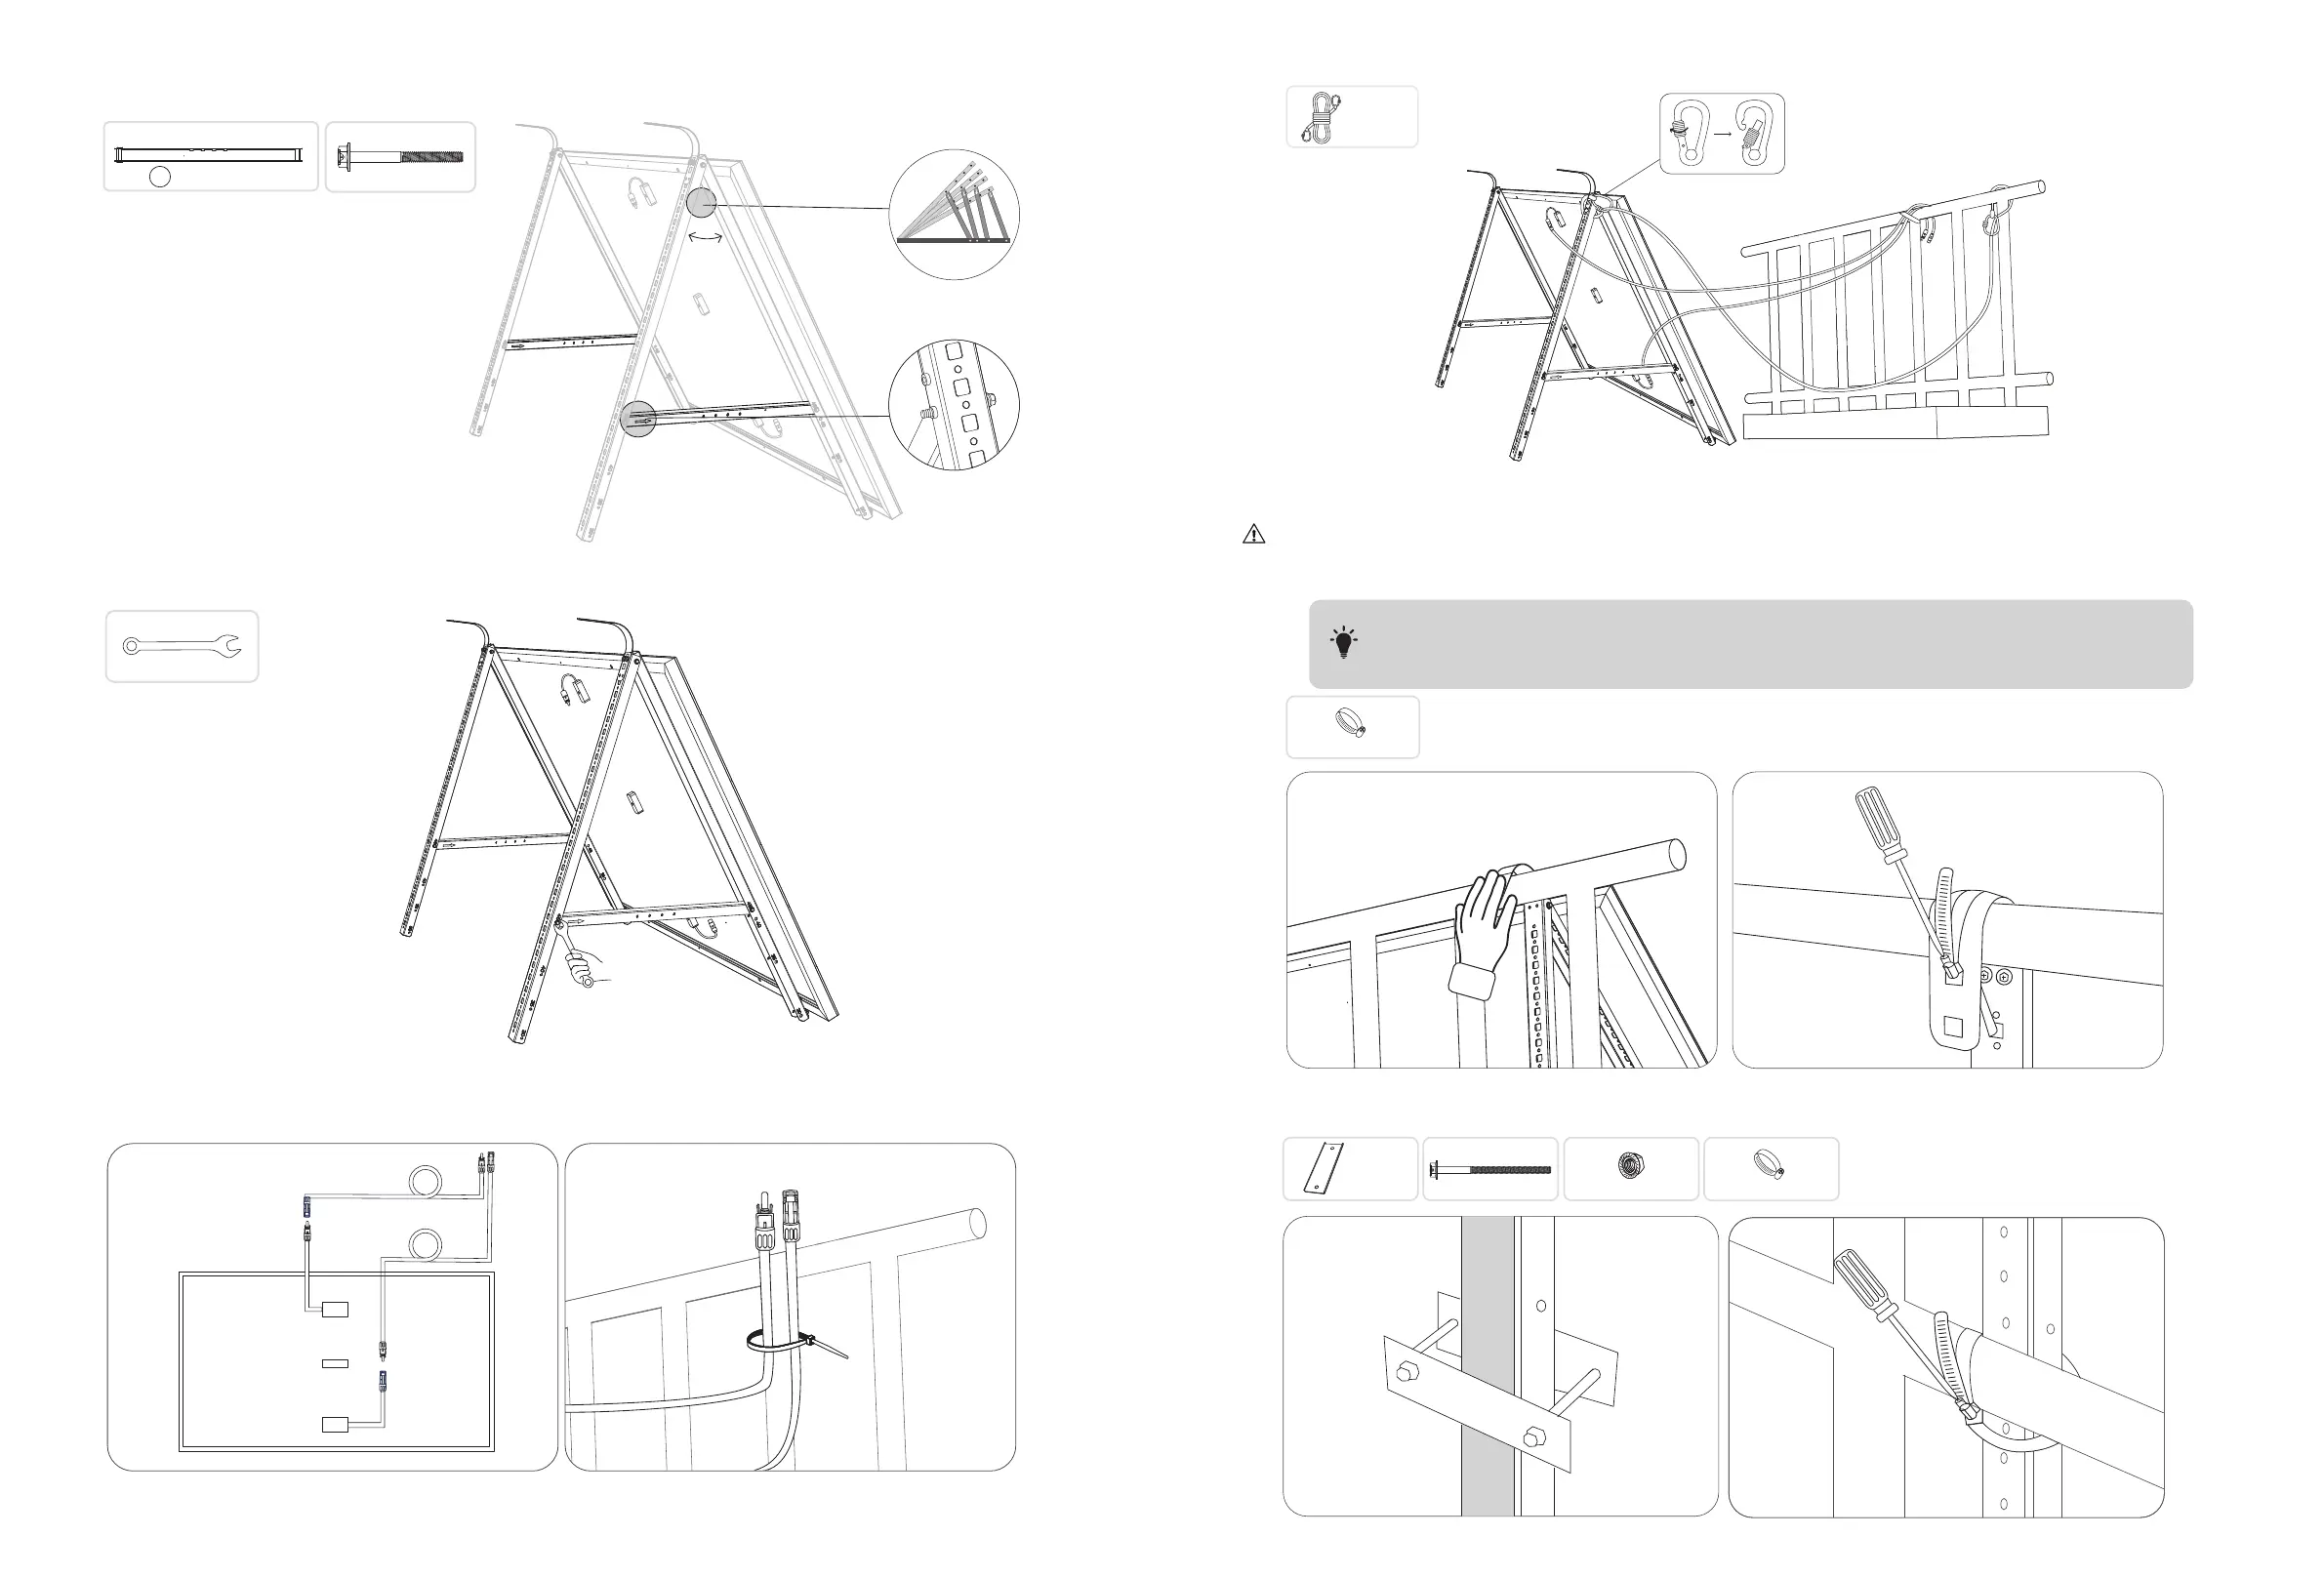
8. Fasten the Mounting Auxiliary Rope to the bracket and the balcony railing. Make sure the rope is tightened.
O x1
Mounting Auxiliary Rope
9. Hang the solar panel on the balcony railing and adjust the U-shaped racks manually to fit the shape of the balcony railing.
Then, secure the U-shaped racks with stainless steel hose clamps.
Hold the solar panel until the U-shaped racks are firmly secured with stainless steel hose clamps.
Pressing the U-shaped racks too often may cause the paint surface to crack.
T
·
Tighten the stainless steel hose clamps clockwise, and loosen the stainless steel hose clamps
counterclockwise.
·
At least 2 stainless steel hose clamps are needed to secure the brackets on one side.
304 Stainless Steel Hose Clamp
K x2
10. Install the solar panel's support brackets on the balcony railing, then secure them using fastening clamps and stainless
steel hose clamps.
M6×100 Hexagon Flange Bolt
E x4
Fastening Clamp (×8)
G x4 J x4
M6 Flange Nut
304 Stainless Steel Hose Clamp
K x2
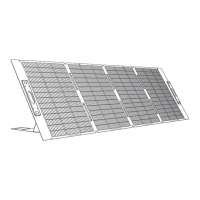
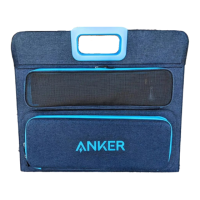
5. Mount the lower support beams and adjust the angle for maximum sunlight exposure.
Note: Make sure that both ends of the lower support beams are aligned with the same number.
°~°
45
40
35
30
45
40
35
30
A
C
B
45
40
35
30
45
40
35
30
45 40 35 30
M6×65 Hexagon Flange Bolt
H x4
C x2
mm
618
Lower Support Beam
6. Tighten all the screws with 5N.m torque.
5N.m
N x1
Hexagon Wrench
7. Connect the solar panel with the solar panel extension cable.
Note: To avoid falling, secure the solar panel extension cable on the balcony railings temporarily with zip ties.
 Loading...