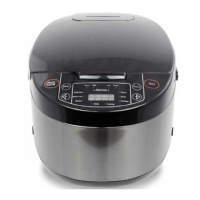
Menu
Press “Menu” button to select a desired cooking function. When the desired cooking mode is
selected, the corresponding indicator light will be turned ON. You will see a number flashing on the
display which stands for the default cooking time.
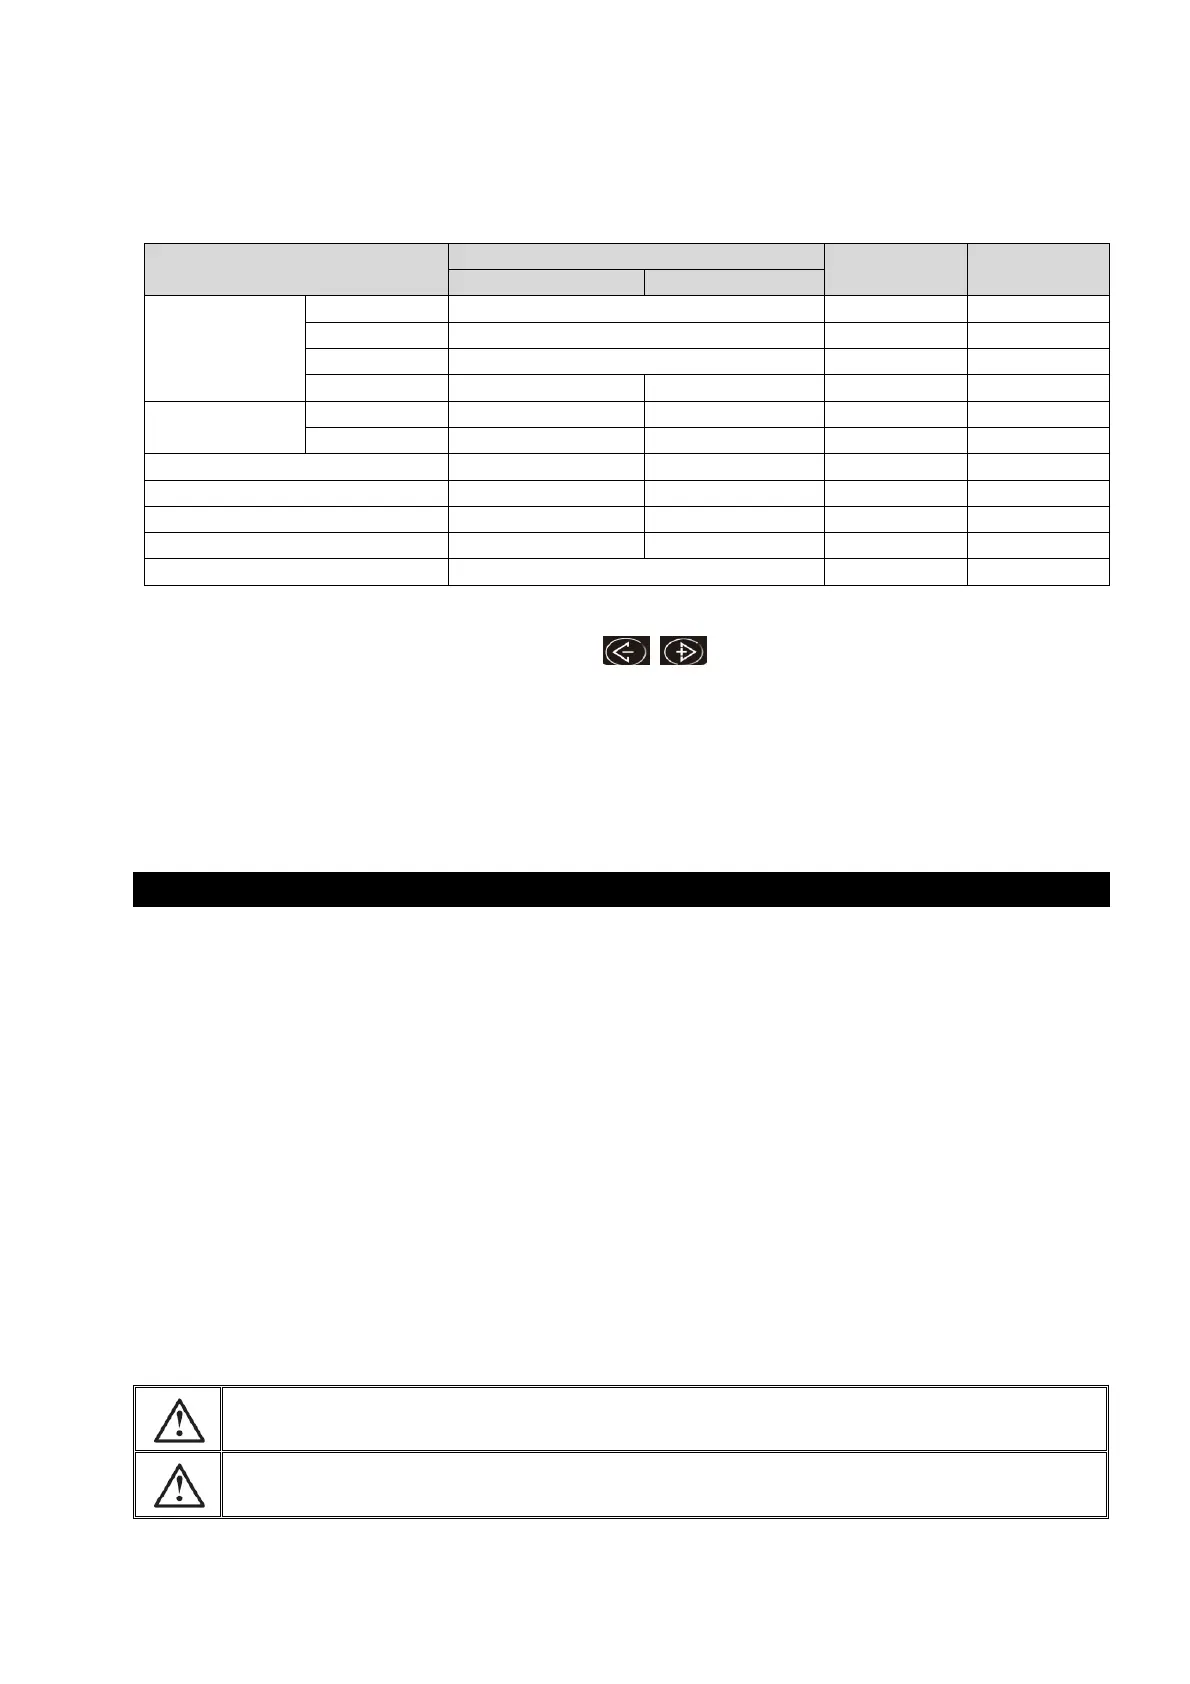
Refer to the table below for the default cooking time in each cooking mode:
Table. 1
If a different cooking time is desired, press the button to adjust the cooking time, refer
to the adjustable range above.
Note: you can only adjust the cooking time within the adjustable range for each cooking mode.
Press the “Start” button and the unit will start cooking.
When the cooker is being programmed or any program is in effect, press “Warm/Cancel” to cancel
the program and the cooker will return to standby mode.
Carefully wipe the outside of the inner pot, make sure that are no foreign residues or liquid
underneath the pot and heating element.
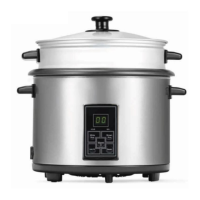
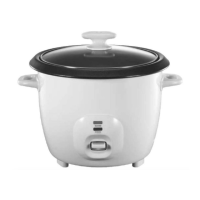
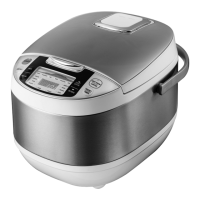
Place the inner pot into the appliance, check that it is correctly positioned.
Close the lid, a “click” sound will indicate it is properly closed.
Connect the power cord into the cord connector and then plug into a mains power outlet. The
appliance will ring a long “beep” sound, and all the indicators on the control panel will light up
for an instant.
“Beep” sound will continue if the rice cooker is idle in standby mode for 10s.
The rice cooker is defaulted to the “white rice” cooking function. Press “Start” button to start
“white rice” cooking.
To use other cooking functions, press “Menu” key. The rice cooker select function in the
sequence “white rice” “Sushi” “Slow cook (High)” “Slow cook (Low)” “Soup”
“Steam” “Sauté” “Porridge” “Risotto” “Brown rice”.
The screen will display the default cooking time of each function. For “Rice cooking”, it will
display “- - - -” initially and the countdown timer will change to 10min before the program
ends.
Do not touch the heating element when the product is plugged or after cooking.
Do not carry the cooker during use or immediately after cooking.
 Loading...