EN
48
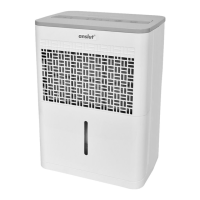
• Do not use the dehumidier outdoors.
• The dehumidier is only intended for
household use. It is not intended for
industrial or commercial use.
• Place the dehumidier on a level, stable
surface that can support the weight of the
dehumidier with a full water container.
• Leave at least 20 cm of free space on all
sides to ensure the adequate circulation
of air.
FIG. 5
• The lowest operating temperature is 5°C.
At lower temperatures frost can form on
the evaporator coils, which reduces the
performance of the dehumidier.
• Place the dehumidier at a safe distance
from sources of heat.
• Use the dehumidier to ensure a suitable
humidity in the air for books or valuables,
and to prevent damage due to damp.
• Only use the dehumidier in enclosed
areas.
• Close windows, doors and other openings.
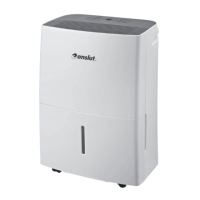
• Wheels can be tted on the corners of the
dehumidier. Do not run the dehumidier
over carpets.
NOTE:
Wheels are not on all models.
• Do not move the dehumidier when there
is water in the water container. The
dehumidier can tip over, and the water
run out.
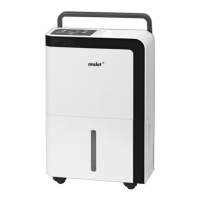
HOW TO USE
• When using the dehumidier for the rst
time it should be switched on
continuously for 24 hours.
• When the dehumidier has been switched
o it cannot be started for 3 minutes.
• Connect the dehumidier to a separate
power circuit.
• Put the dehumidier in a suitable place
and make sure that the power point is
easily accessible.
• The dehumidier must only be connected
to a correctly earthed power point.
• Check that the water container is properly
inserted, otherwise the dehumidier will
not work.
NOTE:
Move the dehumidier carefully when there
is water in the container.
DEFLATING
The water can drained o in two ways:
1. Water container
• The status light Full goes on when the
water container is full.Carefully pull out
the water container. Grip the handles on
both sides rmly and pull the container
straight out. Do not put the container
down – the bottom is uneven and it
cannot stand upright.
• Pour out the water and replace the
container. Check that the water container
is properly inserted, otherwise the
dehumidier will not work.
• The dehumidier starts automatically with
the previous settings when the container
is replaced.
NOTE:
• Do not touch any parts inside the
dehumidier when removing the water
container, this could damage the
dehumidier.
• Push the water container carefully into
the dehumidier, otherwise the
dehumidier can be damaged.
• Wipe o any spilled water in the
dehumidier before replacing the
container.
1. Pull out the water container a little.
2. Grip the handles on both sides rmly and
pull the container straight out.
3. Pour out the water.
FIG. 6