Do you have a question about the AnyCubic Kobra and is the answer not in the manual?
Immediately cut off power and contact technical support in emergencies.
Avoid touching the printing area during operation due to high temperatures.
Ensure the printer and accessories are kept away from children.
Operate the printer in an open and well-ventilated area due to potential irritant vapors.
Anycubic 3D printer must not be exposed to water or rain.
Use a flat desktop and organize parts for efficient assembly.
Cut the zip tie on the X-axis bracket as the first installation step.
Turn the coupler to raise the X-axis during assembly.
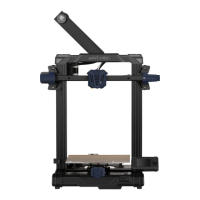
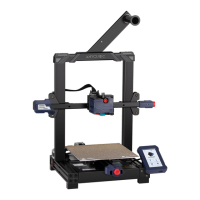
Install the main frame onto the base, ensuring proper alignment.
Mount the print head onto the X-axis assembly.
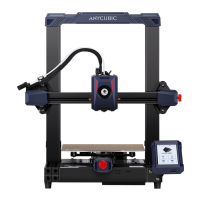
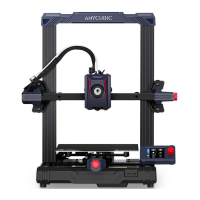
Connect and install the touchscreen display.
Attach the filament holder to the printer frame.
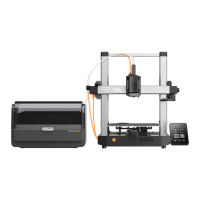
Connect all cables to their respective ports, following labels, with the machine powered off.
Use an R-type cable clamp and screw to secure the print head cable.
| Build Volume | 220 x 220 x 250 mm |
|---|---|
| Layer Resolution | 0.05-0.3 mm |
| Filament Diameter | 1.75 mm |
| Nozzle Diameter | 0.4 mm |
| Connectivity | MicroSD card, USB |
| Leveling | Automatic |
| Technology | FDM (Fused Deposition Modeling) |
| Bed Temperature | up to 110°C |
| Nozzle Temperature | up to 260°C |
| Frame Material | Metal |
| Power Supply | 350W |
| Machine Weight | 7 kg |
| Printing Speed | up to 180 mm/s |
| Supported Materials | PLA, ABS, TPU, PETG |
| Display | 4.3-inch Color Touchscreen |