rogram Menu.
﹟
Test Meter
﹡
Test Point
﹫
Pattern
Operation
Adjusting
Value
A
B+
Adjust
﹟
Digital Voltmeter
﹡
D510 Negative
﹫
Crosshatch Pattern
(31.5KHz,640x480)
1. Make the adjustment to the value shown at right
by turning the VR501 on the main PCB.
15.5V
±
0.2V
B
High Voltage
Adjust
﹟
Digital Voltmeter
﹟
High Voltage
Probe
﹡
Anode Cap-GND
﹫
Crosshatch Pattern
(31.5KHz,640x480)
1. Turn the power switch of the monitor OFF.
2. Connect high voltage probe to Anode Cap and
GND.
3. Turn the power switch of the monitor ON.
(15 minutes)
4. Make the adjustment to the value shown at right
by turning the VR601 on the main PCB.
25.5KV
±
0.1KV
C
Preset
Adjust
﹫
Crosshatch
(31.5KHz,640x480)
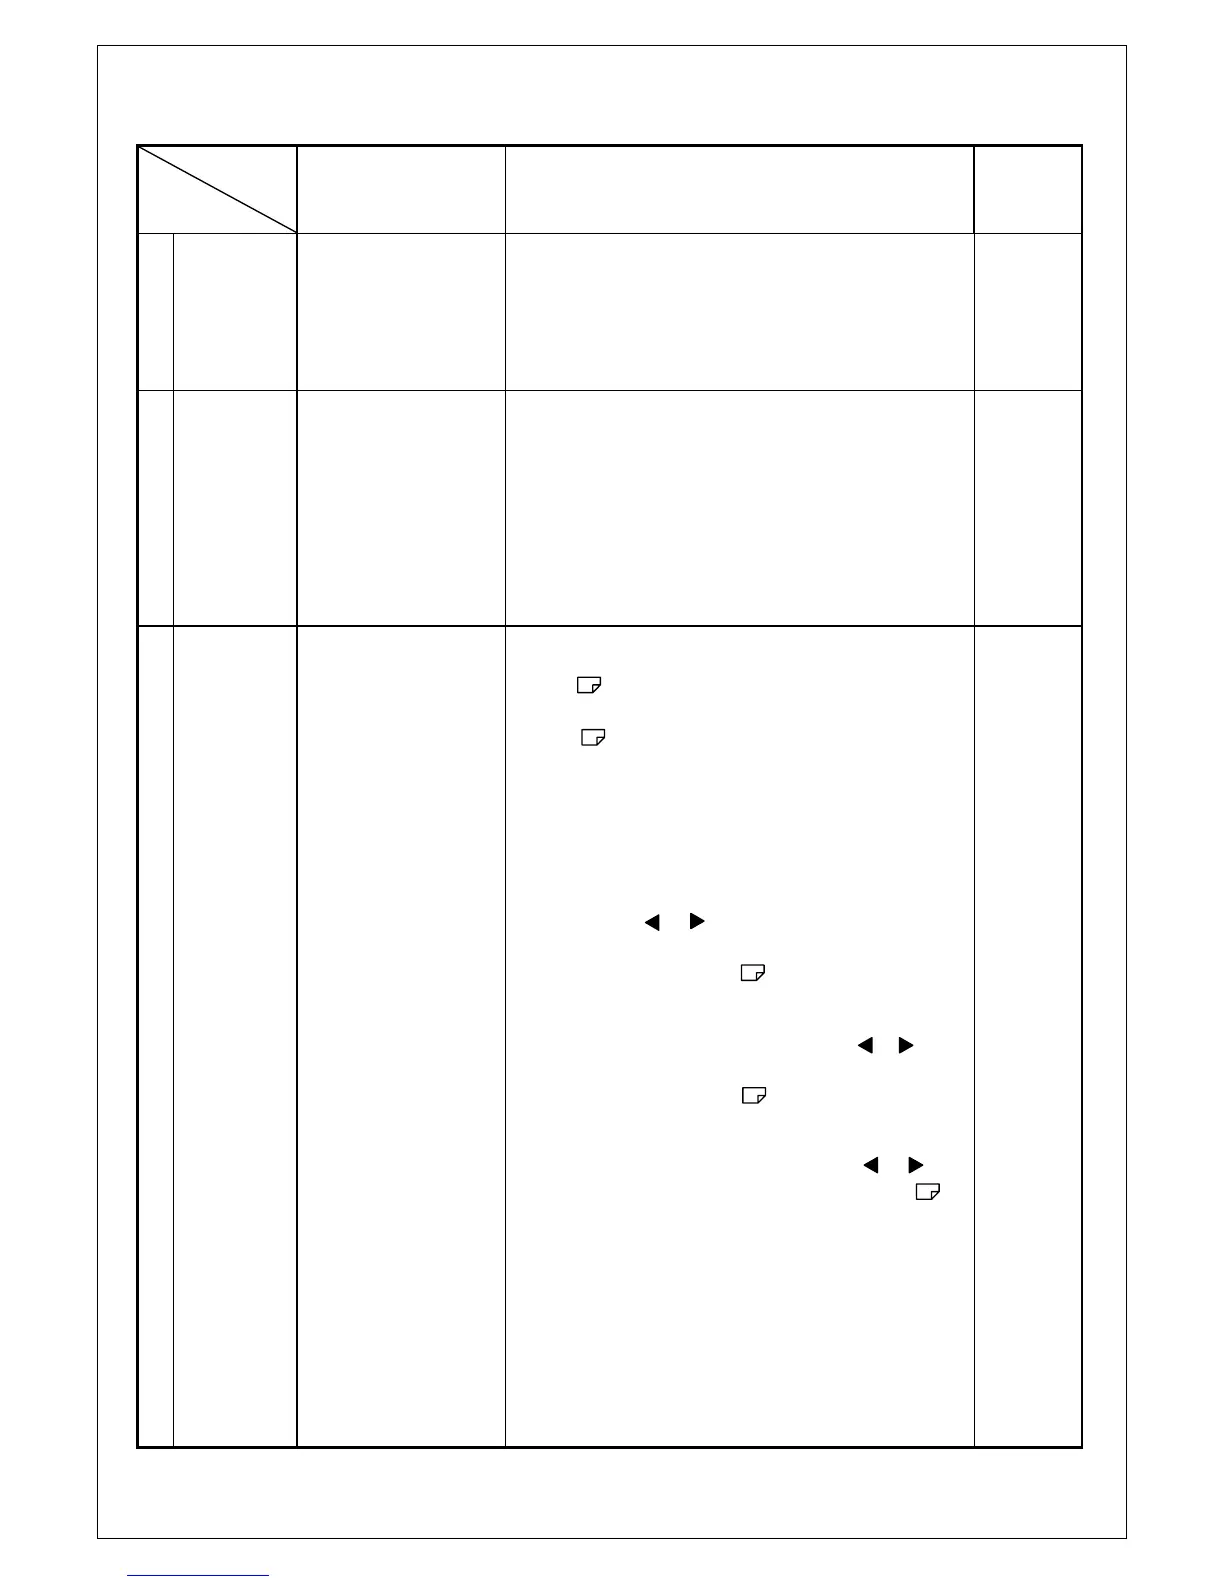
1. Uplug the power cord of the monitor.
2. Hold key,then plug the power cord of
the monitor.
3. Hold key,make sure into preset
picture,if not ,please return 1-2.
4. Please following the procedure of selection and
adjusting an item using the OSD system as below
steps for main function adjusent.
Step 1 : Press and relese the OSD control knob to
activate the OSD menu.
Step 2 : Press or key to highlight the desired
option of OSD icon.
Step 3 : Press and release key to acress the
option.The color of the inner area of the
OSD will changed from blue to green.
Step 4 : To make your adjustment,press or
key to decrease the setting.
Step 5 : Press and release key to store
the change.the color of the inner area will
go back to blue.You can select select other
function to make adjustment by or key.
Also you can select exit icon or press
key to exit the OSD menu.
Contrast :
MAX.
Brightness
MAX.
H-Size :
306
mm
V-Size :
230
mm
H-Posi. :
Center
V-Posi :
Center
Other adj. :
Best Point