Installation Overview
1. Be sure to allow a minimum space of 4” under the filter for
removing the sump to change the cartridge.
2. Select a location for the filter that is:
• Protected from freezing.
• Not exposed to direct sunlight.
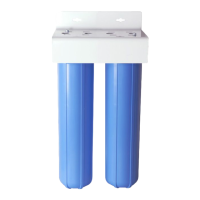
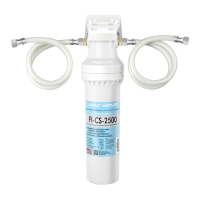
3. Whole house water filter setup (Fig 1A,2A,3A):
***It is strongly recommended to install a bypass connection and
shut off valves for this filter (see Fig 1-3A) and a filter housing
mounting bracket.
A. Normal operation: Water flows in to shut-off valve A, filter
system, then out through valve B into the home. Always turn on
valve A & B and turn off valve C.
B. If filter needs to be replaced, please turn off the shut-off valve
A and C and turn on the nearest faucet to release pressure so the
filter housing can be easily removed. B valve should still be turned on.
C. If filter housing is leaking, please turn off shut-off valve A and
B and turn on C valve so water can flow into the home bypassing
valves A & B to stop the leak. B valve needs to be turned off to
avoid water backflow into the filter housing.
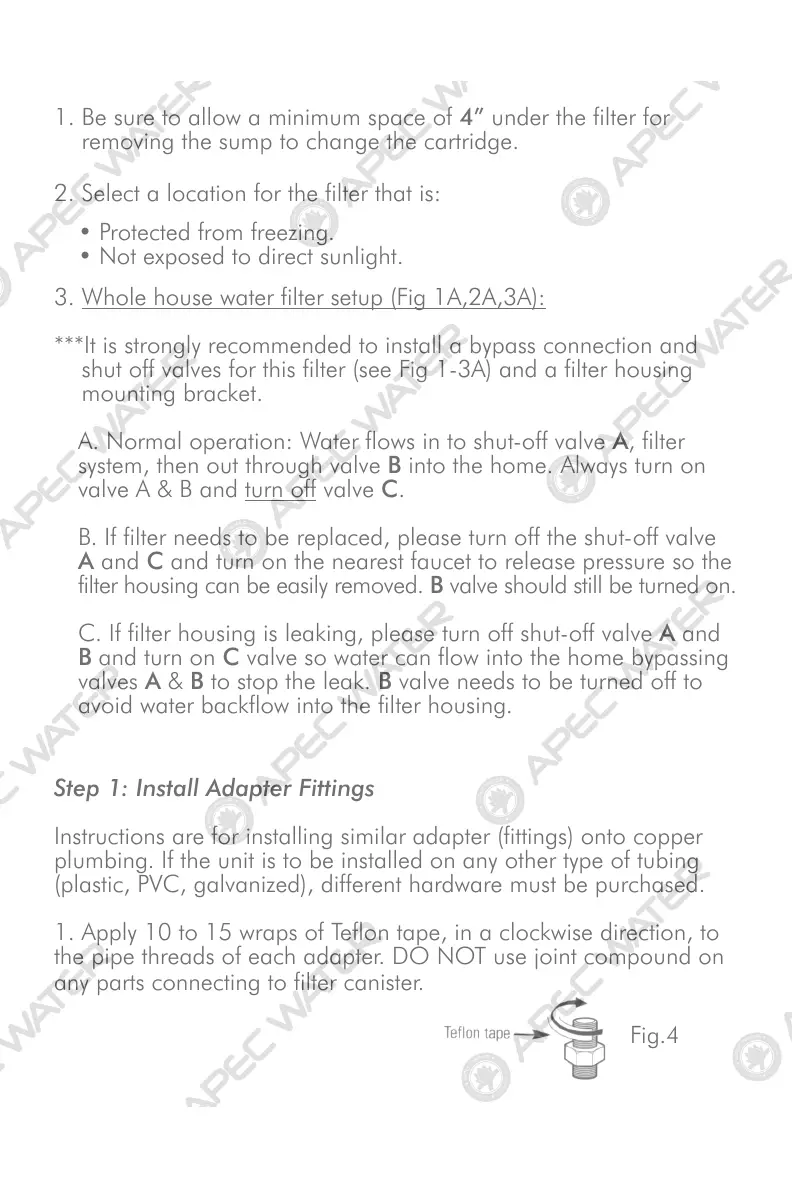
Fig.4
Step 1: Install Adapter Fittings
Instructions are for installing similar adapter (fittings) onto copper
plumbing. If the unit is to be installed on any other type of tubing
(plastic, PVC, galvanized), different hardware must be purchased.
1. Apply 10 to 15 wraps of Teflon tape, in a clockwise direction, to
the pipe threads of each adapter. DO NOT use joint compound on
any parts connecting to filter canister.
5