CAUTION
WARNING
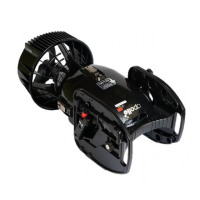
● In this page, it explains only the Lithium ion battery and av-2E as an example.
Precautions concerning the handling of the battery housing (head Assy) after removal.
● Silicone grease has been applied to the seals on the battery housing. Sand and other debris easily stick to this.
Be careful to avoid this situation.
● Water leakage is caused almost entirely by sand or other debris adhering to the seal area.
● Please put the battery housing (head Assy) in a safe clean place lying
down on the ribs located on its base.
● Please do not place it on sand or on rocks etc.
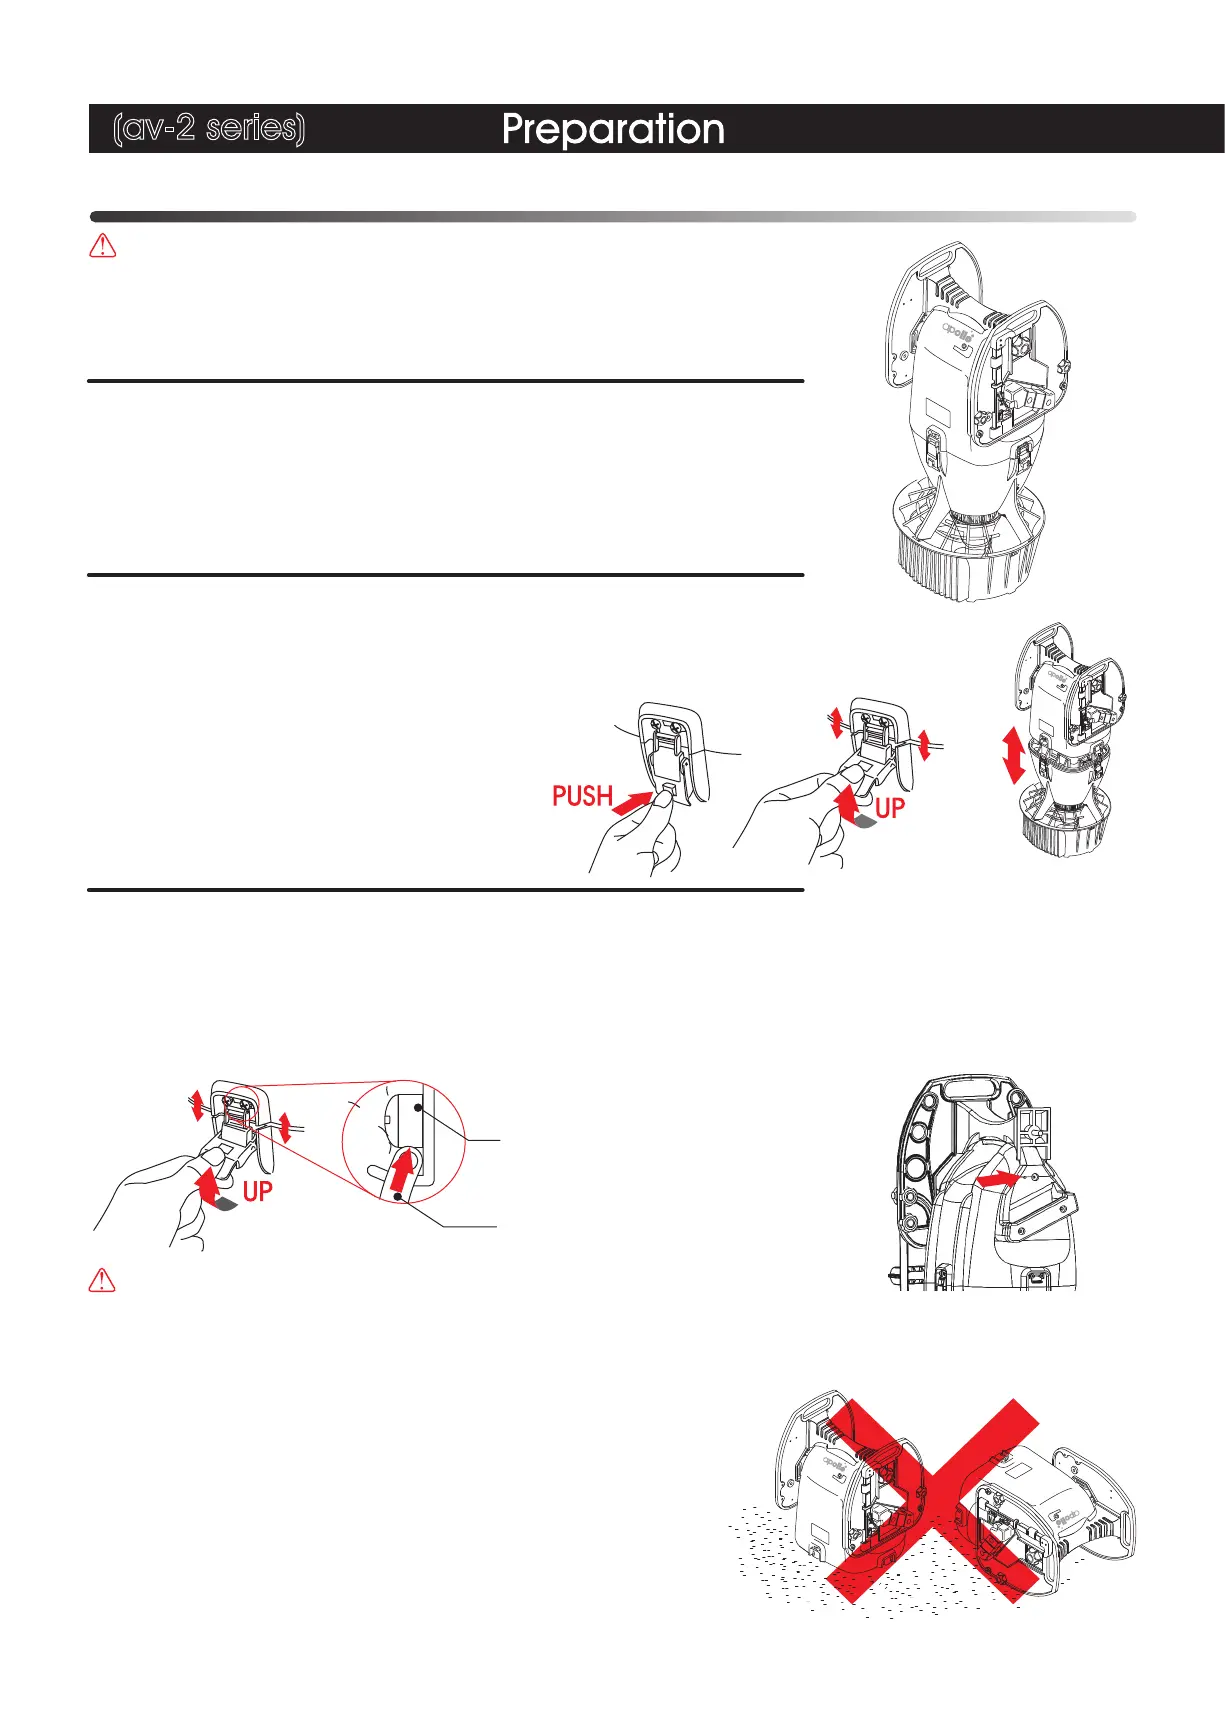
● Please stand the scooter vertically on the propeller cover.
Make sure it's on a flat stable surface so that it cannot fall over and cause
damage to the propeller cover and blades.
● If the scooter is wet, wipe all moisture off completely.
● Unfasten four locking buckles on the body seal. (avx has two buckles)
A locking mechanism is attached to the locking buckle to prevent it from
releasing as a result of unexpected shocks.
① First, while pushing the square button in the center of
the locking buckle, lift the end of the buckle.
② Next, after releasing the buckle hook, flip the buckle
downward. Release all four parts.
● It may be difficult to remove the battery housing (head Assy) due to negative pressure inside the body caused
by contact with the O-ring, temperature variation and other factors.
In this case, place the buckle latch under the locking hook and apply pressure with your thumb while pushing
upwards. Do this on both sides of the scooter concurrently to break the seal and easily release the
battery housing (head Assy).
●Hook
■STEP3 Removing the battery housing.
■STEP2 Unfasten the locking buckles.
■STEP1 Preparation for charging.
Charging the battery (av-2 series)
●Arms
If it is hard to remove head Assy・・・
Push the hook with arms.
Remove the head Assy.
(av-2 series)
11
If with the single hand unit,
unnecessary to disassemble
the single hand unit when
removing the head assy.
In addition, after you've removed the saddle panel,
insert the driver, such as the hole is shown by
the arrow, you can open
the valve at inside.
Please be pry gently in
the direction of the arrow.