11
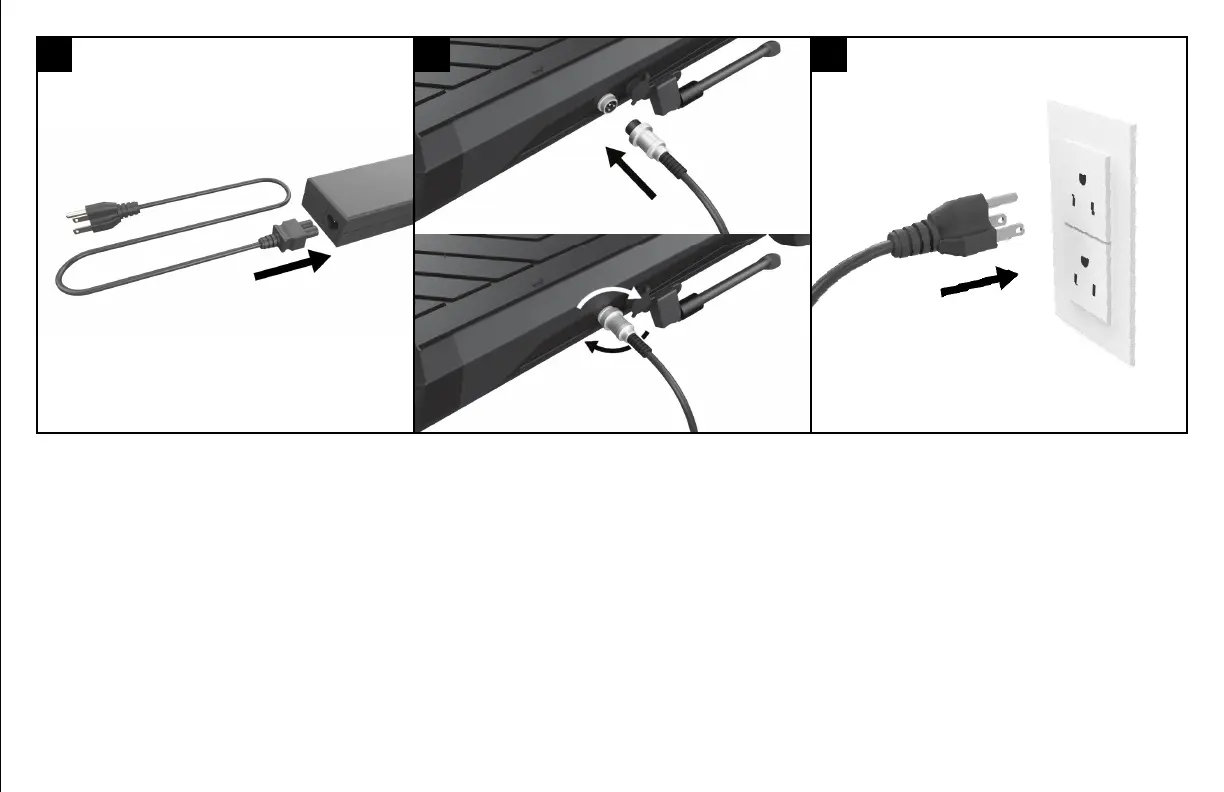
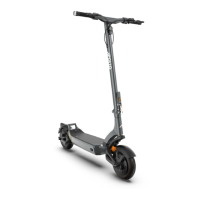
First, ensure the two parts of the charger
are connected securely. The wall AC plug
should be connected to the charger box.
The connection between the cable and box
should feel firm with no wobble or play.
Next, locate the three pin connector on
one end of the charger. Open the charging
port cap on your scooter and identify the
position of the pin holes. Align three pin
connector with the pin holes, and gen-
tly insert the cable. When it reaches its
maximum position, secure it by turning
the safety ring clockwise. The three pin
connector should now be safely connected
to the scooter's charging port.
Proceed to plug the AC plug on the other
end of the charger into a wall power outlet.
If the battery is 100% full, the charger light
will turn green. If it is anything less than
100% full or simply put - charging, the char-
ger light will be red.
1 2 3