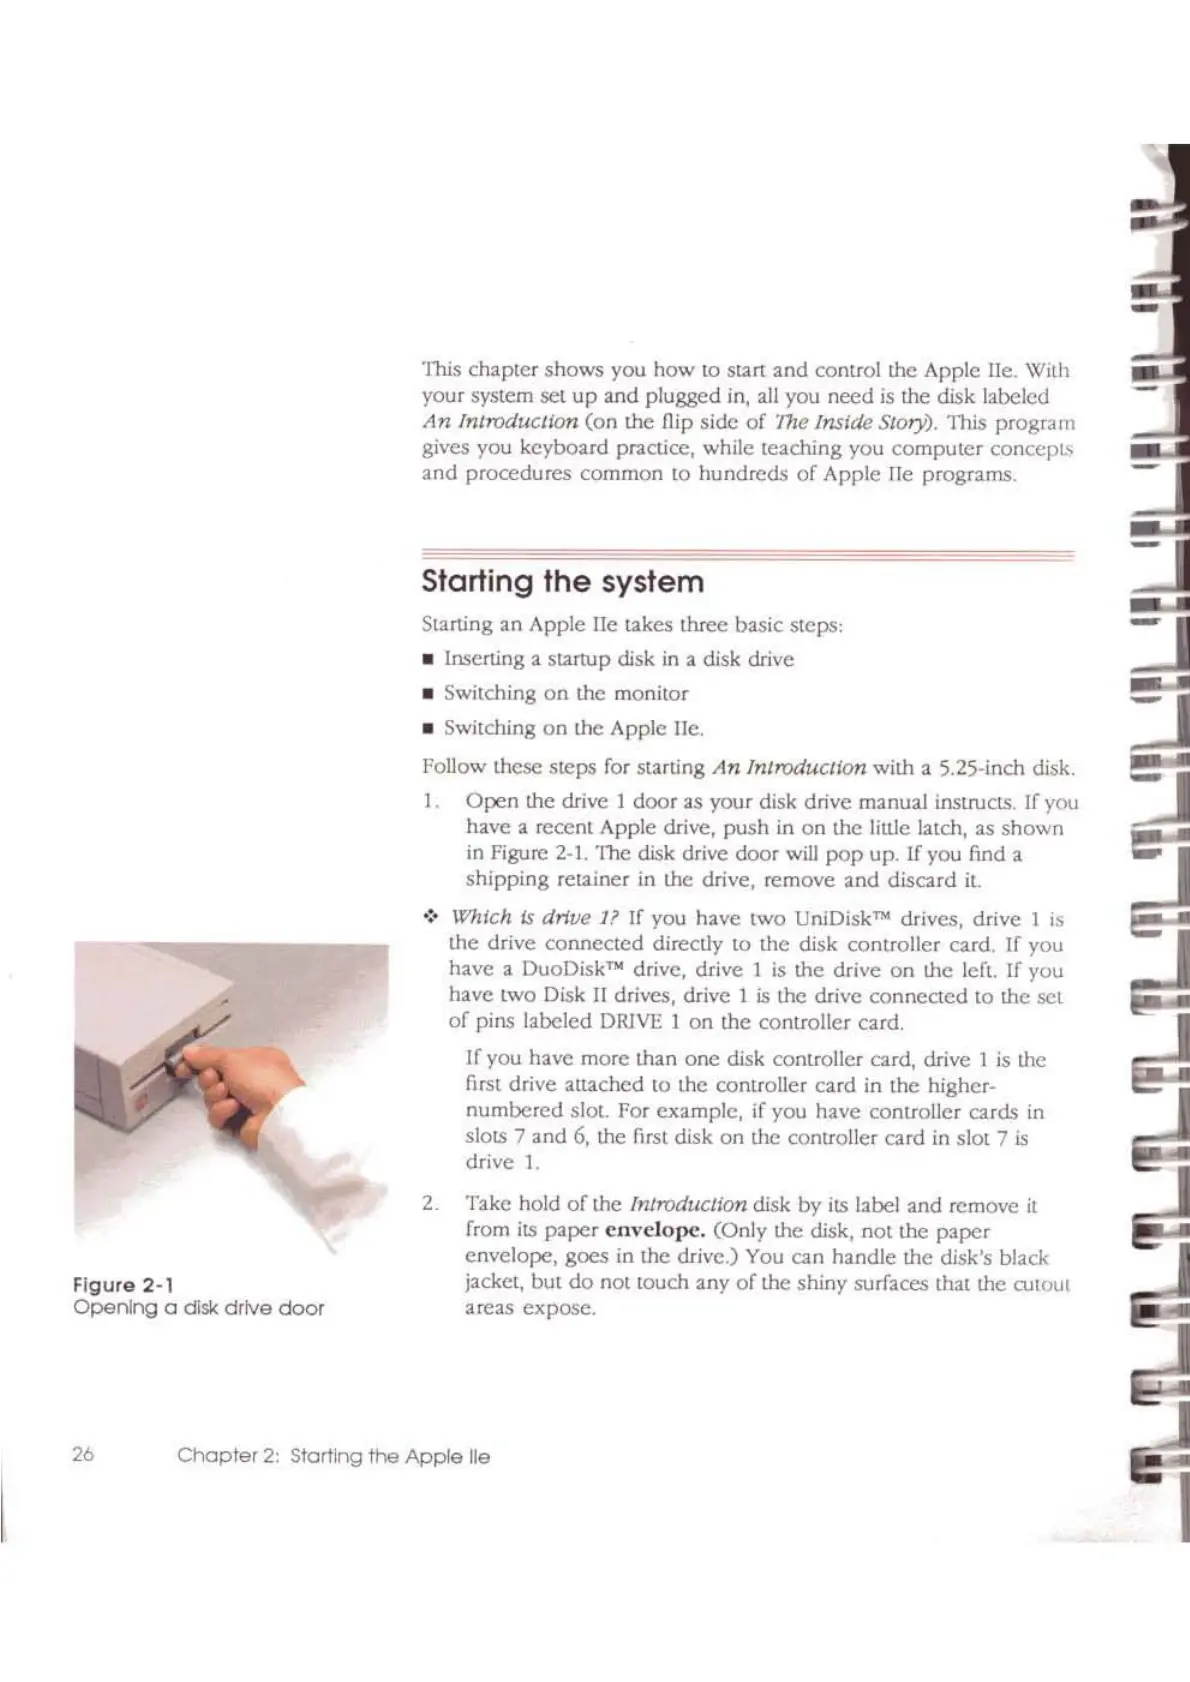
Figure 2·'
Opening
a disk
drive
door
This chapter shows you how to start
and
control the Apple lie. With
your system set
up
and plugged in, all you
need
is
the disk labeled
An
Introduclton
(on
the flip side
of
"the
Inside Story). This program
gives you keyboard practice, while teaching you
computer
conccpb
and
procedures common to hundreds
of
Apple lie programs.
Starling
the
system
Starting an Apple lie takes three basic steps,
• Inserting a startup disk
in
a disk drive
• SWitching
on
the monitor
• Switching
on
the Apple lIe.
Follow these steps for starting
An
Introduction with a 5.25-inch disk.
I.
Open
the drive 1 door as your disk drive manual instructs. [f you
have a recent Apple drive, push in
on
the little latch, as shown
in
Figure
2-1.
The disk drive door
will
pop
up. If you find a
shipping retainer in the drive, remove and discard
it.
.:.
Which is drive I?
If
you have two UniDisk
TN
drives, drive 1
is
the drive connected directly to the disk controller card. If you
have a DuoDisk
TN
drive, drive I
is
the drive
on
the lert. If you
have two Disk
II
drives, drive I
is
the drive connected to the set
of
pins labeled
DRlVE
1
on
the controller card.
If you have more than
one
disk controller card,
drive]
is
the
first drive attached to the controller
card
in
the higher-
numbered
slot. For example, if you have controller cards in
slots 7 and
6,
the first disk
on
the controller card in slot 7
is
drive
I.
2. Take hold
of
the IntroducJlon disk by
its
label and remove
it
from
its
paper
envelope.
(Only the disk, not the
paper
envelope, goes in the drive.)
You
can handle the disk's black
jacket, but
do
not touch any
of
the shiny surfaces that the
CUtout
areas expose.
26
Chapter
2:
Starting
the
Apple
lie
I