11 Release handle
09 Release handle
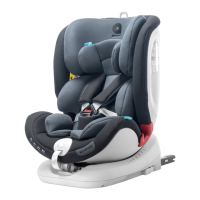
02 Guide socket
REARWARD FACING
GROUP 0+/I
19 Red button30 Red belt guide
32 Joint plate
34
Shoulder pads
35 Headrest lever
38 Metal plate
40 Webbing
REARWARD FACING
GROUP 0+/I
01 ISOFIX anchor
33 Clip
20 Buckle latches
1.5 3-point vehicle belt
10 Diagonal belt section
26 Lap belt section
24 Vehicle seat buckle
GB 08
GB 02
GB 09
2. Preparatory Work and Functions
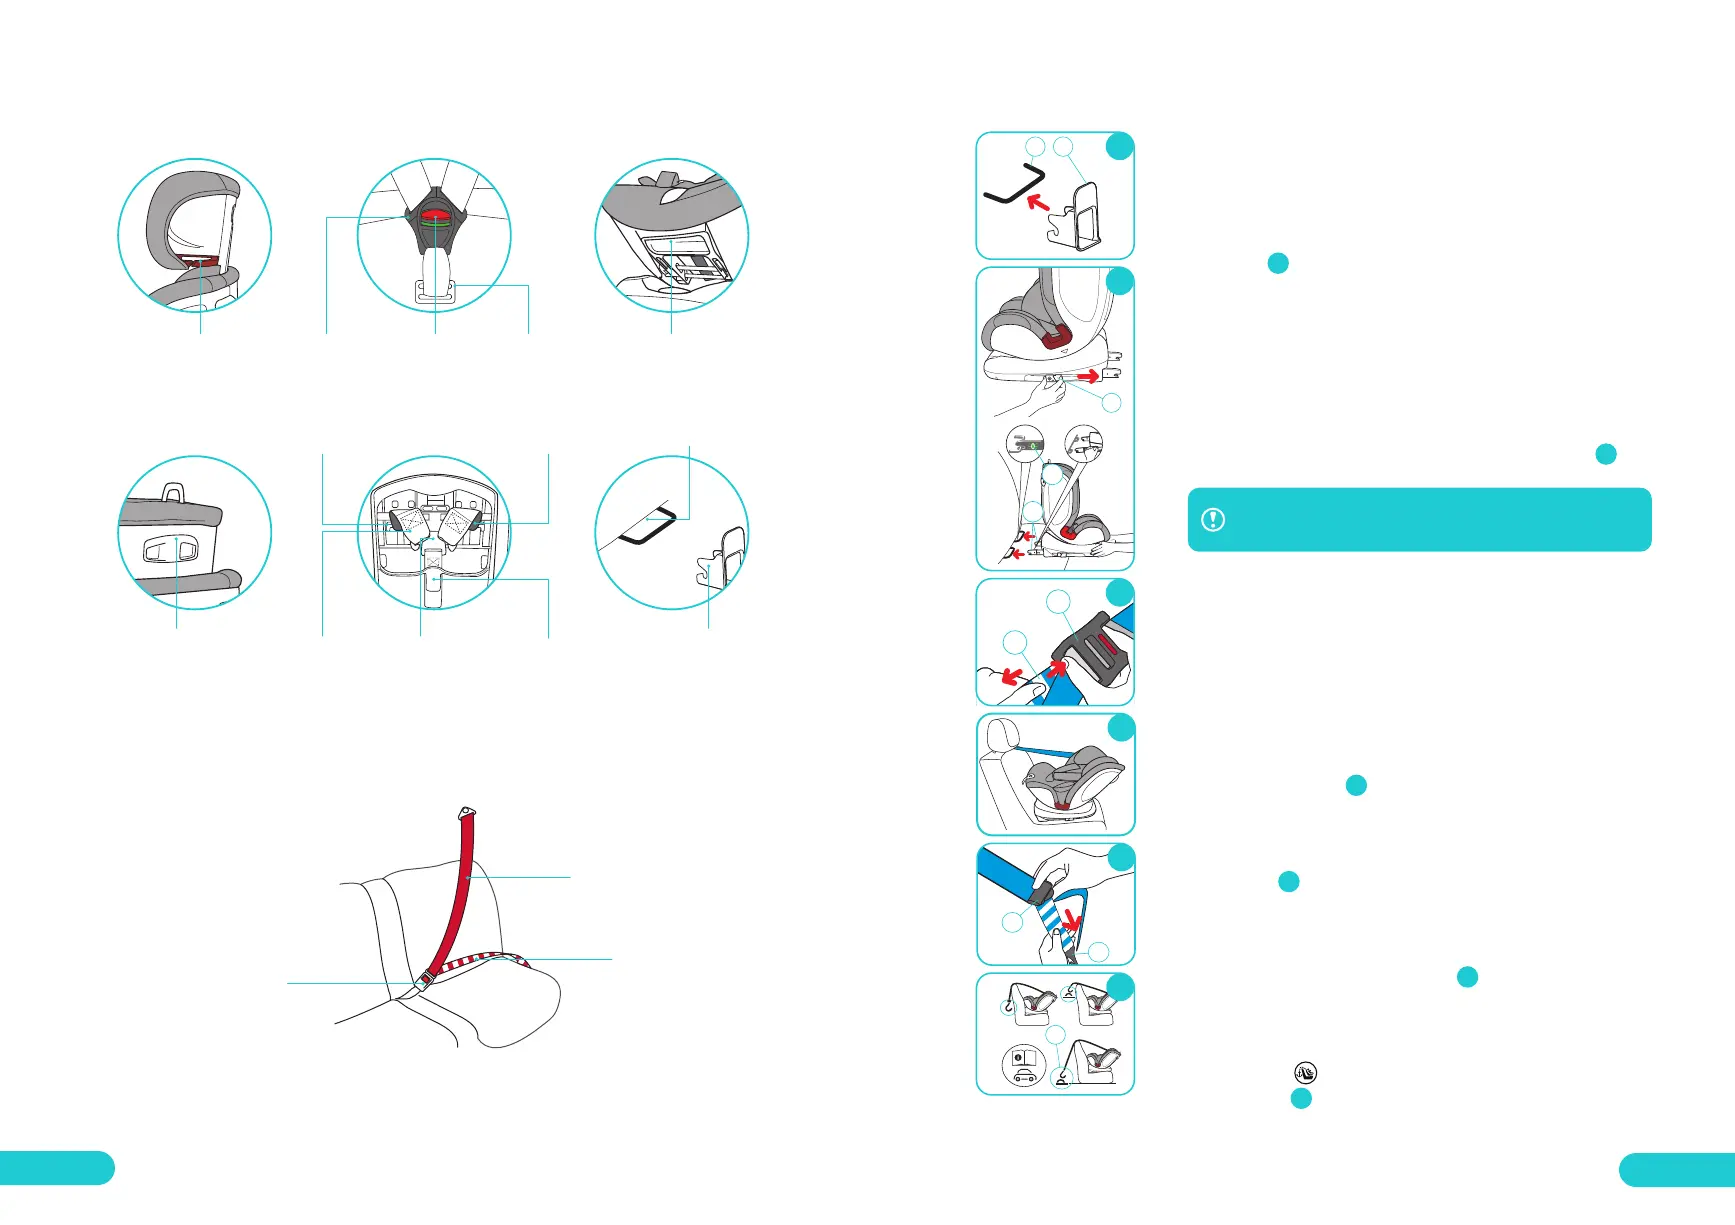
2.1 Prepare ISOFIX
If your car is not equipped with the ISOFIX guide socket,
please insert the guide socket (02) into the ISOFIX anchor
(01).
TIP: ISOFIX anchors are located between the backrest
and seat cushion.
Press the ISOFIX button (03), push rearward to the longest
position, then insert the ISOFIX connectors (15) into the
guide socket (02) one by the other, an audible “click” will
be heard, with the ISOFIX indicator (16) turns to green.
Make sure the child car seat is installed with ISOFIX, rear-
ward facing and in fullest recline position.
Press the release button of the Top Tether adjuster B (47)
to release the Top Tether strap (48) to the maximum or
desired length.
Thread the Top Tether strap (48) through one of the belt
guides (17) with the one at the inner side of the vehicle
seat.
Hold the Top Tether adjuster A (46) horizontally, and use
the other hand pull the strap with the snap hook (18), to
the maximum or desired length.
Hook the snap hook (18) onto the Top Tether anchorage
point recommended in your vehicle handbook. Look for
this sign in your vehicle or check with your vehicle
dealer.
CAUTION! The ISOFIX connectors (15) are secured ONLY
when both indicators (16) are completely green.
2.2 Prepare Top Tether (Apramo
®
Dual Tether™)
2.2.1 Group 0+/I, Rearward Facing
03
1)
06
07
08
3)
4)
5)
1)
2)
2)
04
05
03
15
16
18
08
01
02
03
06
05
47
48
07
04
 Loading...