— 7 —
Customer Service (800) 945-2726 • www.aquaticbath.com
Installation Instructions
4-Piece A
2
Composite Shower System Models
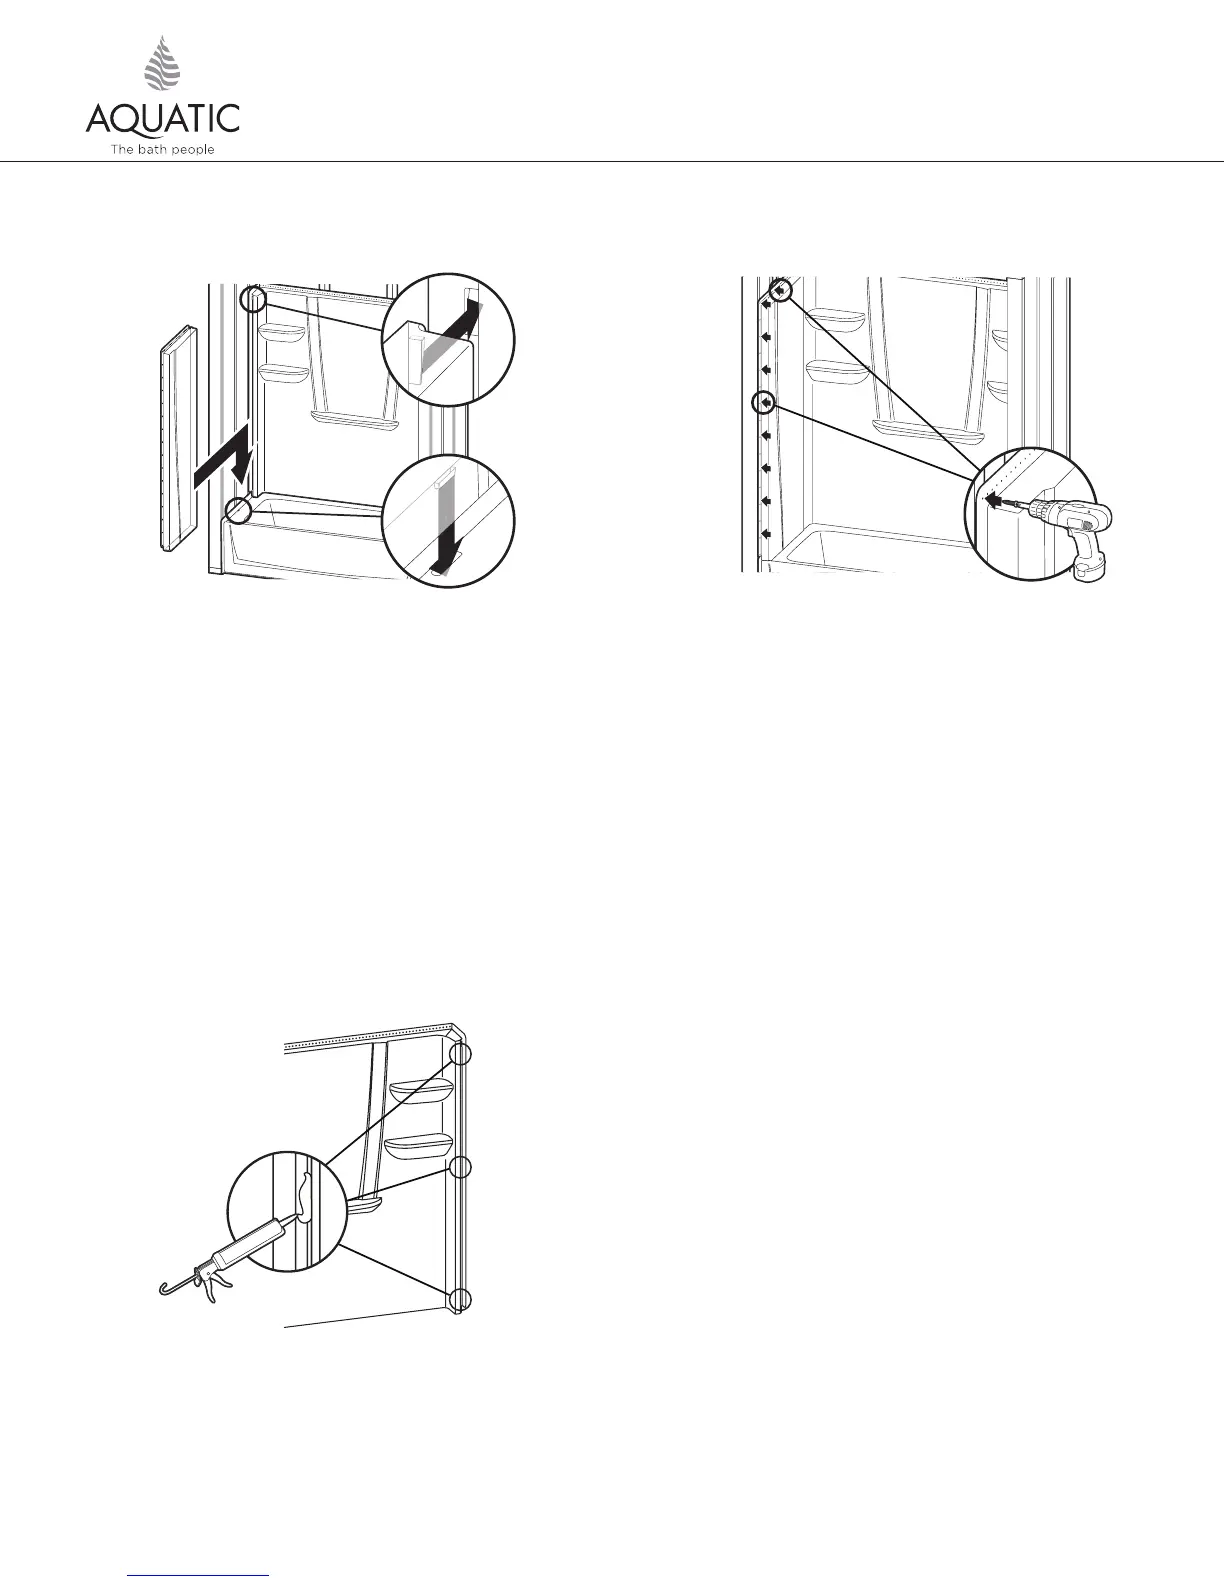
Slide left side wall into position. Be sure locking mechanism is engaged.
NOTE: To accommodate any stud variation, you may have to add a bead of
waterproof adhesive such as 100% silicone to eliminate any potential free play.
*See illustration 1A.
22
Fasten flanges along top of left side wall with fasteners of choice
(see Pre-Installation Planning #12) into each corresponding stud.
Fasten side (vertical) flanges to side studs 8” (200mm) on center.
NOTE: Finish caulking is not required, however, if using caulk,
weep channel must remain clear of obstruction to allow for proper
drainage of the unit.
23
1A
*If free play is observed in sidewalls of unit, a small amount of 100%
silicone can be added to location in question.
INSTALLATION PROCEDURE, CONT.