— 6 —
Customer Service (800) 945-2726 • www.aquaticbath.com
Installation Instructions
4-Piece A
2
Composite Shower System Models
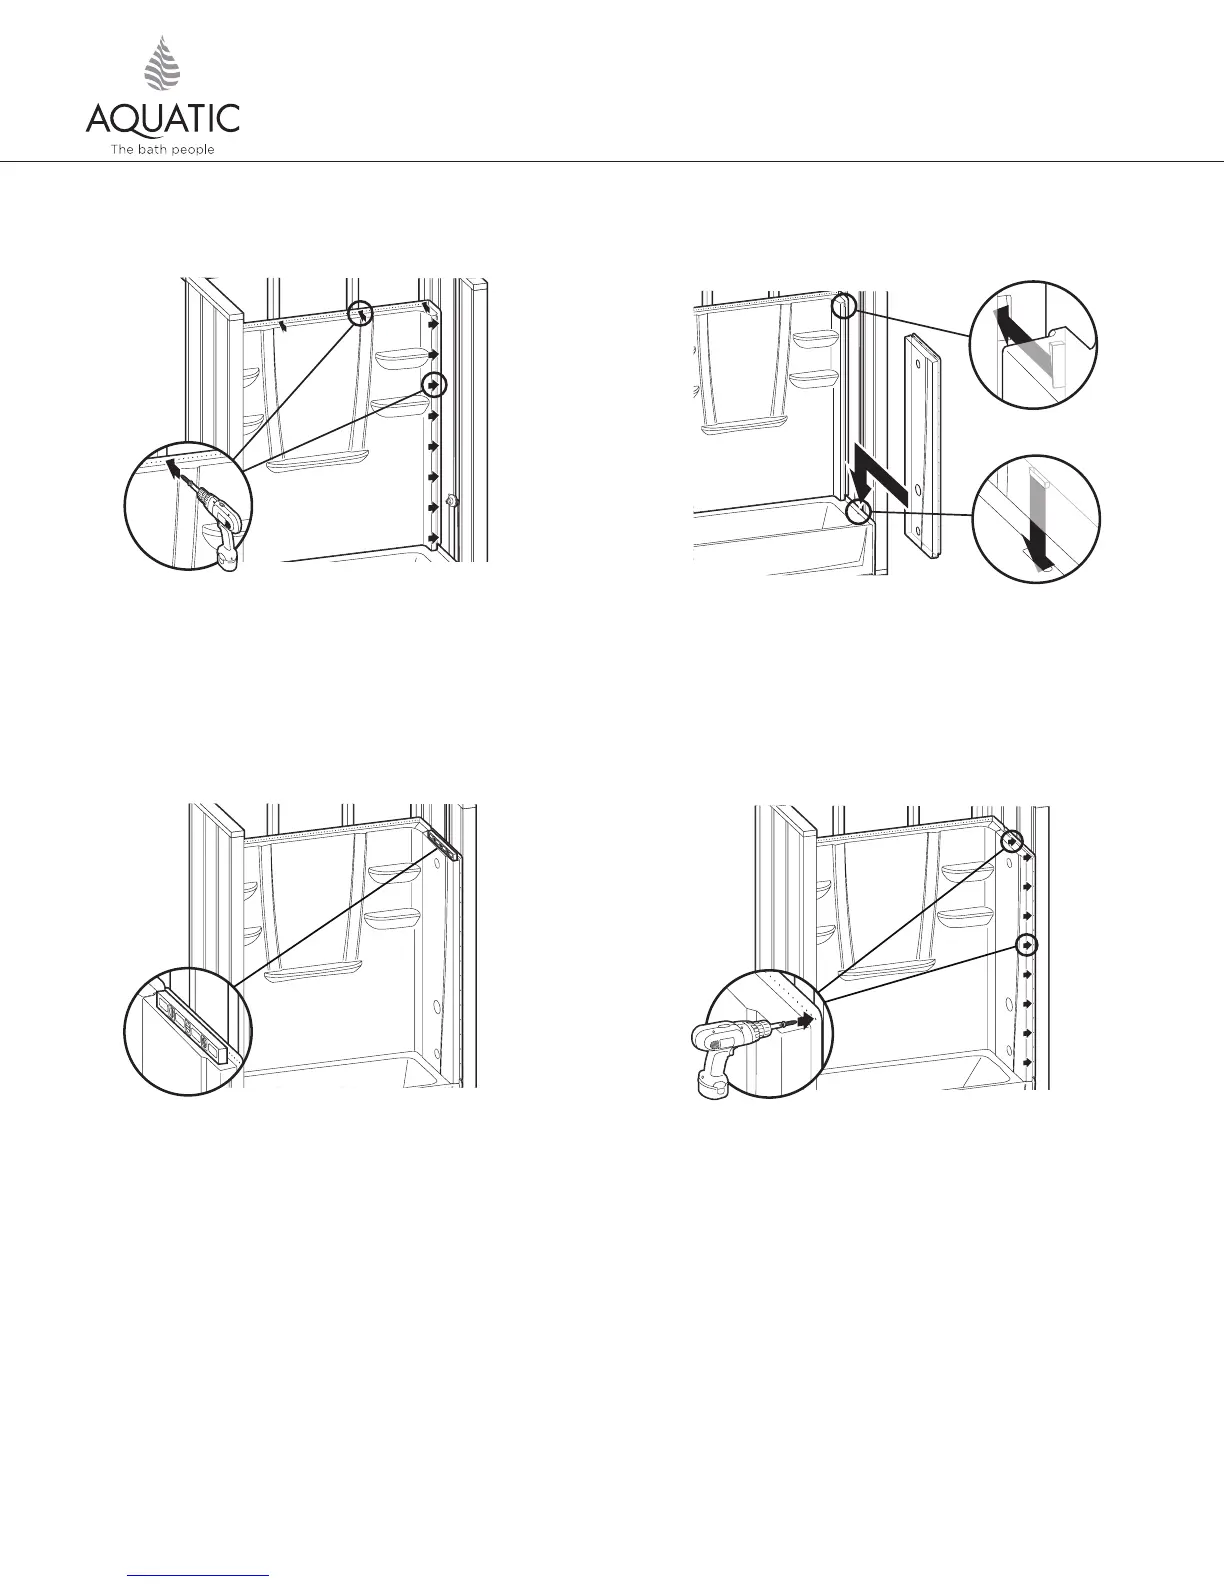
Fasten flanges along top of back wall with fasteners of choice (see Pre-
Installation Planning #12) into each corresponding stud. Pre-drill both
(vertical) side flanges and nail fasten to side studs 8” (200mm) on center.
NOTE: A stud should be added if adding accessories. Must have at least 1
fire block to secure vertically.
18
Slide right side wall into position. Be sure locking mechanism is engaged.
NOTE: Finish caulking is not required, however, if using caulk, weep channel
must remain clear of obstruction to allow for proper drainage of the unit.
19
Check for level. Shim if necessary.
NOTE: To accommodate any stud variation, you may have to add a bead of
waterproof adhesive such as 100% silicone to eliminate any potential free play.
*See illustration 1A.
20
21
Fasten flanges along top of right side wall with fasteners of choice
(see Pre-Installation Planning #12) into each corresponding stud. Fasten
side (vertical) flanges to side studs 8” (200mm) on center.
INSTALLATION PROCEDURE, CONT.