8 Super Shuffle Operating Manual
E. Diagnostics
Hardware Test: This menu has all the programs that will
help you troubleshoot the functions of the shuffleboard.
Laser/Sensor Test: This option brings up a screen
that will tell you if you are hitting a sensor and how
bright the beam is.
iButton Test: This option will test your HotButton
and make sure it’s working properly.
Reboot: This causes the shuffleboard to shut off then
immediately turn back on.
View Boot Log: This report shows the recent history of
when the Super Shuffle was turned on and off.
F. Transfer Settings
Write Settings to USB Drive: This option loads the set-
tings of the Super Shuffle to your USB Drive.
Read Settings from a USB Drive: This option takes
saved settings on a USB drive and loads them onto the
Super Shuffle.
Write Settings to HotButton: Writes the machine
configuration to an Operator HotButton.
Read Settings from a HotButton: Loads the settings
to the Super Shuffle from an Operator HotButton.
Section 5
Technical Descriptions
Below are technical descriptions of the many parts within the
Super Shuffle.
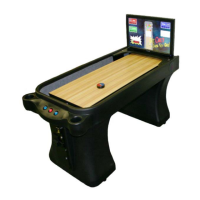
5.1 Monitor
28” Wide LCD Monitor
5.2 Power Supply
ATX Switchable Power Supply: 12 VDC,
Swtchable between 120 and 230 VAC
5.3 Hardware
PC Board: SATA 3GB/s DDR2 1066
RAM: 1024MB DDR2
Hard Drive: SATA 2.5” 40GB
5.4 Operating Conditions
The SuperShuffle can be operated at 115~VAC or
220-240~VAC. There is a switch on the power
supply to change between 115 Volts and 220-240
Volts.
Power consumption is 175 Watts at 50/60Hz.
W
arning: Make sure the voltage on the powersup
-
ply is set correctly for the area you are in.
 Loading...