EasyManuals Logo

araknis AN-310-SW-R-24 Quick Start Guide

araknis AN-310-SW-R-24
20 pages
To Next Page IconTo Next Page
To Previous Page IconTo Previous Page
Page #7 background imageLoading...
Page #7 background image
7
Araknis Networks 310 Series Layer 2 Managed Network Switches
Quick Start Guide
© 2016 Araknis Networks®
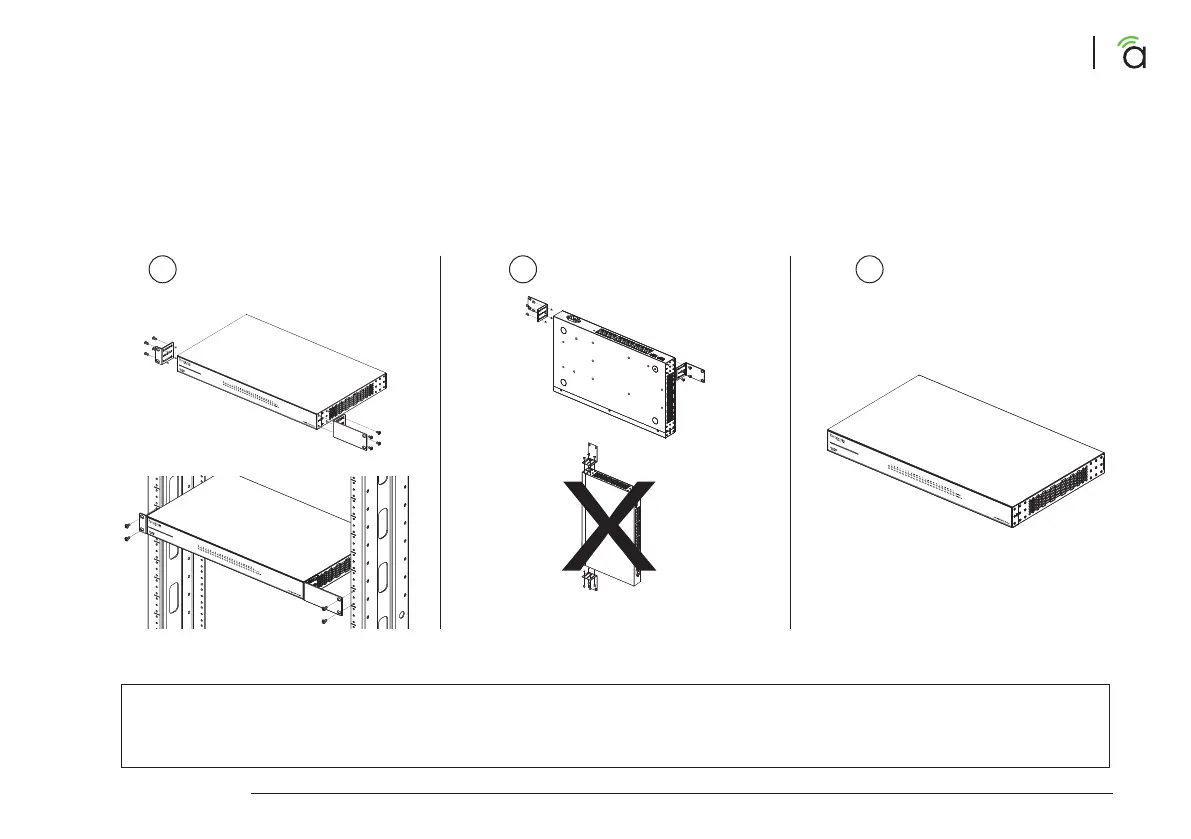
Step 2: Install
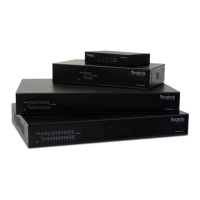
Rack Mount Wall Mount Shelf Mount
A B C
NOTES: Do not stack other equipment on top of the switch to avoid possible interference or damage.
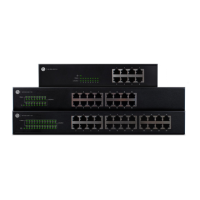
Mounting is the same for models with both front- and rear-facing ports.
For the AN-310-SW-F/R-24-POE and AN-310-SW-F-48, wall mounting is not recommended.
The switch must be wall mounted with
the Ethernet ports facing either the floor
or the ceiling.

Other manuals for araknis AN-310-SW-R-24

Questions and Answers:

Question and Answer IconNeed help?

Do you have a question about the araknis AN-310-SW-R-24 and is the answer not in the manual?

araknis AN-310-SW-R-24 Specifications

General IconGeneral
Brandaraknis
ModelAN-310-SW-R-24
CategorySwitch
LanguageEnglish

Related product manuals