4 5
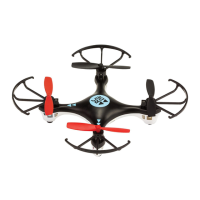
Drone
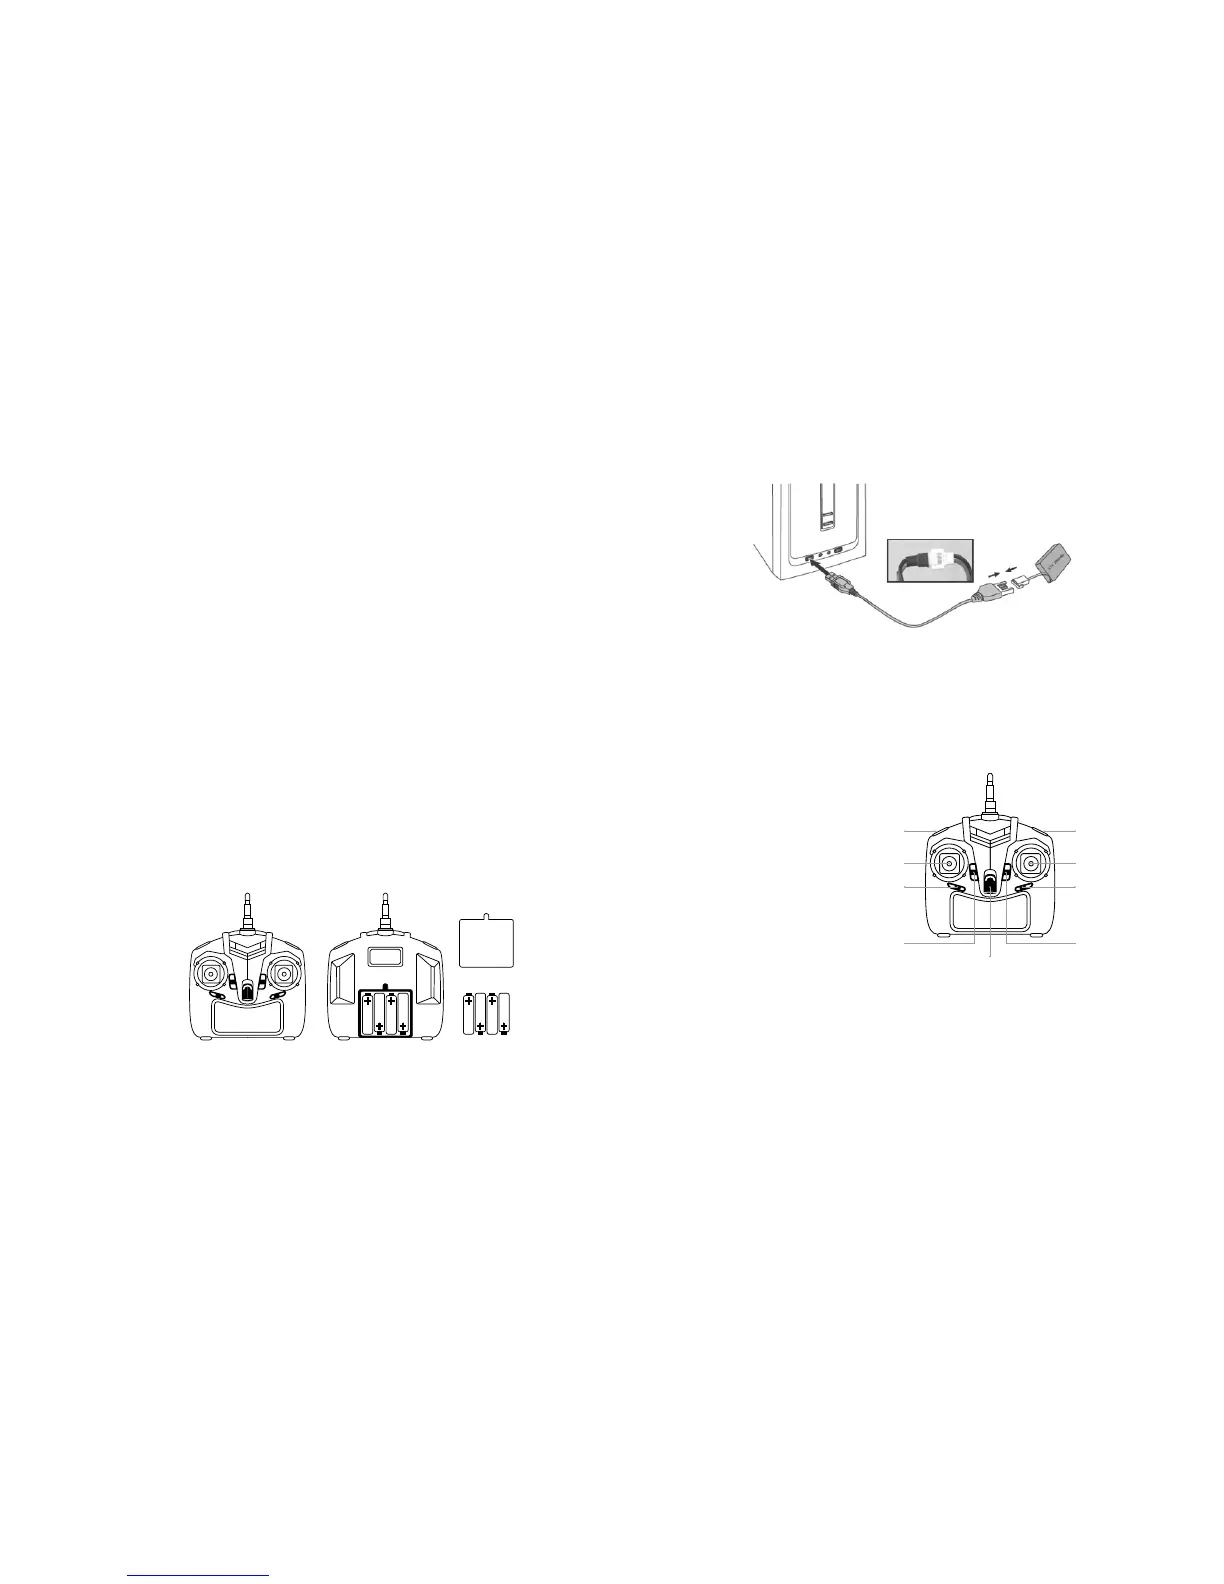
Remove the battery from the drone. Once the battery is fully disconnected, insert the connector of the battery into
the USB charge cable and insert into a PC/Mac, laptop or USB mains adaptor. The red LED on the USB will appear
whilst charging and will turn off once it is fully charged and ready to use.
Please read this manual carefully before use.
Box contents
– Drone
– Controller
– User manual
– Drone battery
– Spare blades
– USB charging cable
Preparing to use the drone
1. Fully charge the battery and insert it into the drone. Then insert the required batteries into the controller.
See Battery installation and charging.
2. Make sure the take off/ight area is clear of people or other obstacles.
3. Press the power button on the controller (one beep), push the left stick up and back down (double beep)
and once the LED lights stop ashing, it is then ready to use.
4. Push the left stick (throttle) slowly forward, the drone will take off.
Flying safety precautions
– To avoid choking, keep small parts out of reach from children
– Make sure to carefully push upwards with the throttle when taking off, to avoid anyone getting hit with the drone
– Disconnect the battery from the drone after use and then turn off the controller
– Do not put the battery in high temperatures or near a heat source
– To avoid injury or damage, make sure the drone is own at least 2 metres away from people or obstacles
– When used by a child, make sure an adult is supervising. Make sure the drone is kept in clear view at all times
– Always turn the power of the controller off and drone when not in use.
Battery installation and charging
Controller
A – Battery cover
B – Battery details (4 x AA)
Battery protection
The Arcade drone is equipped with low-voltage protection, meaning that when the battery reaches a low capacity,
the programmed control system will stop the electrical supply to the rotors. Once this happens, recharge the battery
fully before using the drone. When the blades are jammed, to prevent damage, the control system will stop electricity
to the rotors.
Controller
a) Speed select
b) Left stick/Throttle
c) Trim slider B
d) Trim slider A
e) Power switch
f) Trim slider D
g) Trim slider C
h) Right stick/Rudder
i) LED on/off
A
B
a
b
c
d
e
i
h
g
f
To install batteries into the controller:
Carefully remove the screw from the above section of the battery cover, remove the cover and insert 4 x 1.5 V AA
batteries, according to indicated polarity.
Note: Batteries are not included.
Make sure the batteries (AA) are correctly installed under the supervision of an adult. Refrain from mixing old and
new batteries as well as different types.