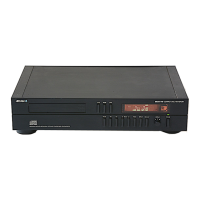
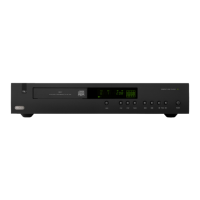
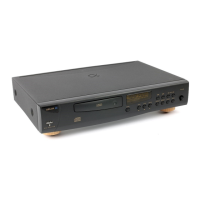
Upgrading a CD72 ( TEXT ) to CD92 ( TEXT )
1. Disconnect the mains supply from the DiVA CD player
.
2. Remove the top cover by taking out the 2 screws from the top edge of the rear
panel (marked 1) and on each side (marked 2).
3. Pull off the sticky plastic gasket between the digital output socket and the
audio output sockets to reveal the 4 audio output socket holes through which
the DAC board sockets will pass.
4. Any remnants of adhesive can be removed by rubbing it gently with your
finger and rolling it off. We do not recommend the use of solvents.
5. Fit the 2 supplied PCB (printed circuit board) pillars to the holes in the main
board on either side of the flexfoil coming from the display board. These are
marked 3 on the drawing overleaf. The big end of the PCB pillars goes into
the main PCB. These push in and clip home. Take great care not to damage
the main circuit board.
6. Note: The original nickel plated audio output sockets are no longer connected
after the upgrade and cannot be used. However the digital output still
functions.
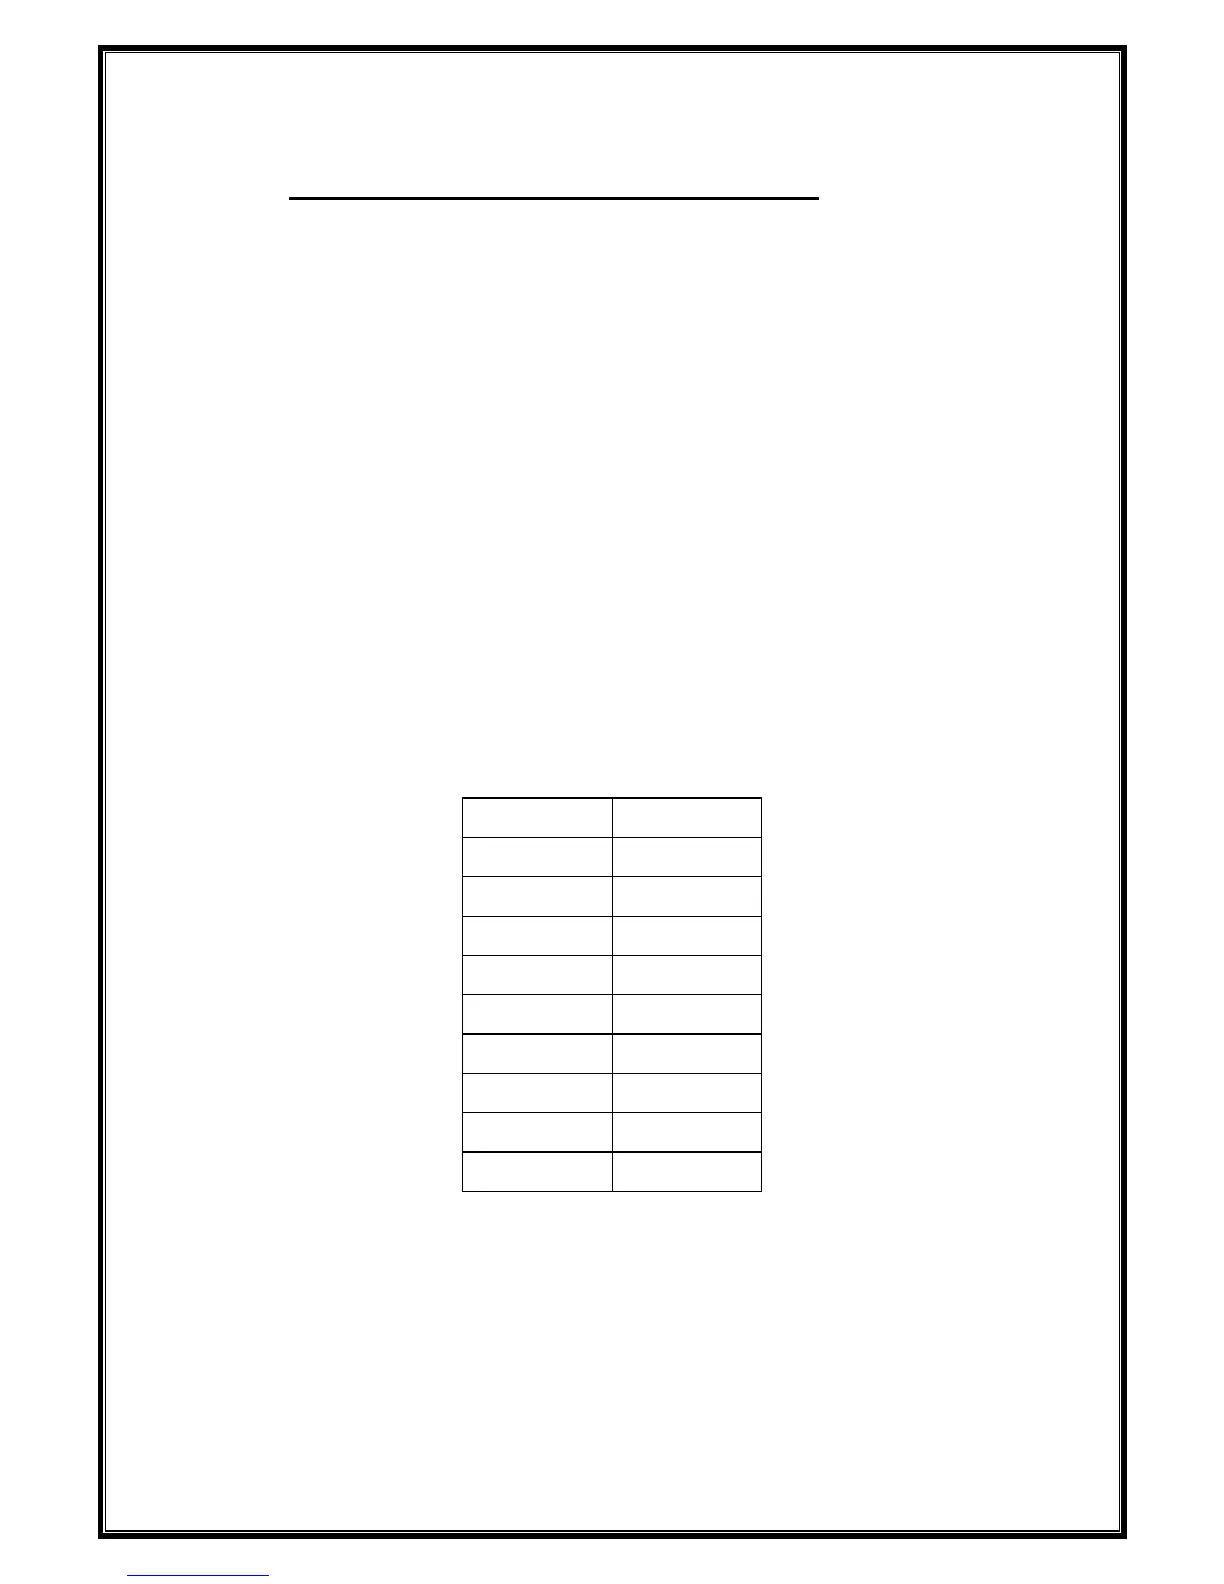
7. Set the main board jumper settings as listed below :-
PL200 ON
PL201 ON
PL202 ON
PL203 OFF
PL204 ON
PL205 OFF
PL300 2 and 3
PL400 OFF
PL401 OFF
PL402 OFF
8. Fit the magnetic shielding plate ( part no E922MC ) to the adhesive pad ( part
no E923MC).
Peel the backing off the other side of the mains transformer. Align the top
edge with the top of the transformer and fit centrally.
9. Take static precautions first. With the aluminium extrusion of the DAC
module uppermost fit the flexfoils from the module in to the appropriate
sockets in the main board, ensuring they are pushed fully home. If they are
not pushed fully home, the unit may not read discs. You may find it helps to
slide the module into the unit so that the audio output sockets fit through the
holes in the rear panel and angle the module slightly upwards to achieve this.