6. Unit Disassembly sequence
Screws Position Quantity
1
Sharp-End Screws 4x12
Side panel/Front an back
panel/Upper cover/Electric
box/Metal bracket
60pcs
2
Double-End Screws 3x8
Light Setting Board 2pcs
3 Sharp-End Screws 3.5x10
Light Board/Receiver
Board/Button Board
7pcs
4 Truss-head Screws 4x10
Air-outlet/Main
PCB/Protecive cover of
motor/water pump
16pcs
5
Stainless Stell Screws
4x12
Evaporator end plate 4pcs
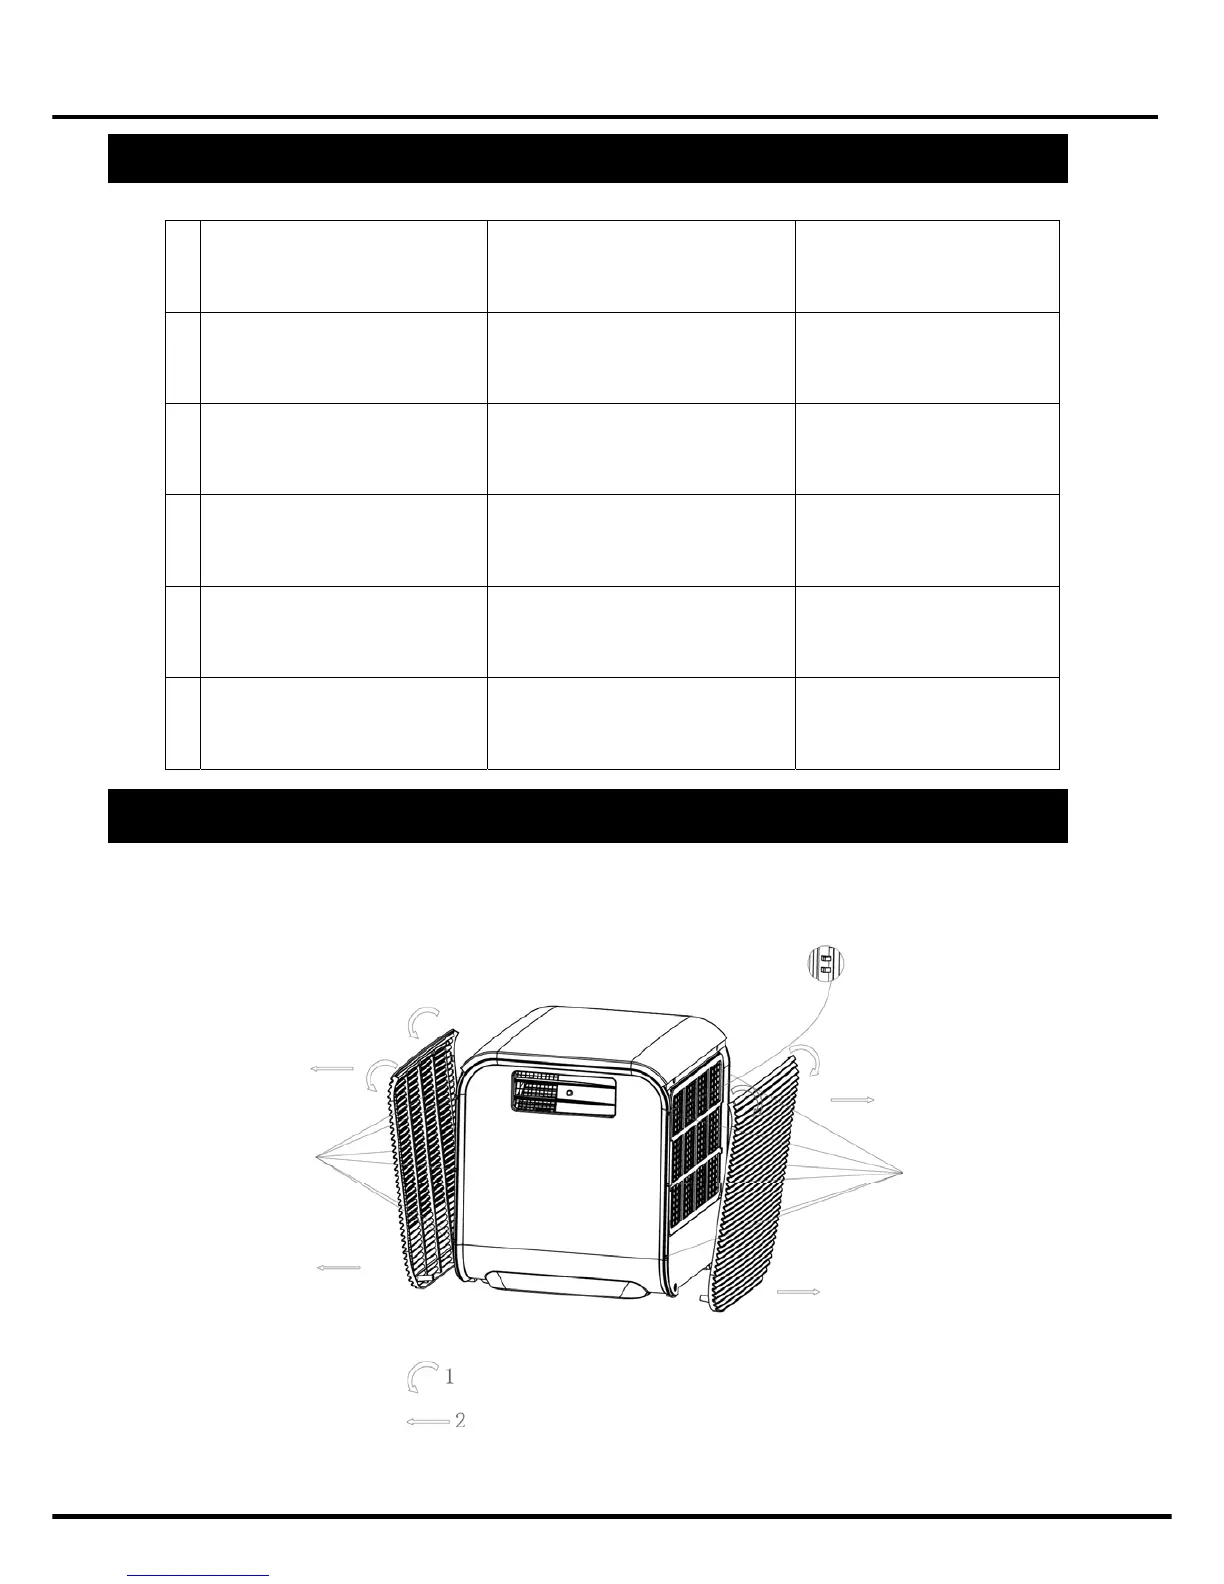
6.1 Step 1 - Casing Disassembly
Disassemble the casing from both left & right side
Extend both left and right side panel outwards, see below photo
Unit disassembly sequence
 Loading...