Do you have a question about the Argon 18 E-118 and is the answer not in the manual?
Install headset bearings and the fork into the frame for steering.
Install steering column set screw and compression column in head tube.
Secure the steering column with the safety screw at 6Nm.
Select desired handlebar height and tighten screws to 6Nm.
Install vertical spacers and sleeve nuts for stack height adjustment.
Assemble and install the swivel unit for inclined handlebar positions.
Cut extension bars to length, apply carbon fiber gel.
Install ski bent extensions and configure cockpit length with connector bridge.
Install rear derailleur cable housing from drive side drop-out.
Install front derailleur cable housing under bottom bracket shell.
Route front brake cable housing through handlebar center.
Install rear brake cable housing under bottom bracket shell.
Use a brake cable and metal end to route Di2 cable easily.
Use proper grommets on top tube for Di2 cable routing.
Install Di2 battery in chainstay or seatpost with grease.
Install brake springs in fork holes for tension, respecting color code.
Adjust brake pads to fit rim width and ensure proper clearance.
Configure brake pad spacing using spacers based on rim width.
Remove the brake arm stopper prior to brake installation.
Install rear brake springs in frame holes for tension.
Install and adjust brake arm stopper after wheel placement.
Secure the plastic cable guide cover with screws at 2Nm.
Apply adhesive Velcro onto the armrests.
Screw armrests into connector bridge at 5Nm.
Install armrest pads to complete the assembly.
Prepare seat clamp thread by removing plastic tape.
Insert the seat clamp thread into the frame.
Insert seatpost with carbon fiber gel applied.
Position seatpost and insert seat clamp wedge.
Tighten seat clamp set screw to maximum 10Nm.
Install saddle on rocker and tighten rail clamp.
Tighten upper rocker clamp screw, maintaining a small gap.
Adjust saddle angle and tighten lower rocker clamp screw.
Adjust saddle offset and finish tightening rail clamp.
Flip seatpost for triathlon or road positions (-10 to +15mm offset).
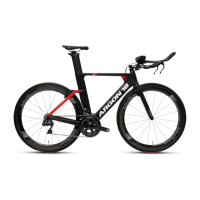
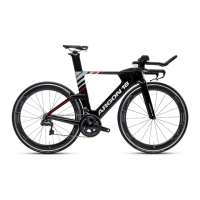
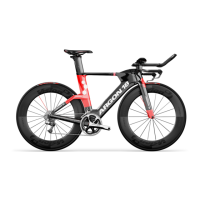
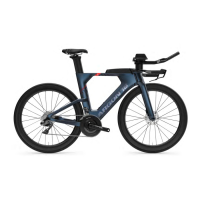
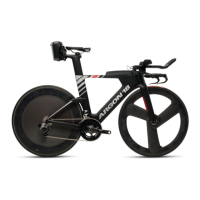
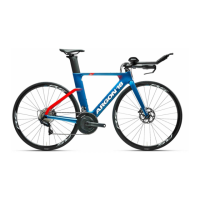
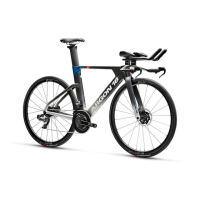
| Sizes Available | XS, S, M, L, XL |
|---|---|
| Front Derailleur | Shimano Ultegra Di2 |
| Rear Derailleur | Shimano Ultegra Di2 |
| Bottom Bracket | Shimano |
| Chain | Shimano |
| Cassette | Shimano |
| Stem | Argon 18 |
| Saddle | Prologo |
| Seatpost | Argon 18 carbon |
| Groupset | Shimano Dura-Ace or Ultegra (depending on model year and build) |
| Crankset | Shimano Dura-Ace or Ultegra (depending on groupset) |