Assembly Instructions
11
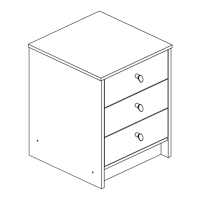
Step 12
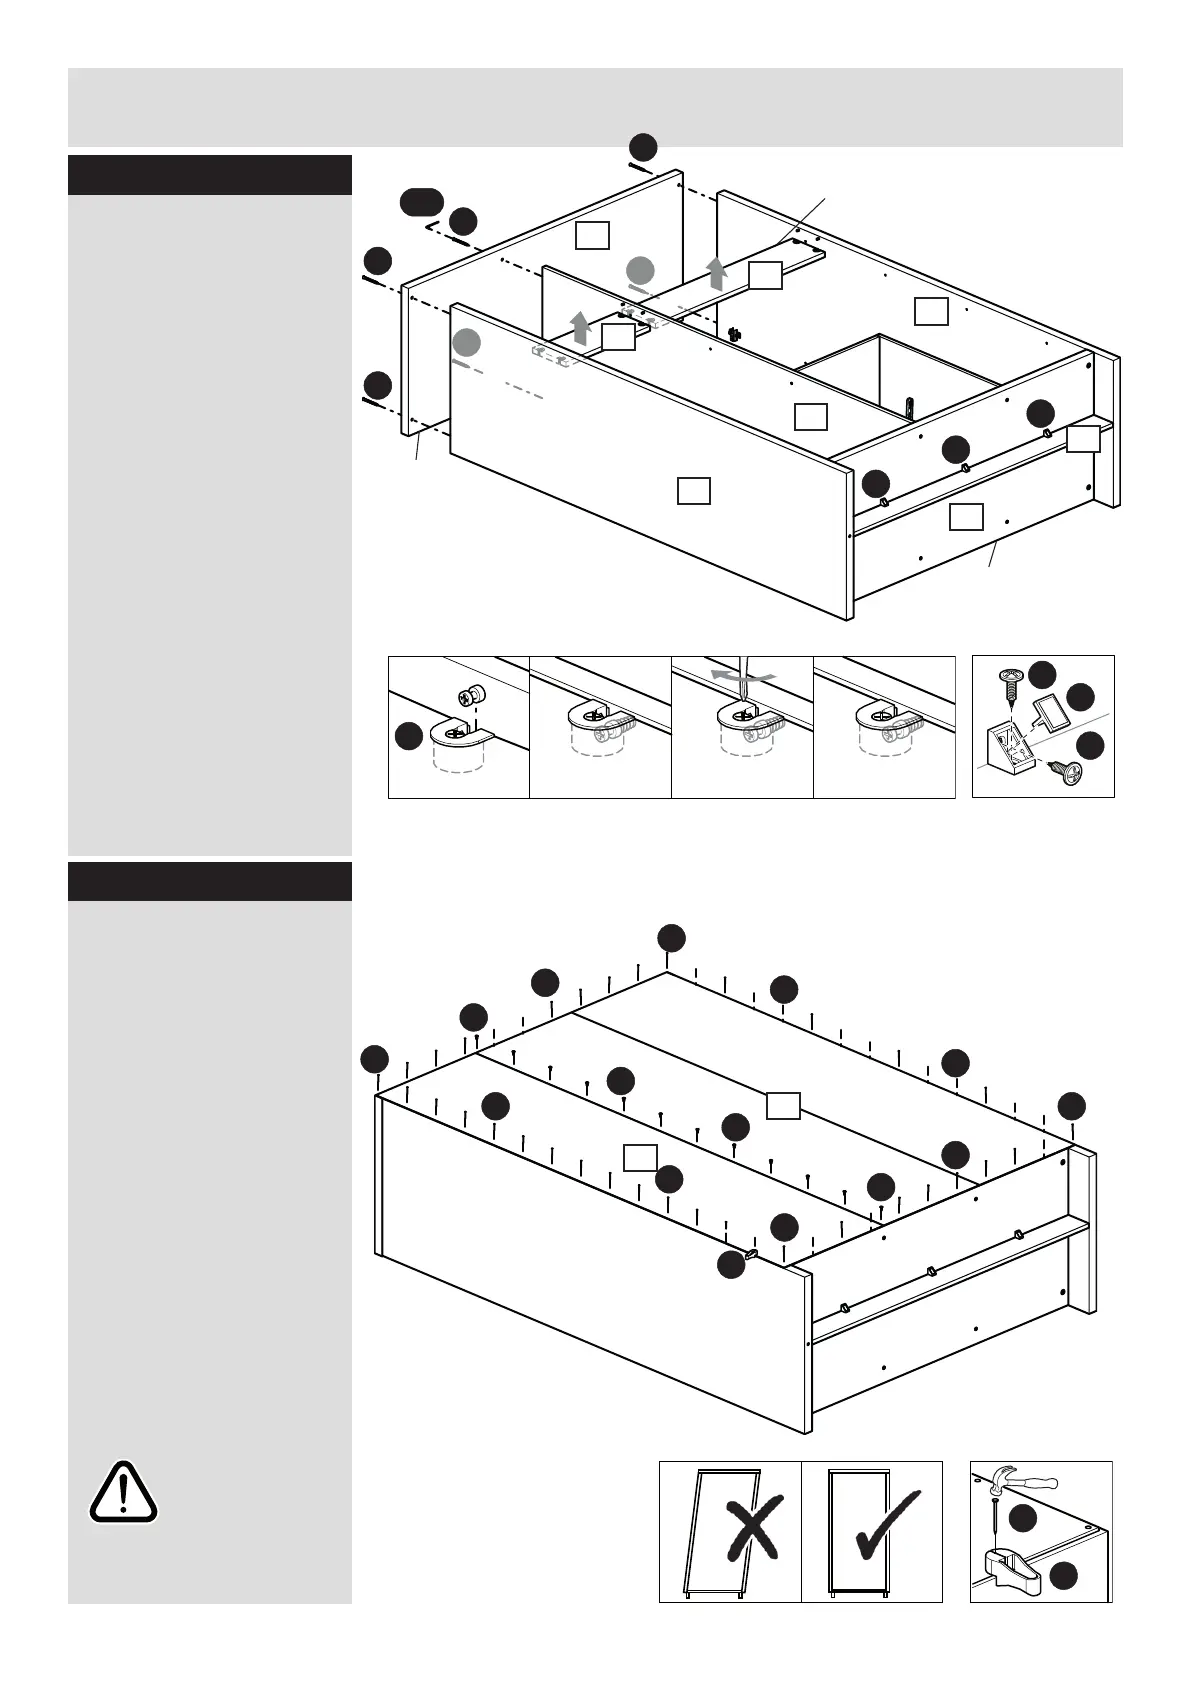
Step 13
X
X
L
L
L
L
L
L
L
L
L
L
L
I
I
I
I
8
4
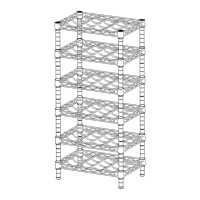
Fitting back panels
Attach foldy back 4 and
back 8 to the backside
with the coloured surface
facing the inside using nails
L and screws I.
Use nail holder X to hold
the nails L vertical and at
correct distance as you
secure foldy back 4 and
back 8.
Nails L should be spaced
about 150mm apart.
Screws I should be
spaced about 165mm apart.
Important:
Furniture MUST
be ‘square’ when
back is attached.
Finished
front edge
Finished
front edge
Finished
top edge
G
G
G
G
G
G
K
AF
I
I
U
U
U
U
3
2
10
1
11
7
15
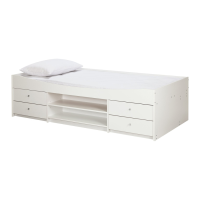
Attaching panels
Attach top 9 with 6x
confirmat screw G onto
left side 1 , right side
2 and upright 3. Use
allen key f.
Position small plinth back
7 onto right side 2 and
upright 3.
Position plinth back %
onto left side 1 and
upright side 3.
Use a screwdriver to turn
Expando housing K
clockwise to lock.
Mount corner connector U
with 2 screws I on plint
! and bottom 0.
9