GB - 15
3. Remove height guide and bottom spacer.
4. Remove cutter disk and any of the
remaining spacers required to achieve the
desired cutting height.
5. Reinstall the cutter disk.
6. Reinstall the spacers required to achieve
the desired cutting height.
7. Reinstall height guide on the hex shaft.
NOTE: Be sure the hex shaft and the hex hole
in the height guide are correctly aligned.
8. Reinstall washer, lock washer and
capscrew. Tighten securely.
NOTE: The minimum cutting height may be
lowered to 1-3/16" (3 cm) by using one spacer
below the cutter disk and installing the cutter
disk upside down on the hex shaft.
HEIGHT GUIDE REPLACEMENT
The height guide requires periodic
replacement. When used on hard surfaces,
such as concrete, it may need to be replaced
more frequently. If height guide is damaged or
worn, it must be replaced.
1. Raise the cutter head off the ground.
2. Loosen and remove capscrew, lock
washer and washer.
3. Remove worn height guide.
4. Install new height guide.
5. Reinstall hardware and tighten securely.
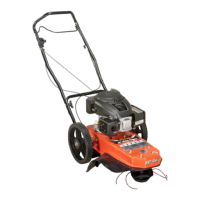
SWIVEL HEAD ADJUSTMENT
1. Stop the engine and wait for all moving
parts to stop. Disconnect the spark plug
wire and place it securely away from the
spark plug.
2. Loosen the wing knob on the bracket at
the rear of the unit.
3. Rotate the back of the unit in the opposite
direction of the side you wish to cut with.
4. Tighten wing knob securely.
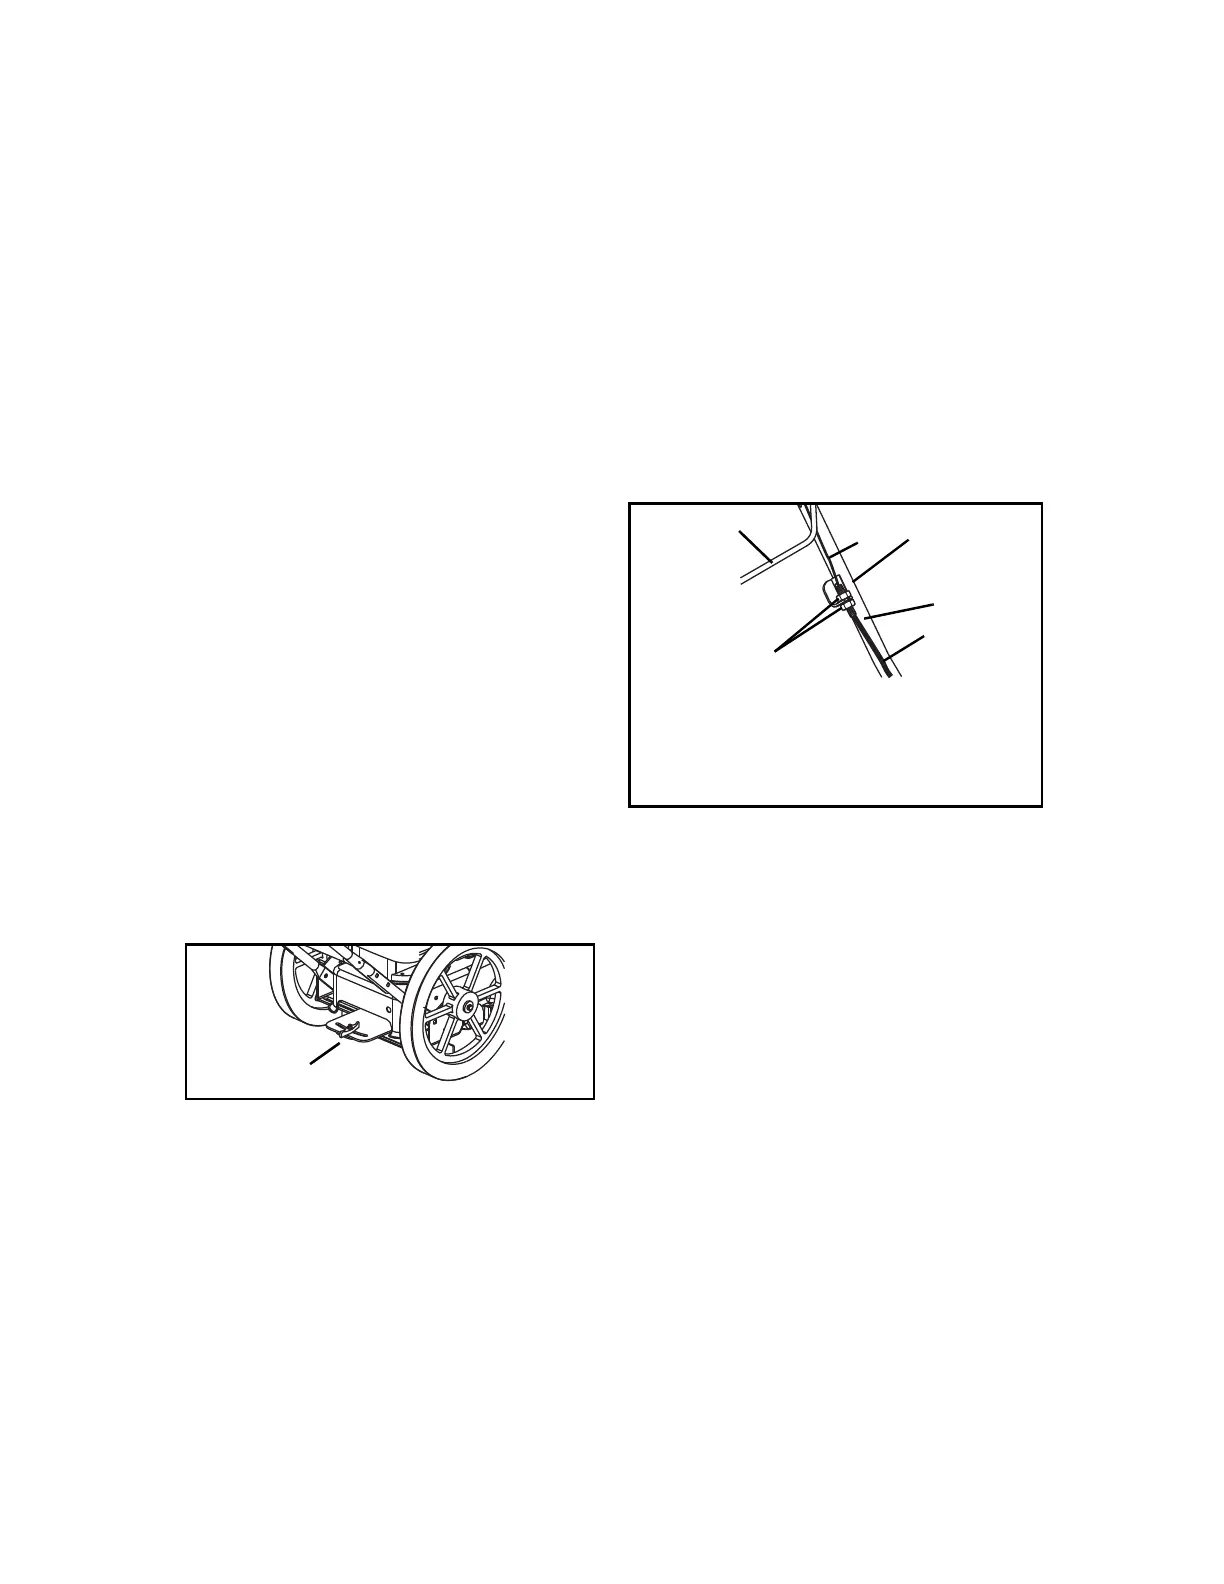
CONTROL BAIL TRAVEL
ADJUSTMENT
Control Bail must disengage trimmer head as
control is released. There should be a slight
amount of slack in the control cable wire when
bail is fully released. If the trimmer head does
not disengage completely when the control
bail is released, increase the amount of slack
in the control cable wire as follows:
1. Loosen the bottom cable nut.
2. Push the cable conduit upward toward the
control bail.
3. Tighten the upper cable nut onto the
mounting bracket to lock the conduit in
place.
4. Turn nuts against mount to lock in
position.
Wing Knob
OX0070
1. Control Cable
2. Control Cable
Wire
3. Control Bail
4. Handlebar
5. Cable Nuts
6. Cable Conduit
2
4
5
1
OX0120
3
6

 Loading...