1
GB
To dispose of the device prop-
erly according to European
regulation 2012 19 EU
please read the relevant
pacage leaet
ALWAYS KEEP THESE
INSTRUCTIONS.
Risk of burns
Never point the ow of steam or
water towards your ody, e care-
ful with the steam water pipe
Ris of urns
Do not touch the outer metal parts
or the lter holder while the device
is in use, as this can lead to urns
If water does not ow from the lter
holder, this could e a result of a
clogged lter Unplug the power
supply and wait for approimately
ten seconds Then remove the lter
holder, which may lead to residual
pressure and a spraying of water
Then you can proceed to clean
the section pictured
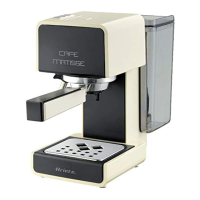
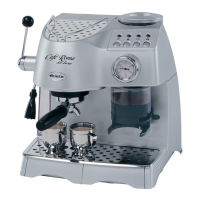
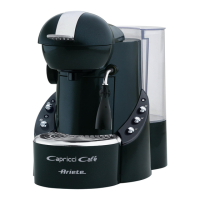
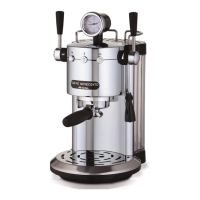
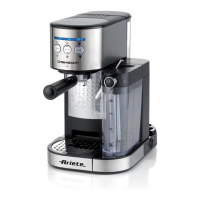
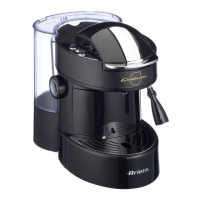
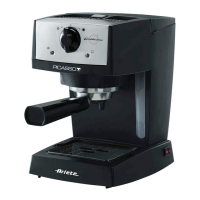
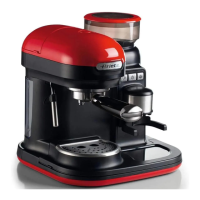
Description of the device
1
Espresso machine
2
Steam release utton
3
ON OFF utton
4
offee release utton
5
Steam utton
6
ains plug
7
up grill
8
Water collection container
9
easuring spoon
10
Filter holder
11
Individual nozzle discs
12
Silicone perforated dis
13
Filter for 2 cups
14
1 cup pad lter
15
offee grinder
16
il frother
17
Steam pipe
18
Detachale water tan
19
Lid (water tan
Start-up
Before assemly, ensure that the mains voltage
availale corresponds to the operating voltage
necessary for the the appliance (see lael
Place the appliance on a at, horizontal surface
Remove the water tan
18
Wash the water tan
18
efore rst use and ll it
with fresh, still water (Fig A up to the A mar
Put the water tan
18
ac in place (Fig B
Note: ae sure that the water tan
18
has een
replaced correctly Otherwise it may loc the ow
of the coffee
Insert the plug
6
into a socet, which is availale
over an earthing device
After you have lled the water tan
18
with fresh,
still water, place a container with a capacity of at
least half a litre under the lter holder connection
and the steam pipe Press the ON OFF switch
3
Press the coffee release utton
4
Wait for water
to come out of the side of the lter holder Press
the steam release utton
2
and allow the water
to leave the steam pipe
17
Press the steam
1363_Espressomaschine_Content_IT_GB_FR_DE_ES_PT_NL_GR_RU_AE.indd 17 07.08.15 09:12