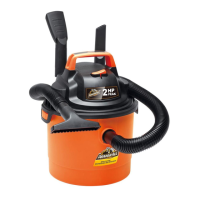
10
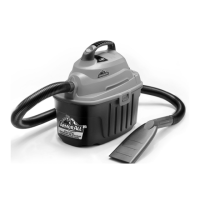
INSTALLING & CLEANING CARTRIDGE FILTER
Installing Cartridge Filter
1. Verify that the power cord is disconnected from the outlet.
2. Remove lid and power head and place in upside down position.
3. Install the cartridge lter over the lter cage with the at end of the lter towards the vacuum lid. Carefully push lter in
until it stops against the lid. (g. 2 & 3)
4. Place lter retainer on top of cartridge lter over the raise lip and tighten down by turning retainer clockwise, do not
over tighten. (g. 3 & 4)
Removing and Cleaning Cartridge Filter
1. Unlock and remove the lter retainer by tuning retainer handle counter clockwise.
2. Carefully hold and pull the cartridge lter up for removal. (g. 6)
3. Clean the cartridge lter by gently tapping or brushing dirt off. Cleaning should not be done indoors in living areas.
For optimal performance a new lter is recommended.
4. Install cleaned or new lter into place as instructed above in steps 2 and 3 of Installing cartridge lter.
5. Wet lters should be removed and allowed to air dry for 24 hours before installing onto the lter cage.
IMPORTANT!
Clean or change the cartridge lter regularly for best performance. ALWAYS USE CARTRIDGE FILTER
FOR DRY VACUUMING. If the machine is used with out the cartridge lter, the motor will burn out and the warranty will
be voided. Always keep spare lters on-hand.
NOTICE!
The lters included are made of high quality materials designed to stop small dust particles. The cartridge lter
should be used for dry pick-up only. A dry cartridge lter is necessary to pick up dust. If the cartridge lter is wet, it will
clog quickly and be very difcult to clean. Handle the lter carefully when removing it for cleaning and replacing it. Check
the lters for tears or small holes, a small hole can let dust pass through and out of the cleaner. Do not use a lter with
holes or tears, replace it immediately.
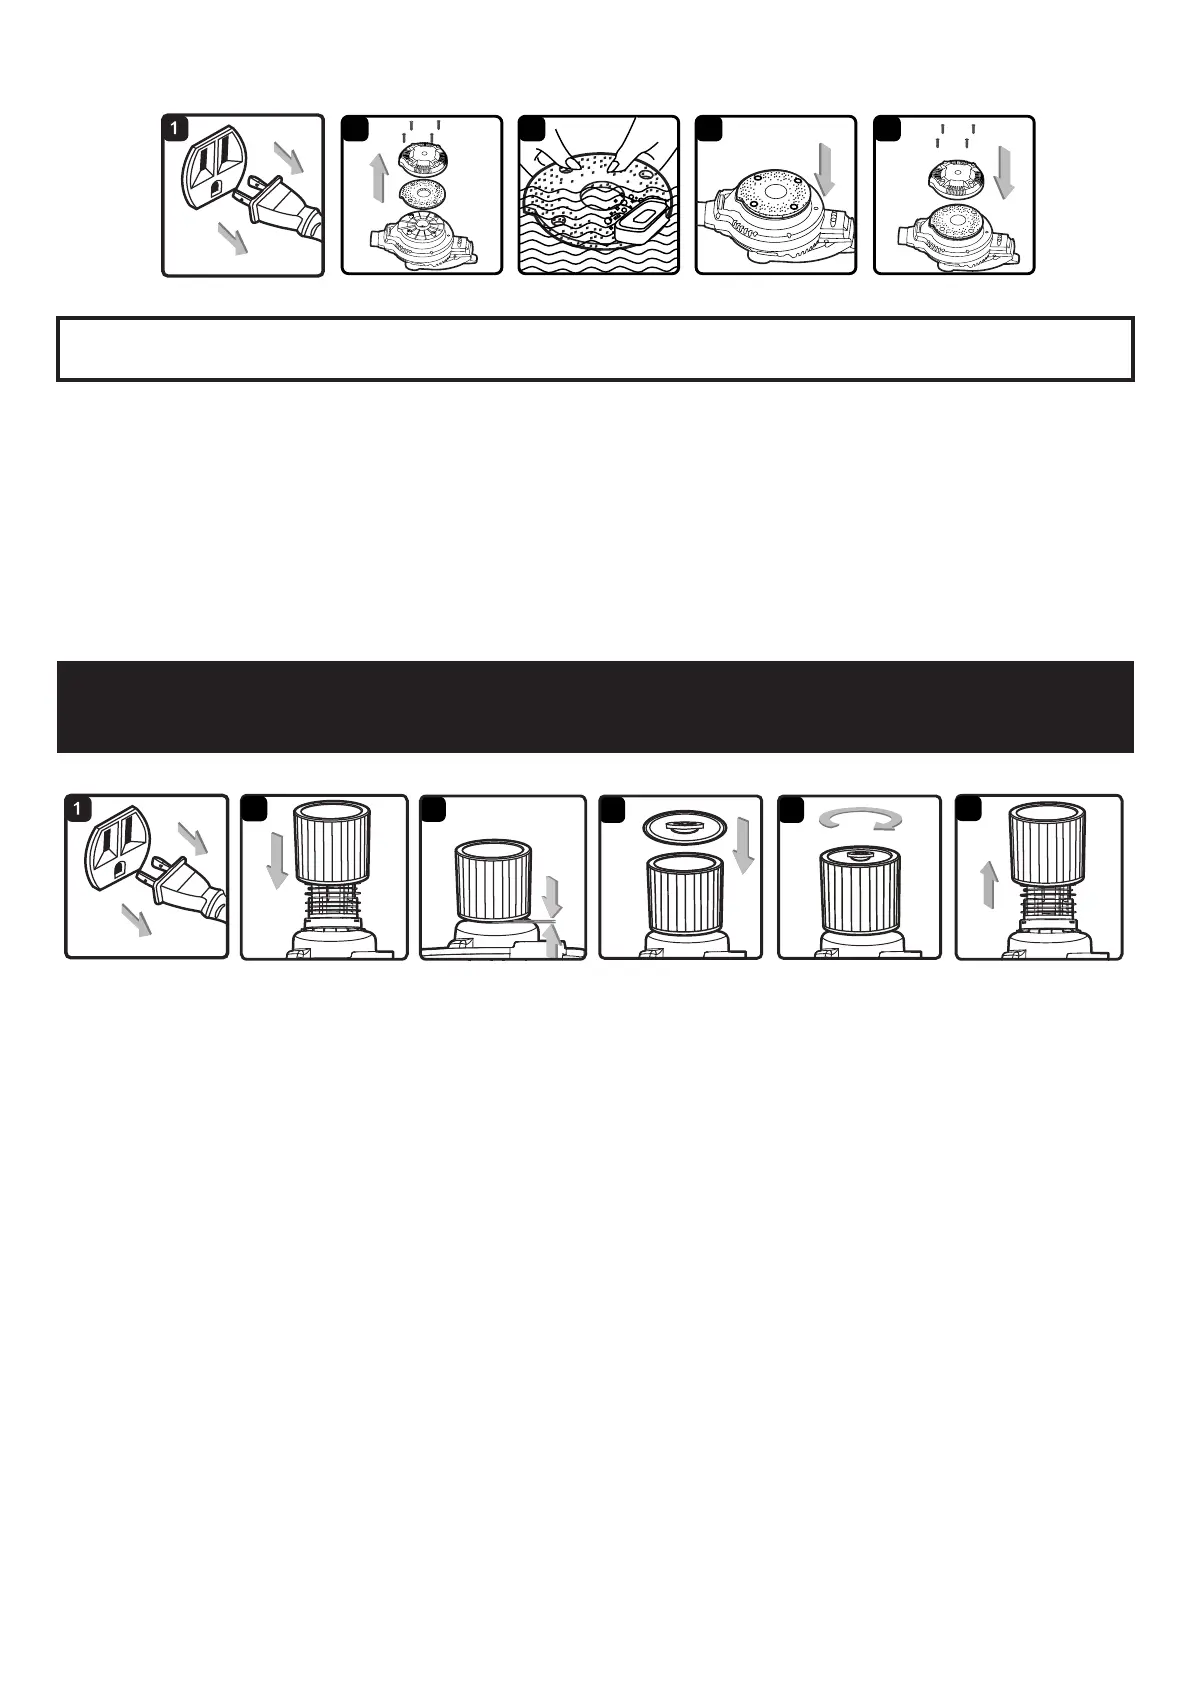
BLOWER INTAKE
After using the blower, examine the bottom of the blower for debris and blockages and remove if found. To clean the
foam pad of the intake:
1. Verify that the power cord is disconnected from the outlet. (g. 1)
2. Remove the four screws holding the intake shield and lift off the shield. (g. 2)
3. Remove the foam pad from the blower and clean the foam pad with soapy water and allow to dry. (g. 3)
4. Check the foam pad for reuse. If you need to replace the foam pad consult the parts list of the manual.
5. Replace the foam pad on to the blower aligning the wholes to the screw tabs. (g. 4)
6. Reinstall the intake shield and the four screws. (g. 5)
WARNING:
ALWAYS DISCONNECT THE PLUG FROM THE POWER OUTLET BEFORE REMOVING THE POWER
HEAD FROM THE CONTAINER.