6
Locate the WR2100 in another place for better
wireless reception and performance If the signal
strength is weak (the color is red).
Step 8: Now you can select a suitable location for the WR2100. It's
preferable to place the device near the center of your wireless coverage
area. Check the LED color and make sure it’s not red.
Step 9: Power on the client device (ex. IP Camera) and make sure it is
in wireless mode.
Step 10: Press the WPS button (less than 3 seconds) of the WR2100.
The WPS LED will start blinking for 2 minutes. Then press the WPS
button on the client device. Make sure to press the button within 120
seconds (2 minutes) after pressing the WR2100 WPS button.
Step 11: Wait for the WPS LEDs to be solid on both WR2100 and the
client device. Check the LED color again.
Step 12: Now the client device can access to the wireless network.
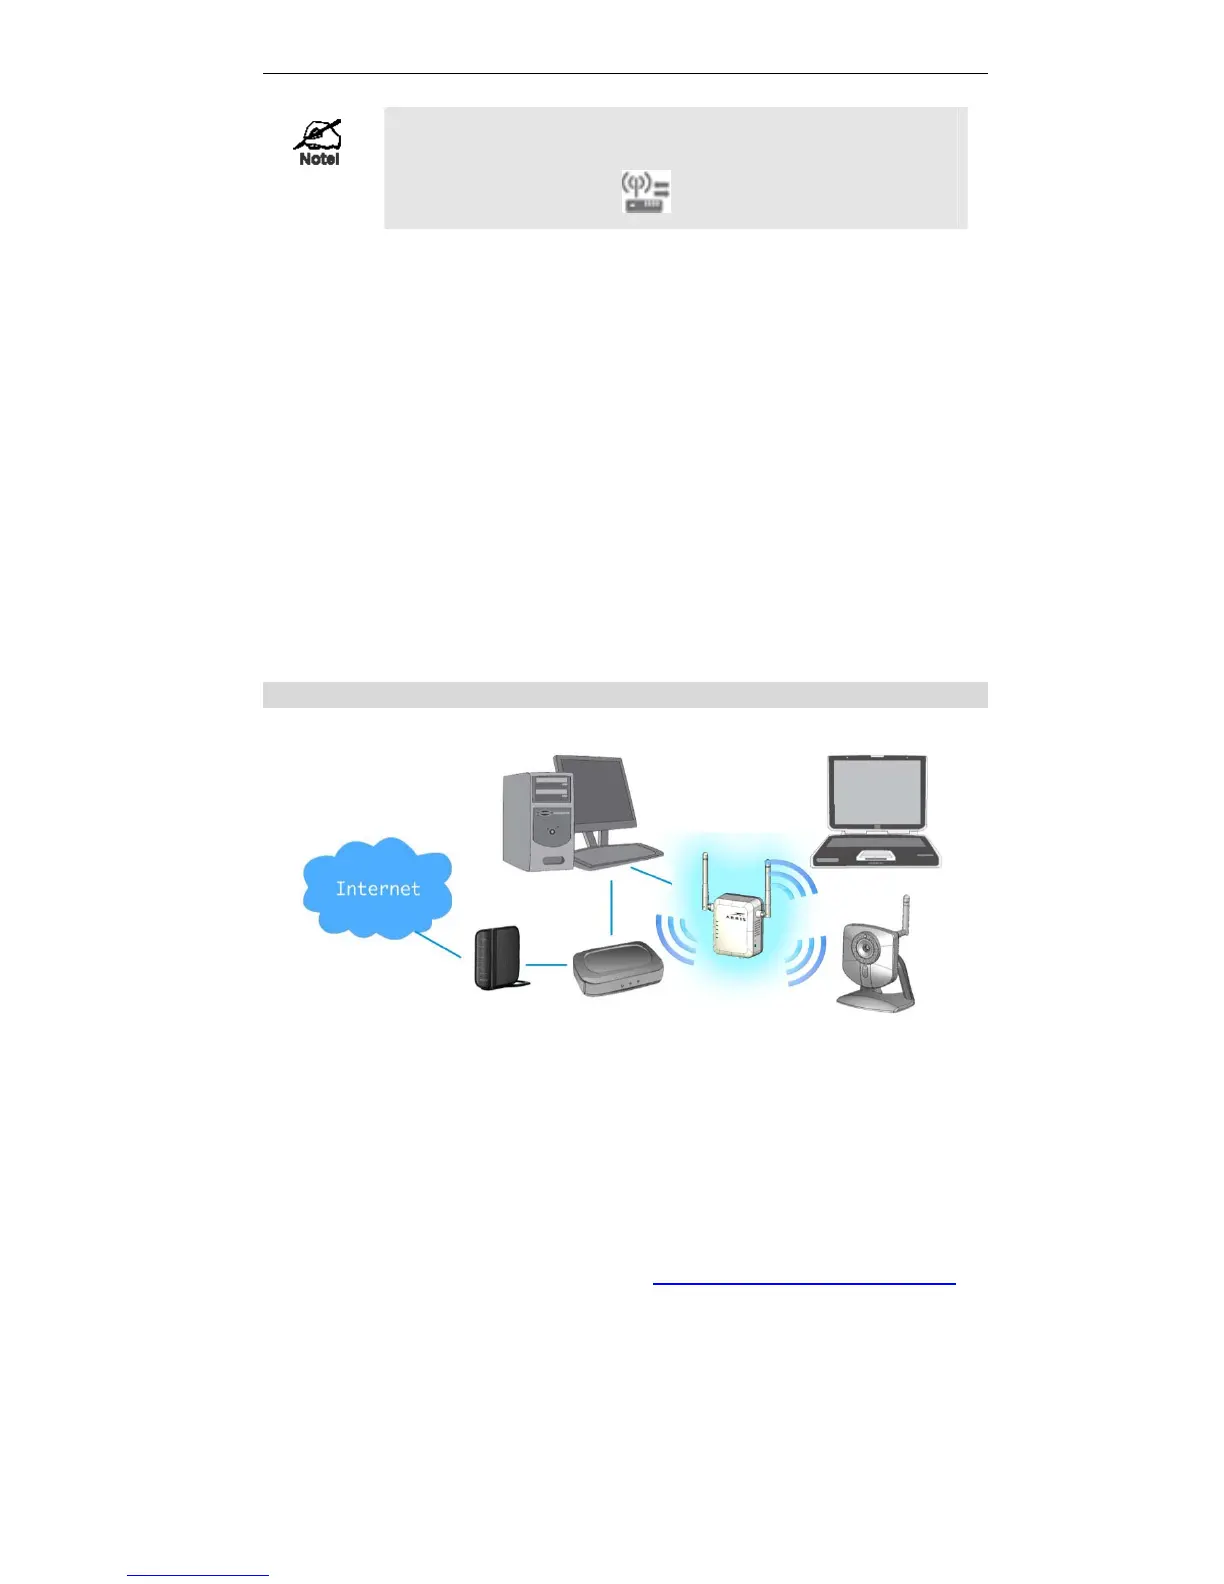
Configured with a PC
Step 1: Make sure the Wireless Access Point is on and working
properly.
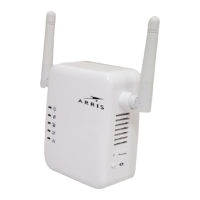
Step 2: Plug the WR2100 into the power outlet and press the Power
button to power it on.
Step 3: Wait for the Power LED to remain on; the WR2100 is now
ready for use.
Step 4: Connect the Ethernet cable to the WR2100 and the PC.
Step 5: Launch the browser and enter http://www.mywifirepeater.net/
in
the Address box.


 To Next Page