Pull out the connectors of the motor control.
Loosen the four screws.
Exchange the defective motor control and fix it with the
screws.
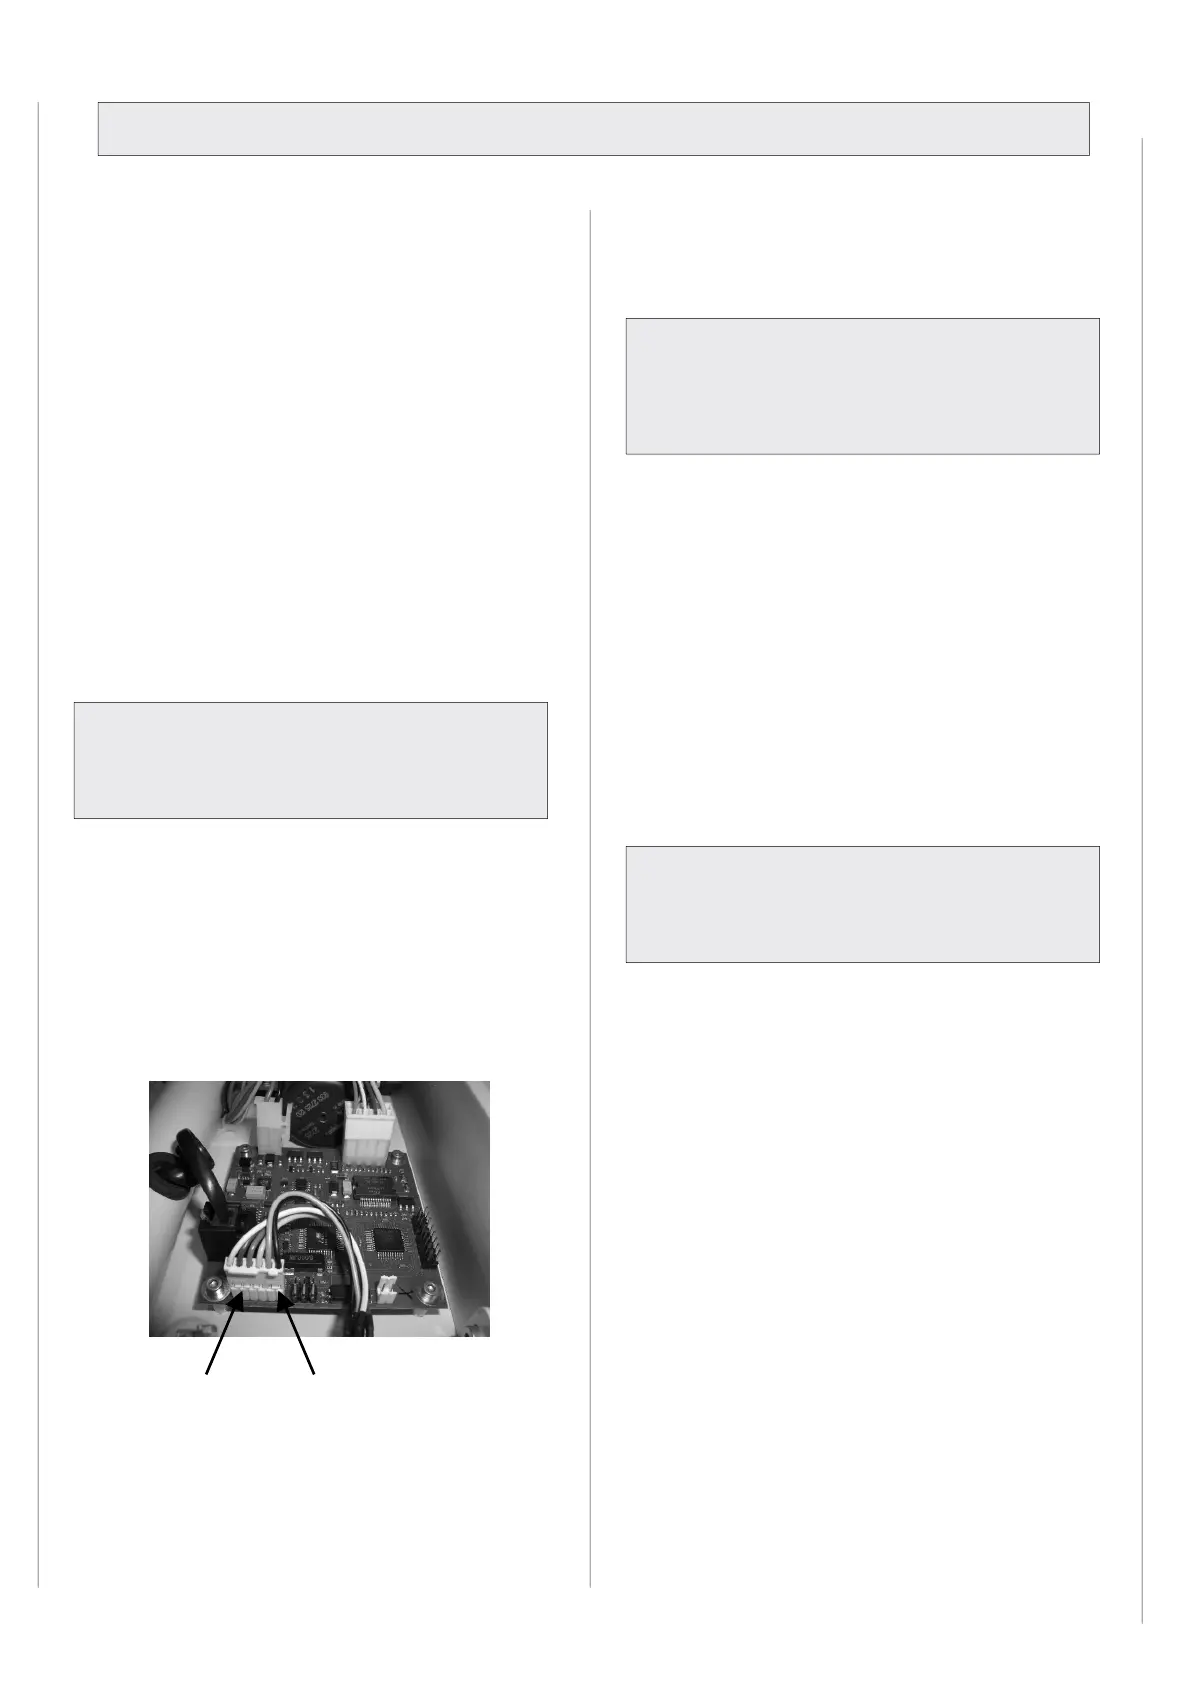
Put back in the connectors in the same position.
3-pin connector 2-pin connector
Rebuild the housing cover.
A calibration has to be performed.
Finally, a safety and function test has to be performed
.
(Pos. 1.41).
When you assembling with electronic parts make sure
to use ESD (Electro Static Discharge) equipment.
Pull out the connectors of the power supply electronics.
Loosen the four screws.
Exchange the defective electronics and fix it with the
screws.
Put back in the connectors in the same position.
Rebuild the housing cover.
A calibration has to be performed.
Finally, a safety and function test has to be performed
.
Repairs of the drive unit.
110 degrees.
Turn the power OFF at the ARTROMOT®-K4 and remove
the power cord.
Hit the 4 pins of the split rivet (Pos. 3.24) inwards.
Remove the 2 covering plates (Pos. 3.22)
Loosen the 2 countersunk screws (Pos. 3.50) and remove
the casing.
Remove the 4 pins of the split rivet, which are inside the
casing.
If you have exchanged any of the printed circuit boards
including the knee electronics and the hand held
programming unit or any parts of the drive technology,
you have to perform a calibration. See chapter 9.1.
Finally, a safety and function test has to be performed.
When you assembling with electronic parts make
sure to use ESD (Electro Static Discharge) equipment.
Only authorized and certified staff may perform repairs
and maintenance at the drive unit otherwise the
manufacturer´s warranty and liability will be invalidated.
 Loading...