Page 3 of 3I&M No.V6055R3
EASCO Valve, Inc.R 50 Hanover Road, Florham P ark, New Jersey 07932 www.ascovalve.com
5. Position core assembly and core spring into plugnut/core
tube sub---assembly. Install plugnut/core tube sub---assembly
with core assembly and core spring in valve body. Torque
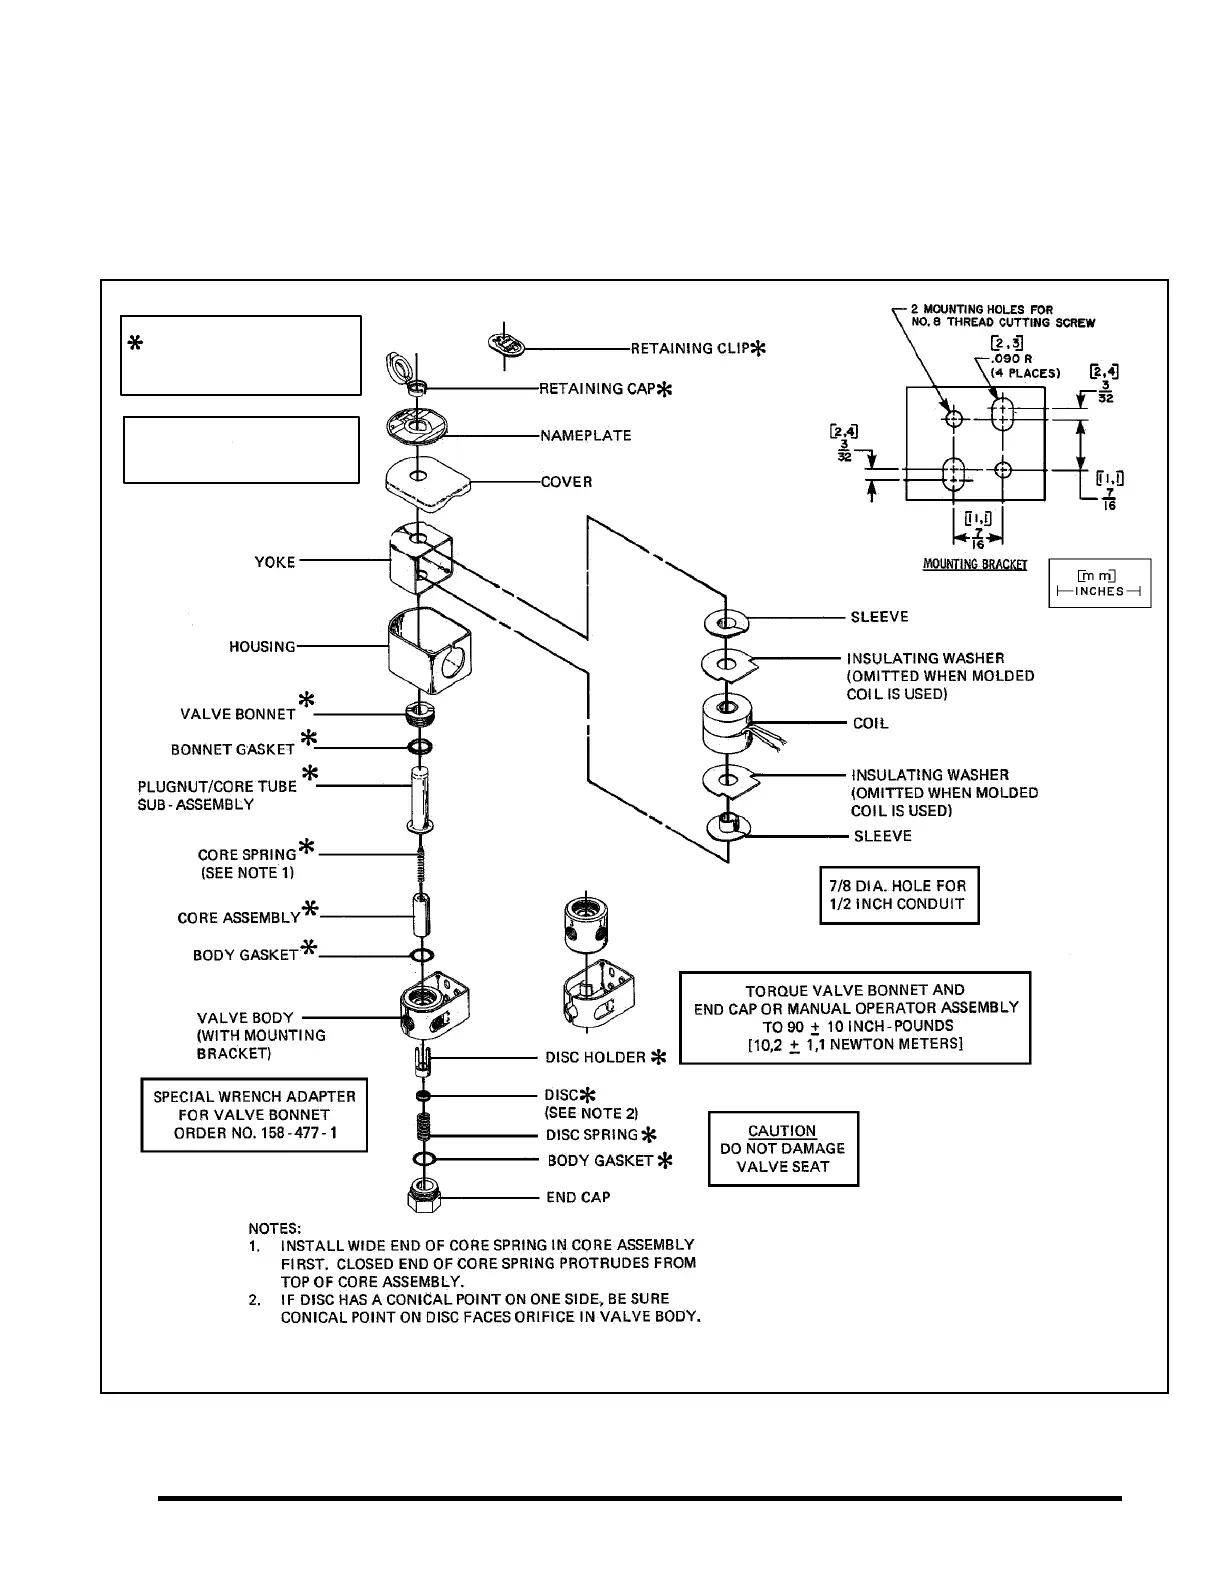
valve bonnet to 9010 inch---lbs (10,21 , 1 N --- m ) .
6. Replace solenoid enclosure and retaining cap or clip.
NOTE : For valves with an Explosionproof/Watertight Solenoid
enclosure, the solenoid may be assembled as a complete unit.
7. After maintenance, operate the valve a few times to be sure
of proper operation.
ORDERING INFORMATION
FOR ASCO REBUILD KITS
Parts marked with an asterisk (*) in the exploded view are
supplied in Rebuild Kits. When Ordering Rebuild Kits for
ASCO valves, order the Rebuild Kit number stamped on the
valve nameplate. If the number of the kit is not visible, order by
indicating the number of kits required, and the Catalog Number
and Serial Number of the valve(s) for which they are intended.
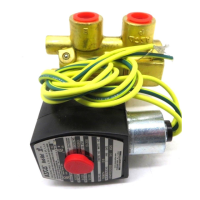
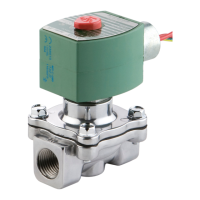
Figure 1. General Purpose Solenoid Enclosure.
Indicates Parts Supplied
in ASCO Rebuild Kits.
Note: See V5391 for
Explosionproof Solenoid
Enclosure.
 Loading...