5. Disc brakes can get extremely hot with extended use. Be car eful not to to uch a disc brake until it h as had plenty of
time to cool.
6. See the brake manufacturer’s instructions for operation and care of
your brakes, and for when brake pads must be
replaced. If you do not
have the manufacturer’s instructions, see your dealer or contact the brake manufacturer.
7. If replacing worn or damaged parts, use only manuf
acturer-approved genuine replacement parts.
1. Brake controls and features
It’s ver y imp ortant to your s afety th at you lear n a nd re member
wh
ich brake lev er controls which brake on yo ur bike.
Traditionally, the right brake l ever controls the rear brak e and the lef t brake lever co ntrols the front
brake; but, to make sure your bike’s brakes are set up this w ay, squeeze one brake lever and look to
see which brake, front or rear, engages. Now do the same with the other brake lever.
Make sure that your hands can reach a nd squeeze the br ake leve
rs comfortably. If your hands
are too sma ll to oper ate the l evers comfortably, consult your dealer before riding the bike. The lever
reach may be adjustable; or you may need a different brake lever design.
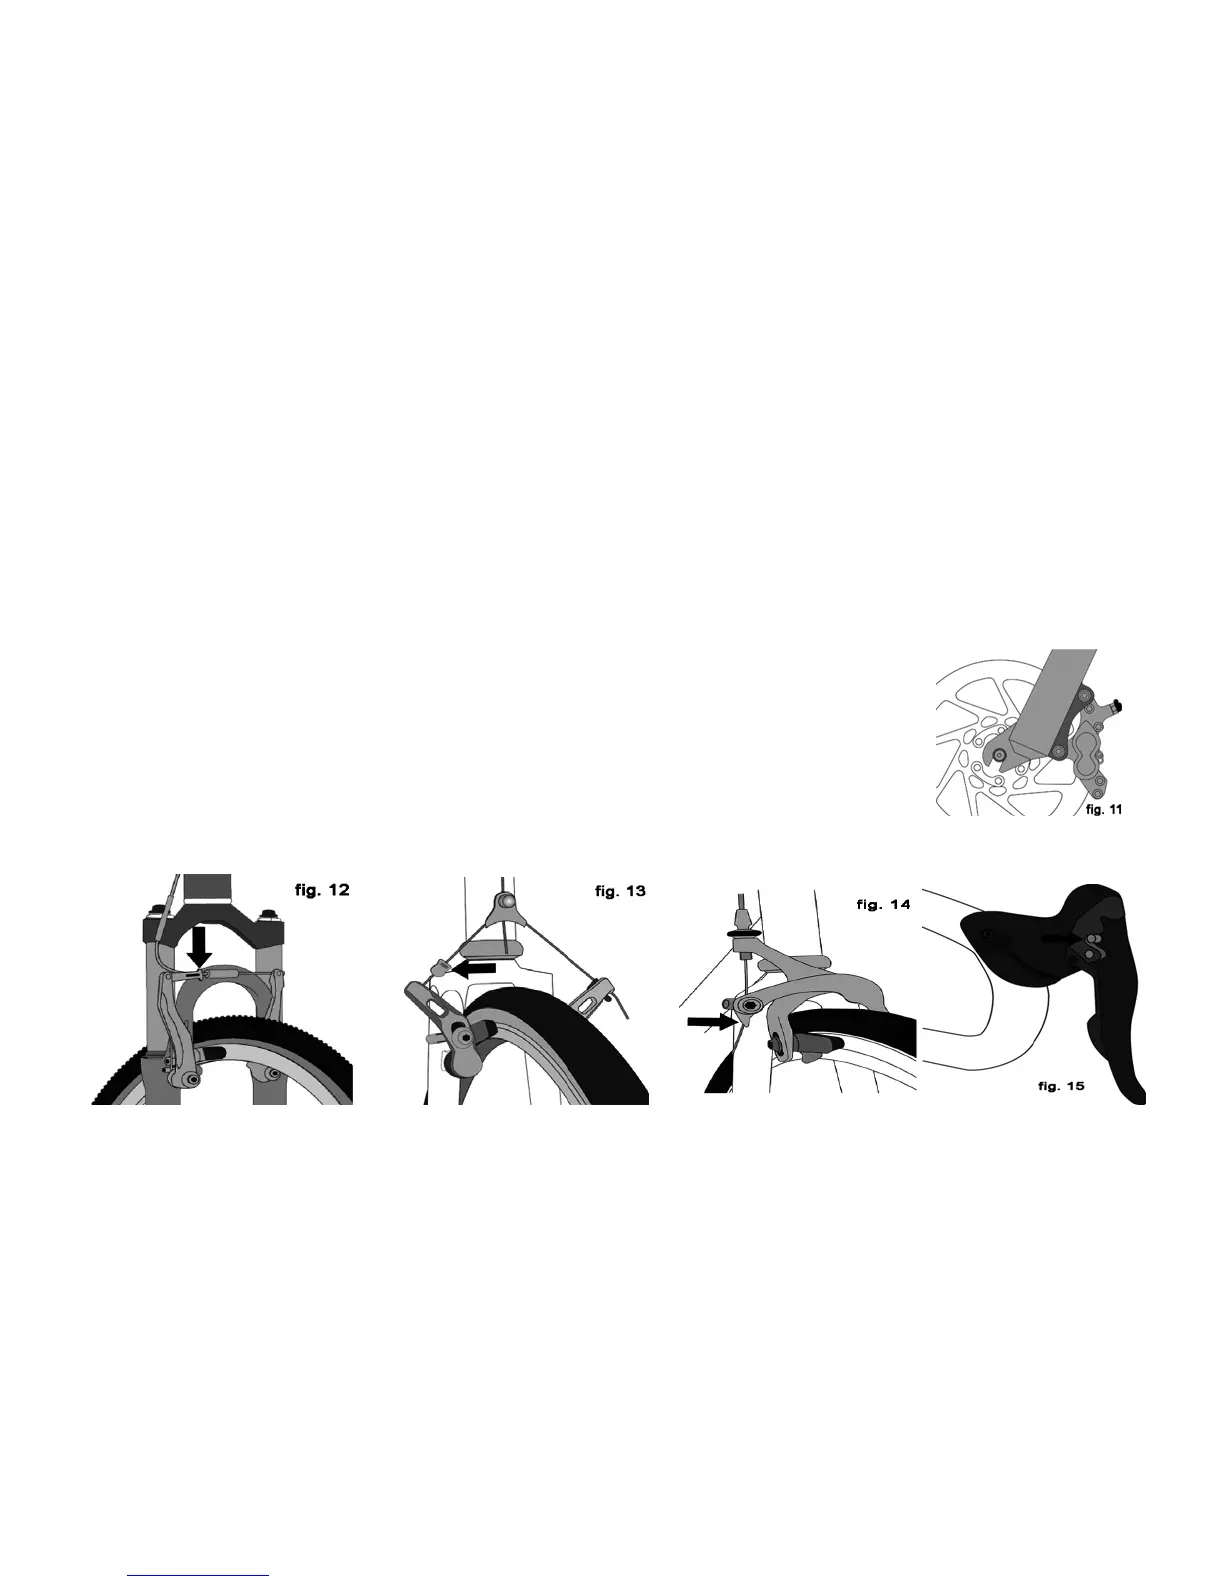
Most rim brakes have some form of quick-re lease mechanism to allo w the brake p ads to clear
the tire wh
en a wheel is removed or reinstalled. When the brake quick release is in the open position,
the brakes are inoperative. Ask your dealer to make sure that you understand the way the brake quick
release works on your bike (see figs. 12, 13. 14 & 15) and check eac h time to make sure both brakes work correctly before you
get on the bike.
24