Do you have a question about the Asko D1976CSTM and is the answer not in the manual?
Lists tools and materials required for installation.
Explains the function and importance of the high loop for proper draining.
Lists critical reminders for drain connection height and hose routing.
Details the importance and method of grounding the unit for safety and operation.
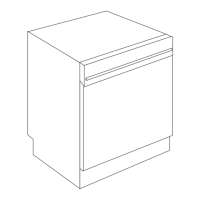
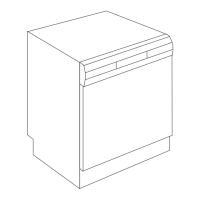
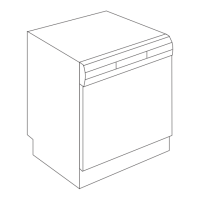
Detailed instructions for fitting the semi-integrated custom door panel.
Step-by-step guide for installing the custom door panel.
| Place Settings | 16 |
|---|---|
| Energy Rating | A++ |
| Number of Spray Arms | 3 |
| Delay start | Yes |
| Child lock | Yes |
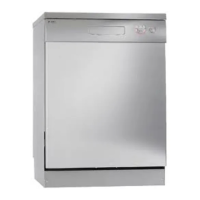
| Color | Stainless Steel |
| Size | Full Size |
| Noise Level | 42 dB |
| Drying System | Turbo Drying |