418671
If the problem persists despite observing the instructions above,
call an authorized service technician. Elimination of any errors or
warranty claims that resulted from improper connection or use of
the appliance is not covered by our warranty. In such cases, the
costs of repair are borne by the user.
• The appliance may only be connected by a qualifi ed expert.
• The appliance should be fi tted with a device that disconnects it from all poles of the home
network (an omnipolar switch), with at least 3 mm of distance between the contacts in open
position. LS-switches or fuses are appropriate.
• To connect the appliance, use the rubber mains cords (type HO5RR-F with the green/yellow
earth wire), PVC insulated (type HO5VV-F with the green/yellow earth wire), or other equivalent
or superior cables.
• Veneer, glue, or plastic fi nish of the furniture next to which the cooker is installed, should be
treated heat resistant (>75°C). If the veneers are not high temperature resistant, they may be
deformed.
• Packaging (plastic foil, polystyrene, etc.) must be kept out of reach of children, as it can be
a source or threat to them. Small parts can be swallowed by the children, and the foils are
hazardous because of the risk of suffocation.
Important warnings
Program timer display
is blinking
• There was a power supply failure, or your cooker was just connected to
the power mains. All set times have been deleted.
• Set the time of day to enable operation of the appliance.
• After the operation has been over, the oven switches off, and clock
fl ashes. Take the dish from the oven and turn the clock off.
Operation control lamp
is not lit...
• Did you activate all necessary controls?
• Did the main fuse in your home network trip?
• Are the temperature knob /dial and the operating mode selection knob
set properly?
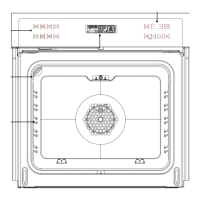
• Veneer or other fi nish of the furniture the appliance is being
built into should be processed with heat-resistant glue (100°C);
otherwise, high temperatures may cause them to deform.
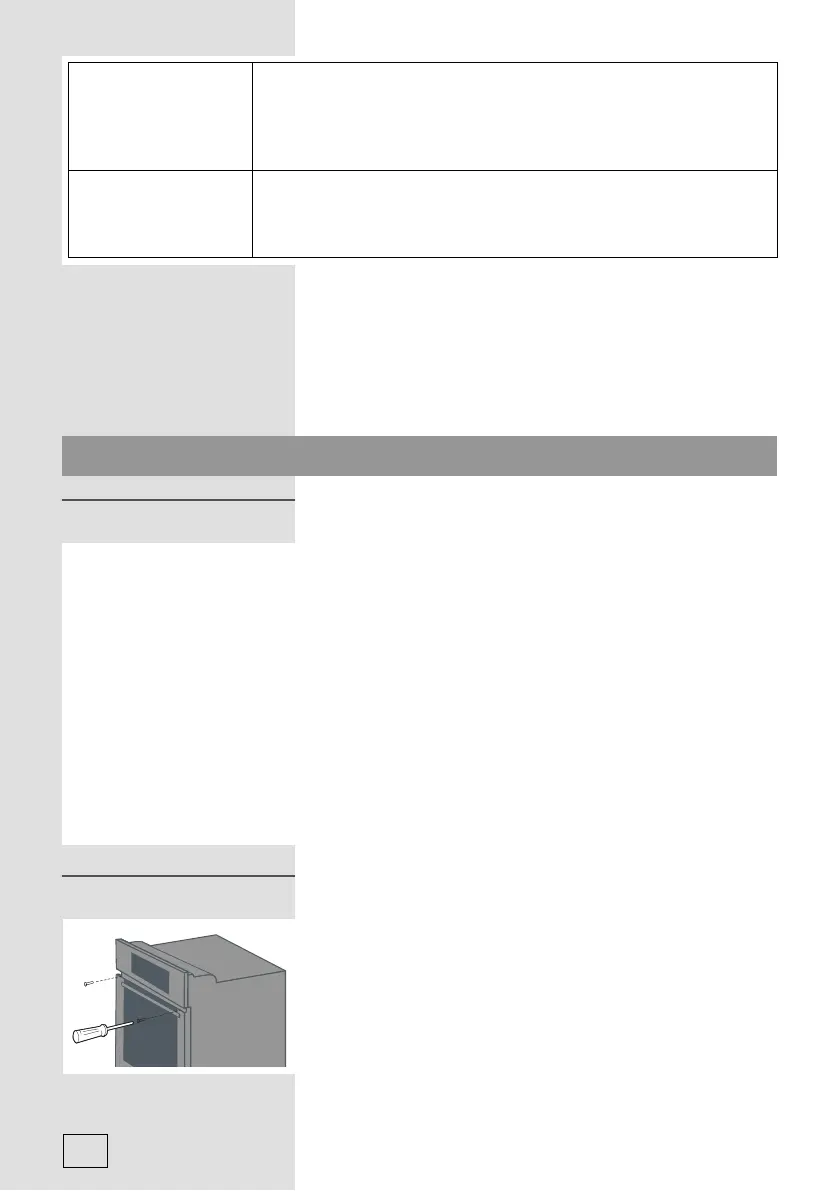
• Before installing the appliance, remove the back wall from
the piece of kitchen furniture the appliance is being built into,
along the entire length of the cutout.
• The installation cutout should be dimensioned as indicated in
the fi gure.
• The bottom panel of the piece of kitchen furniture (max. 530
mm) should always be shorter than the side walls to enable
adequate air circulation.
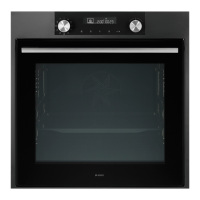
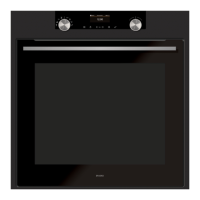
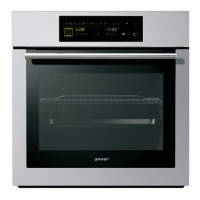
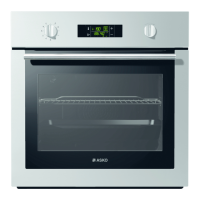
Installation
38
Instructions for installation and connection