Do you have a question about the ASROCK B560 PRO4 and is the answer not in the manual?
Lists all items included in the motherboard package.
Details the technical specifications of the motherboard, CPU, memory, etc.
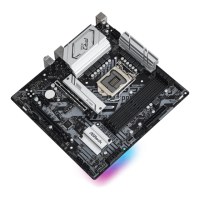
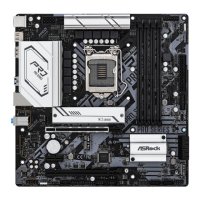
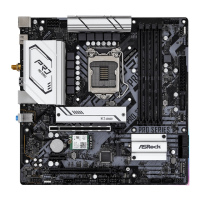
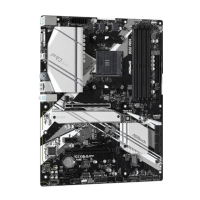
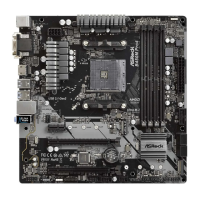
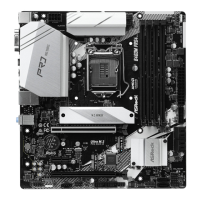
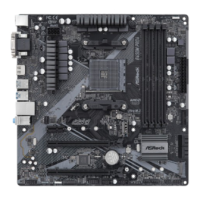
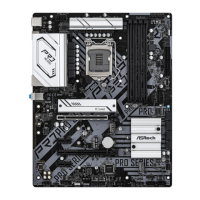
Illustrates the physical arrangement of components and connectors on the motherboard.
Describes the external input/output ports on the motherboard.
Safety guidelines and precautions before installing motherboard components.
Step-by-step instructions for installing the CPU onto the motherboard socket.
Guide on how to mount the CPU cooler and fan assembly.
Instructions for installing RAM modules, including dual-channel configuration.
Details on how to use PCI Express slots for expansion cards.
Explanation of jumper settings, particularly for clearing CMOS.
Identifies and explains the function of various onboard headers and connectors.
Describes the diagnostic LEDs that indicate system status during boot.
Instructions for installing M.2 WiFi/BT modules.
Step-by-step guide for installing M.2 SSDs into the M2_1 slot.
Instructions for installing M.2 SSDs into the M2_2 slot.
Guide for installing M.2 SSDs into the M2_3 slot.
How to install drivers and utilities from the support CD.
Details on installing and using the A-Tuning utility for system management.
Overview of the ASRock Live Update & APP Shop for software management.
How to download and install applications from the ASRock APP Shop.
Instructions for updating BIOS and drivers via the ASRock APP Shop.
Configuration options for the ASRock Live Update & APP Shop.
Explains the features and functions of the Nahimic audio software.
Guide to customizing RGB lighting effects using ASRock Polychrome SYNC.
Introduction to the UEFI setup utility and how to enter it.
Describes the default EZ Mode interface for system status overview.
Overview of the Advanced Mode for detailed BIOS configurations.
Explains the keyboard keys used for navigating the UEFI setup utility.
Details the system overview displayed on the UEFI Main screen.
Explains the OC Tweaker screen for system overclocking configurations.
Introduces the Advanced screen for various system configuration options.
Detailed settings for CPU-related configurations within the BIOS.
Settings related to the motherboard's chipset.
Options for configuring storage devices like SATA and M.2.
Settings for Super IO devices such as serial ports and PS/2.
Power management settings related to ACPI.
Settings for managing USB devices and ports.
Configuration for security features like Trusted Platform Module.
Access to various utility tools within the UEFI setup.
Displays system hardware status like temperatures, fan speeds, and voltages.
Options for setting supervisor/user passwords and secure boot.
Configurations for boot settings and device priority.
Options for saving, discarding changes, and exiting the UEFI setup.
| Processor socket | LGA 1200 (Socket H5) |
|---|---|
| Processor manufacturer | Intel |
| Compatible processor series | Intel Celeron, Intel Core i3, Intel Core i5, Intel Core i7, Intel Core i9, Intel Pentium |
| Maximum number of SMP processors | 1 |
| Non-ECC | Yes |
| Memory channels | Dual-channel |
| Memory slots type | DIMM |
| Number of memory slots | 4 |
| Supported memory types | DDR4-SDRAM |
| Maximum internal memory | 128 GB |
| Supported memory clock speeds | 4600, 4800 MHz |
| Supported storage drive interfaces | M.2, SATA III |
| Parallel processing technology support | - |
| Number of SATA II connectors | 0 |
| Number of SATA III connectors | 6 |
| USB 3.2 Gen 1 (3.1 Gen 1) connectors | 2 |
| DisplayPort version | 1.4 |
| USB 2.0 ports quantity | USB 2.0 ports have a data transmission speed of 480 Mbps, and are backwards compatible with USB 1.1 ports. You can connect all kinds of peripheral devices to them. |
| Wi-Fi | No |
| LAN controller | Intel® I219-V |
| Ethernet interface type | Gigabit Ethernet |
| Component for | PC |
| Motherboard chipset | Intel B560 |
| Audio output channels | 7.1 channels |
| Motherboard form factor | ATX |
| BIOS type | UEFI AMI |
| ACPI version | 6.0 |
| System Management BIOS (SMBIOS) version | 2.7 |
| Cables included | SATA |
| Harmonized System (HS) code | 84733020 |
| Weight | 1000 g |
| Depth | 244 mm |
|---|---|
| Width | 305 mm |
| Height | 70 mm |