29
English
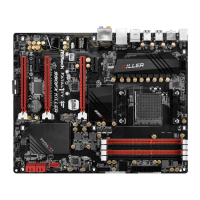
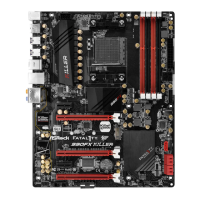
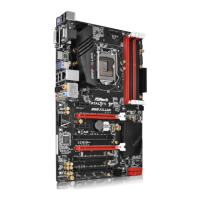
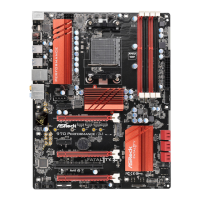
Fatal1ty 970 Performance/3.1 Series
Installation Procedure
e ASRock USB 3.1/A+C provides two external USB 3.1 ports which support
transfer rates up to 10 Gbps. Follow the simple steps below to install the ASRock
USB 3.1/A+C.
Step 1
Power o the PC and unplug the power cord. Detach all other cables from the PC.
Step 2
Remove the side panel from the computer case.
*Refer to the documentation that comes with your PC for details.
Step 3
Locate an available x4, x8 or x16 PCI Express slot on your motherboard and remove
its slot bracket.
*To maximize the performance of ASRock USB 3.1 /A+C, it is highly recommended
to insert the card into the PCIE5 (from NB).
Step 4
Align the ASRock USB 3.1/A+C with the PCI Express slot and press down rmly
until it is fully seated in the slot. en secure the card with the slot bracket’s holding
screw.
Step 5
Replace the side panel. Reconnect the power cord and any other cables that were
disconnected.
*Jumper Setup:
Jumper J1 is set to Pin1-2 by default and allows device charging during S3 (Sleep),
S4 (Suspend) or S5 (Power O) power states. To disable device charging during S3/
S4/S5 (Power O) power states, you need to move the jumper cap placed on Pin1-2
(default) to Pin2-3.
*Please install driver for
Windows® 7 (32-bit and 64-bit).
 Loading...