23
English
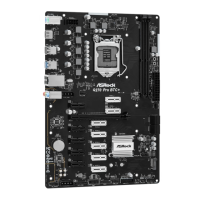
H110 Pro BTC+
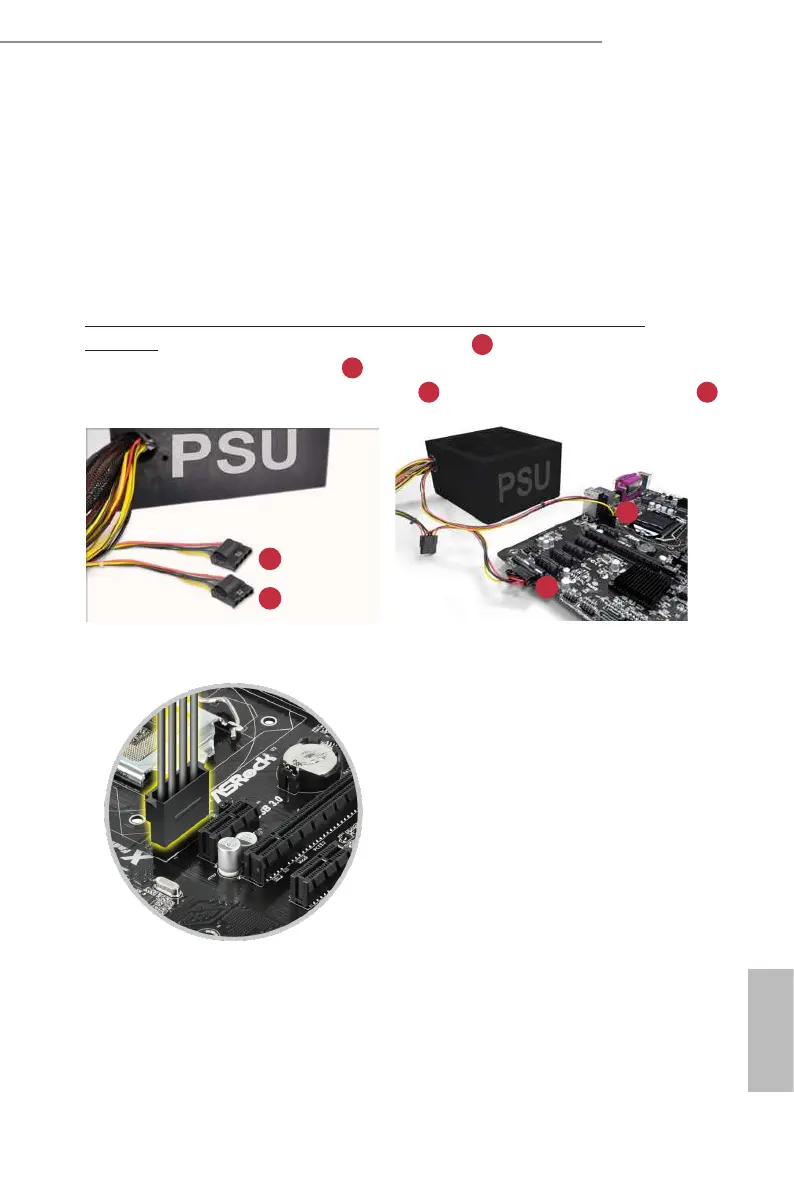
2.7 PCIe Power Connector Installation Guide
e two extra 4-pin power connectors on this motherboard oer more power for your graph-
ics cards. ey provide stable voltages and greatly reduce the risks of burning your mother-
board or graphics cards.
When more than three graphics cards are installed, be sure to install the PSU’s 4-pin
power cables to the 4-pin power connectors (PCIE_PWR) on your
motherboard; otherwise, the cards may be damaged.
Please MUST install TWO PSU’s 4-pin power cables to your MB’s TWO 4-pin power
connectors. Plug one of the PSU's 4-pin power connector ( ) to the 4-pin power
connector closer to the PCIe x16 slot ( PCIE_PWR1) .
en plug another PSU's 4-pin power connector ( ) to the other 4-pin power connector (
PCIE_PWR2) .
If your PSU only provides ONE, then please MUST install it to the 4-pin power connector (PCIE_
PWR1) closer to the PCIe x16 slot.
Important: Make sure both the connected 4-pin and 24-pin power connectors are on the
same PSU; otherwise, the motherboard may be damaged.
*e diagrams shown here are for reference only. Please refer to the user manual that comes
with your motherboard for the accurate location of the 4-pin power connectors.
A
B
1
A
B
1
2
2
 Loading...