Do you have a question about the ASROCK PHANTOM GAMING A620I LIGHTNING WiFi and is the answer not in the manual?
Lists all items included in the motherboard package, such as the motherboard, manual, cables, and antennas.
Details the technical specifications of the motherboard, including platform, CPU, chipset, memory, and expansion slots.
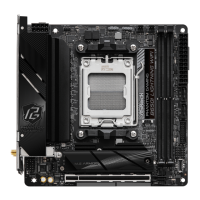
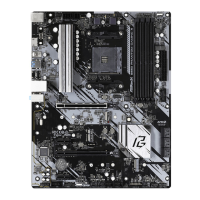
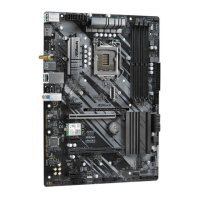
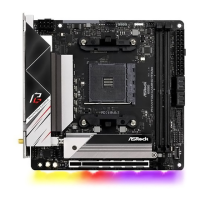
Provides a visual guide to the physical layout of components and connectors on the motherboard's top and back sides.
Illustrates and describes the rear input/output ports and their functions, including LAN, USB, HDMI, and audio.
Shows the internal architecture and data flow between the CPU, chipset, and various peripherals on the motherboard.
Explains the features of the onboard Wi-Fi 6E module and its associated antennas for wireless connectivity.
Outlines essential safety measures and precautions to take before installing or changing motherboard components to prevent damage.
Step-by-step guide on how to properly install the CPU into the motherboard socket, ensuring correct orientation and alignment.
Instructions for mounting the CPU cooler (heatsink and fan) onto the motherboard for effective heat dissipation.
Detailed steps for installing DDR5 DIMM modules into the motherboard slots, including dual-channel configuration.
Guide on connecting the chassis's front panel connectors (power switch, reset, LEDs) to the motherboard header.
Instructions on how to physically mount the motherboard inside the computer chassis using screws.
Steps for connecting SATA data and power cables to storage devices like HDDs and SSDs.
Procedures for installing a graphics card into the PCIe slot on the motherboard.
Details the available PCI Express slots on the motherboard and their specifications for expansion cards.
Illustrates how to connect common external peripheral devices like monitors, keyboards, and mice to the I/O panel.
Details on connecting the main ATX and 12V power supply cables to the motherboard.
Steps to power on the system after all components are installed, including connecting the power cord and pressing the power button.
Explanation of jumper settings, specifically the Clear CMOS jumper, and how to configure them.
Describes various onboard headers for system panel, USB, audio, fan connectors, and LED strips, including their pinouts.
Information about the Smart Button feature, specifically the BIOS Flashback functionality for updating the BIOS.
Guide on installing an M.2 SSD module into the M2_1 slot, including heatsink preparation and securing the drive.
Guide on installing an M.2 SSD module into the M2_2 slot, including peel off protective film and securing the drive.
| Form Factor | Mini-ITX |
|---|---|
| Chipset | AMD A620 |
| Socket | AM5 |
| Memory Slots | 2 x DIMM |
| Maximum Memory | 64GB |
| PCIe Slots | 1 x PCIe 4.0 x16 |
| Bluetooth | Bluetooth 5.2 |
| Audio | 7.1 CH HD Audio (Realtek ALC897 Audio Codec) |
| Memory Support | DDR5 |
| Storage Interface | 4 x SATA3 |
| USB Ports | 2 x USB 2.0 |
| Networking | Wi-Fi 6E, 2.5G LAN |
| Video Outputs | 1 x HDMI, 1 x DisplayPort |