Installation and general maintenance manual - POOL PUMPS
7
ENGLISH
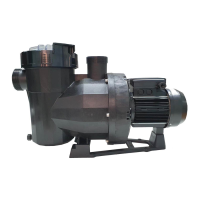
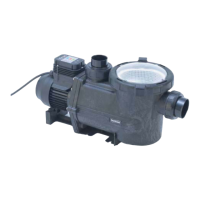
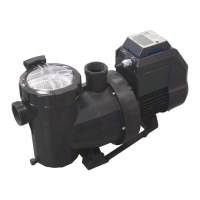
3. INSTALLATION AND ASSEMBLY
GENERAL
-
Fit the pump horizontally in order to accommodate the pre-lter. The pumps are tted
with a pre-lter with a basket inside to collect any large particles, as they may damage the
hydraulic parts inside the pump.
-
All pumps are tted with a stand with holes in it to anchor it to the ground (Fig. 1).
PIPING
- To connect the piping, glue the pipes and the connectors, supplied together with the pump; the
tting connections to the suction and return ports on the pump are threaded and include seals
to prevent water loss (Fig. 2).
- Fit the return pipes completely perpendicular and centered in relation to the port to be connected
to prevent the pump and the pipe from being subjected to external stress, which apart from
making tting dicult, could break them (Fig. 2).
- Fit the suction piping on a slight 2% slope towards the pump to avoid the formation of air
pockets (Fig. 2).
- To ensure the pump works correctly, prime the pump pre-lter until water rises up through
the suction pipe (Fig. 3).
LOCATION
-
Fit the pump below the water level in the pool to improve pump performance.
-
Make sure that the pump is safe from possible ooding and receives dry ventilation.
ELECTRICAL INSTALLATION
- It is essential that you use a multiple disconnection device with a space of at least 3 mm
between surfaces to disconnect the unit from the electrical current.
-
Use a rigid cable to connect the pump to the mains. If you use a exible cable to connect
it to the mains, it must have cable lugs to connect it to the terminals of the pump’s motor.