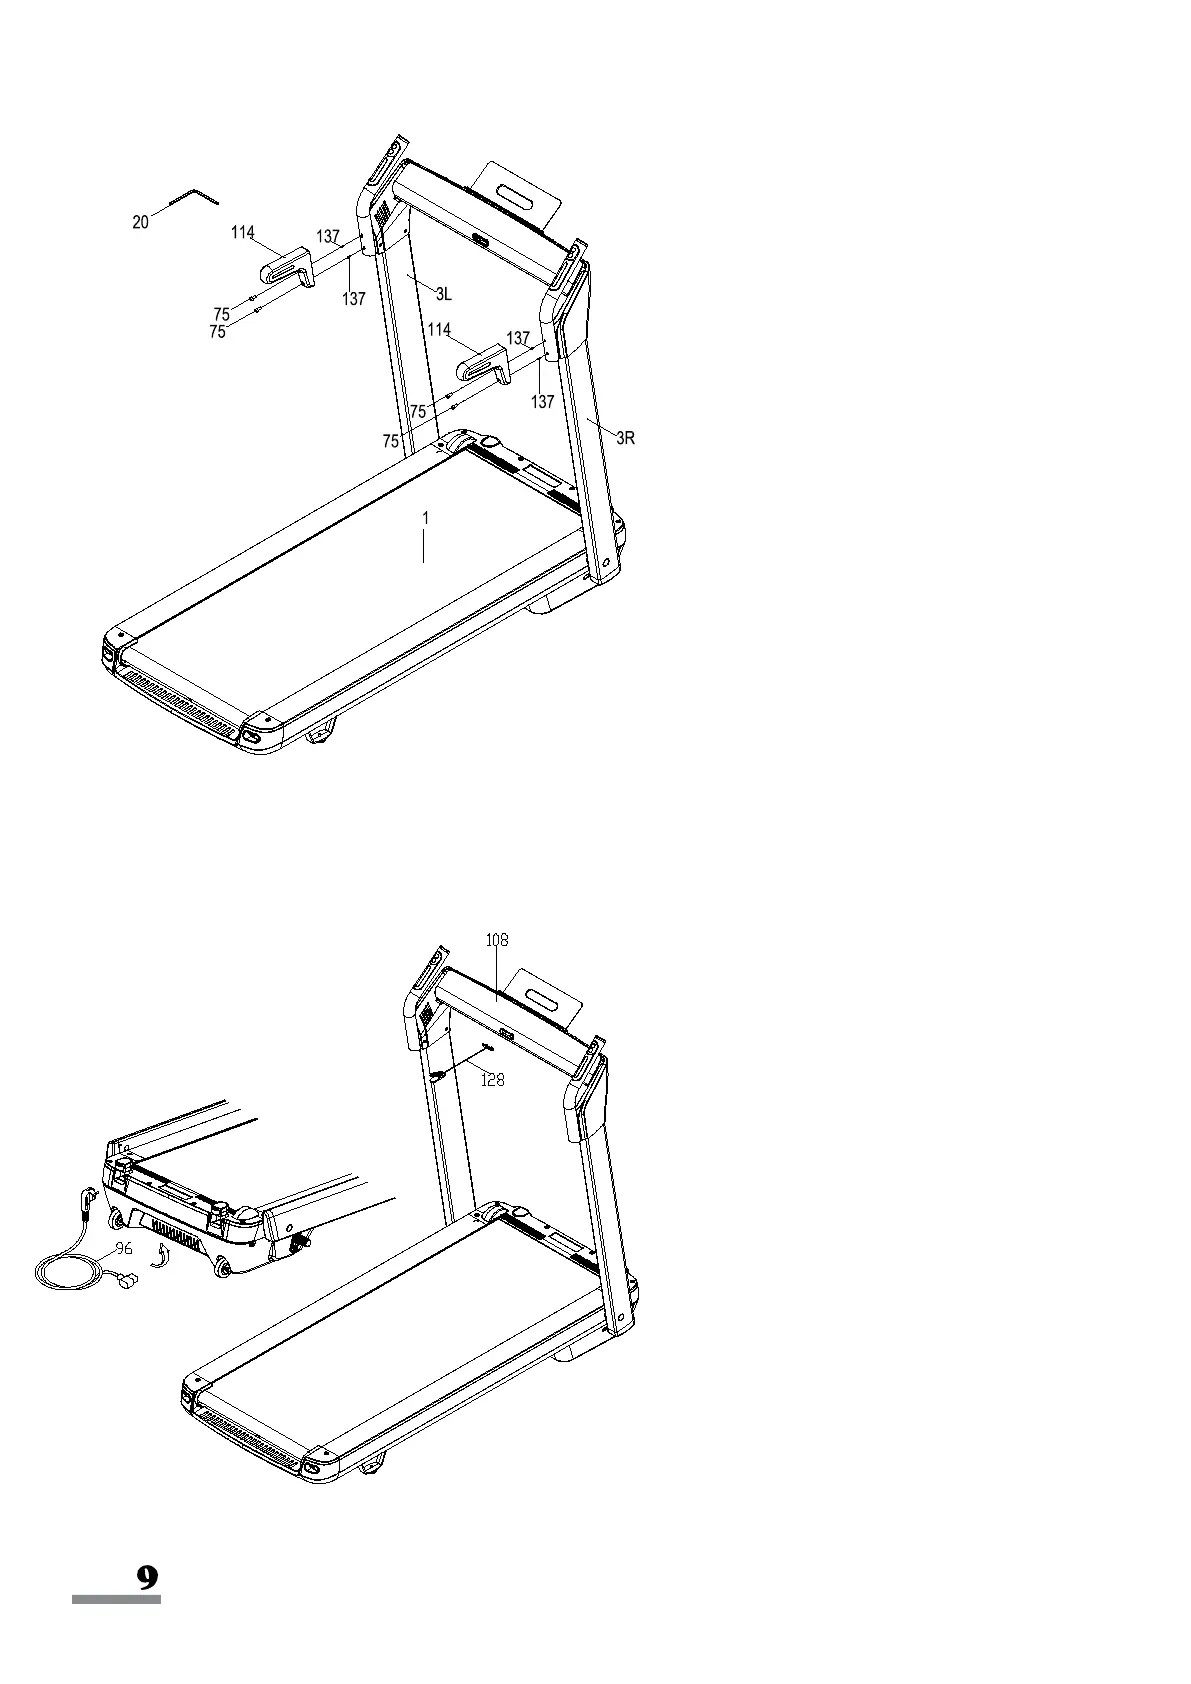
STEP 3:
Remove 4 Plugs (No. 137) from the
Handlebars (No. 3L & No. 3R). Save
the Plugs (No. 137) for later use when
you remove the Handrails (No. 114).
Attach the Handrails (No. 114) to the
Handlebars (No. 3L & No. 3R) with 4
Screws (No. 75).
Tighten and secure
with Allen Wrench (No. 20).
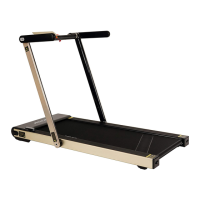
STEP 4:
Connect the
Power Cord (No. 96) to the
treadmill.
Insert the Safety Key (No. 128) into the
Meter (No. 108).
The assembly is complete!