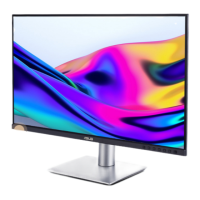
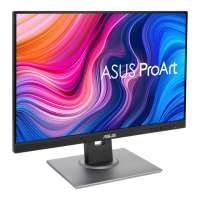
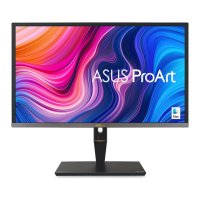
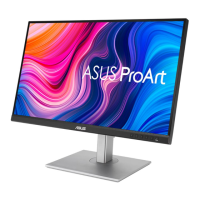
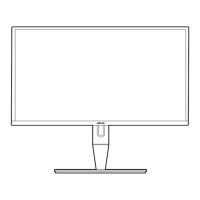
2-3ASUSPA246SeriesLCDMonitor
2.3 Connecting the cables
1. Connectthecablesasthefollowinginstructions:
• To connect the power cord:connectoneendofthepowercordsecurelyto
themonitor’sACinputport,theotherendtoapoweroutlet.
• To connect the VGA/HDMI/DVI/DisplayPort cable:
a. PlugoneendoftheVGA/HDMI/DVI/DisplayPortcabletothemonitor’s
VGA/HDMI/DVI/DisplayPortjack.
b. ConnecttheotherendoftheVGA/HDMI/DVI/DisplayPortcabletoyour
computer'sVGA/HDMI/DVI/DisplayPortjack.
c. TightenthetwoscrewstosecuretheVGA/DVIconnector.
• To use the earphone:connecttheendwithplugtypetothemonitor’s
earphonejackwhenanHDMIorDisplayPortsignalisfed.
• To use the USB ports:Plugthesmallerend(typeB)oftheUSBupstream
cabletothemonitor’sUSBupstreamport,andthelargerend(typeA)toyour
computer’sUSBport.ThatwillenabletheUSBportsandcardreaderonthe
monitor to work.
Whenthesecablesareconnected,youcanchoosethedesiredsignalfromthe
InputSelectitemintheOSDmenu.
2.4 Turning on the monitor
Press the power button .Seepage1-2forthelocationofthepowerbutton.The
power indicator lightsupinwhitetoshowthatthemonitorisON.

 Loading...